Here’s how to improve air quality in your home and protect your loved ones with respiratory issues. In addition to the usual suspects (VOCs, carbon monoxide, etc.), it seems that wildfire smoke is now a regular threat to our summer air quality across the US. Last week, the East Coast was stuck in an orange haze from Canadian wildfires, a scenario familiar to those of us living in the west. While that is out of our control, there are plenty of ways to improve indoor air quality, so you can have peace of mind the next time you’re stuck indoors.
How to Improve Air Quality Indoors
Here’s the overview. First, identify as much as you can about your current indoor air quality. Figure out what issues need to be addressed or improved. Once you’ve done that, maintain and monitor the air. I’ll share ways to do all of these steps, along with devices and tests that you can easily manage at home.
Click on the product images to see prices.

Factors Affecting Indoor Air Quality
Indoor air quality is affected by a ton of factors, depending on your climate and region. From acute events like wildfire smoke to ongoing, chronic threats like radon, it’s a great idea for everyone to monitor indoor air quality. For reference, these are common sources of bad indoor air quality, and the EPA has plenty of scary details, if you’d like to dive deeper.
Indoor Air Pollution Sources
- gas ranges
- smoking (surprise!)
- off-gassing new carpet, cabinetry (fake, pressed wood), vinyl, glue, etc.
- PLUS anything producing/releasing these:
Common Indoor Air Pollutants
- mold
- radon
- carbon monoxide (from gas appliances, exhaust, furnace, smoking)
- asbestos (from disturbed, deteriorating older materials)
- lead (from disturbed, pre-1978 paint)
Outdoor Air Pollution Sources
- local air pollution (highway exhaust, etc.)
- wildfire smoke (check this map)
- pesticides in landscaping

Preventative Maintenance
The best time to deal with indoor air quality is during a spell of beautiful weather. It’s easier to do this preventative maintenance on a clear day when you can open up the house, so plan ahead if possible. I’m sure the last thing you want to do on a gorgeous day is address air quality maintenance, but you’ll be so happy you did the next time you’re under an air quality warning.

Tips #1-2: Check Ventilation
First, check to make sure your house is properly ventilated. Signs of poor ventilation are condensation inside your home, mildew odor, and anything that feels damp when it shouldn’t. Those signs can mean that your home is not getting the airflow it needs to help moisture evaporate.
On the flip side, check all openings around your home and ensure they seal properly. Windows, doors, vents, fans, attic fans, chimneys. If the poor air quality is outside rather than in, you’ll want to make sure you can safely circulate inside air without drawing in pollution.

Tip #3: Change Filters
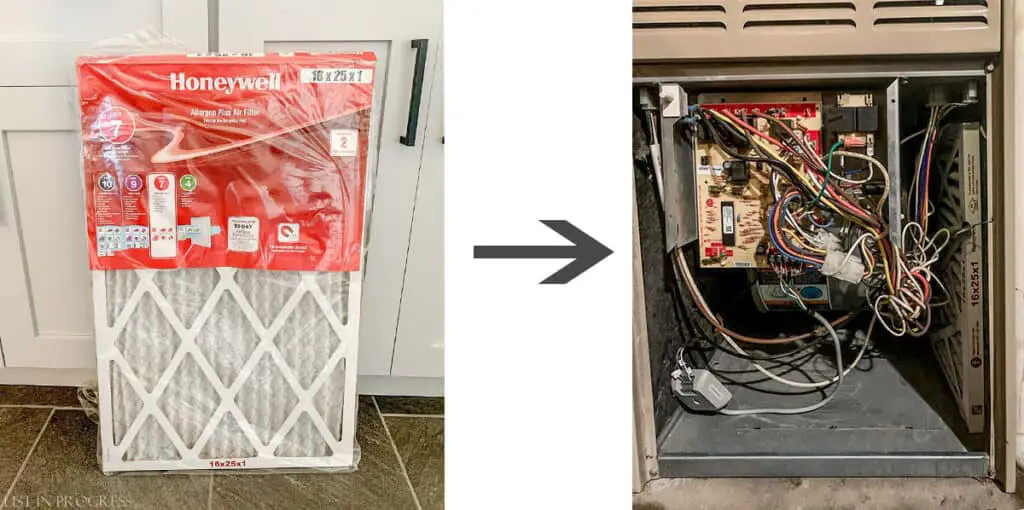
Change any air filters in your home. These include furnace filters (AC shares the same filter) and any HEPA air purifier filters. Add these chores to your maintenance schedule so you ensure they are routinely cycled.
You Might Also Like:
How to Lower Your Electric Bill (Without Going Crazy)
4 Non-Toxic Weed Killers for Your Yard
3 DIY Carpet Stain Removers That Work
Test Your Indoor Air Quality
It’s time to run some tests. You can hire a company to test your indoor air quality or purchase these kits and run the tests yourself. Of course, I always suggest saving money and doing it yourself, unless there’s a test you’re unable to conduct as thoroughly as a pro would.
Tip #4: Warning
Be wary of devices that claim to monitor your indoor air quality. The question to ask is: what are they really testing? The particulate count outside can be checked at AirNow and other elements can be tested by the devices below. Do the research before spending hundreds on a device, to make sure it’s detecting something novel.
At this point, the only multi-function device I would purchase and trust is this smart alarm from Kidde. It claims to monitor VOCs and mold, which would be helpful, if accurate.

Tip #5: Test for Radon
Radon testing has grown more prevalent nationwide and for good reason. Radon is an odorless, colorless gas that can eventually cause lung cancer. Read more about radon at the CDC website.
You can purchase a quick home radon test kit for about $15 here:

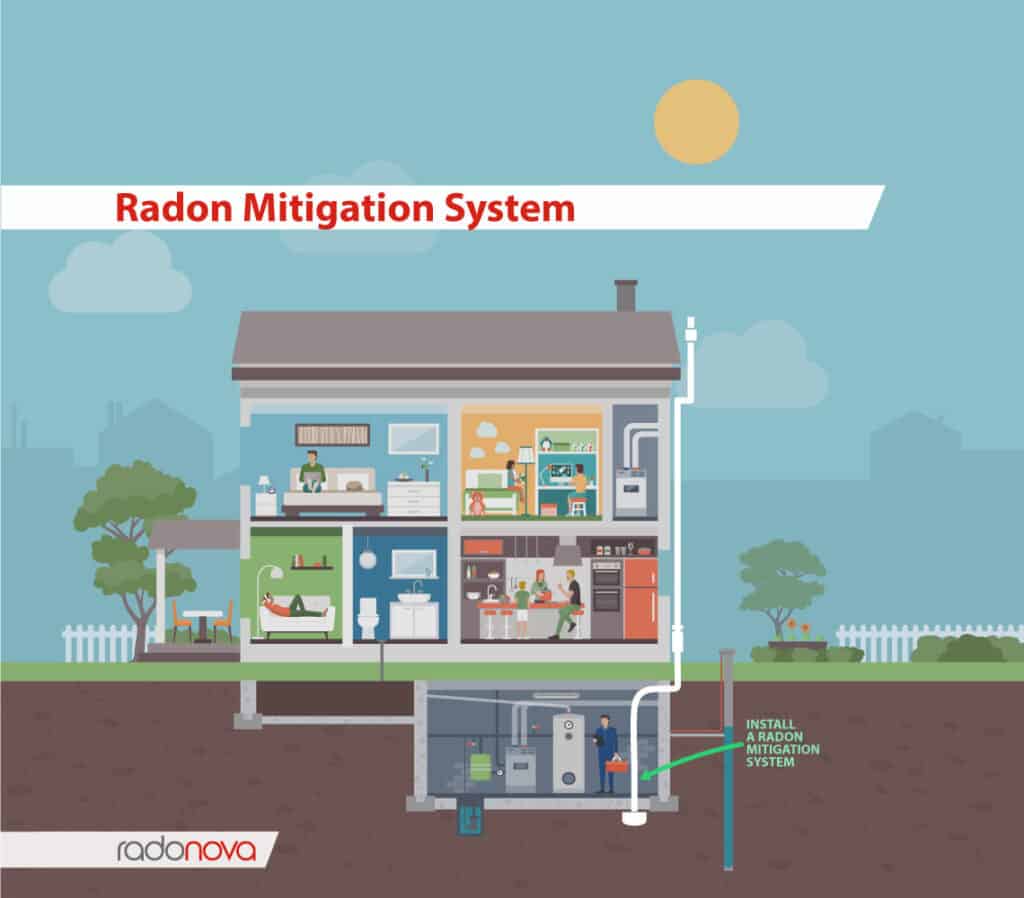
If radon is not really on your radar yet, don’t stress – it’s easy to address elevated radon levels. If it turns out that you need a radon mitigation system, a company will essentially run a PVC pipe with a fan attached from under the basement slab or crawl space up along the side of the house. The fan draws the air out of the house and helps circulate any radon out of your home, rather than letting it build up in your basement.
Here’s a graphic from this thorough article on radon mitigation.
Radon Testing Options
In my opinion, the only reason to hire someone to test for radon is because they can get faster results. There’s nothing fancy in the $15 test kit and you can run a few rounds of tests if you doubt the results. You could also run a long-term radon test, which takes a few months and offers more exact results.

The ideal test result is 0 pCi/L (picocuries per liter), so it doesn’t really matter if your exact results are 4 pCi/L or higher (EPA guideline limit). If your radon level tests anywhere above 2-4 pCi/L, you should probably consider installing a radon mitigation system. That’s polite internet advice; personally, I would install a mitigation system if I tested 1 pCi/L, just to circulate it out.
For ongoing monitoring, it’s worth investing in a device like this digital radon monitor. This is a good way to ensure radon levels stay very low after you’ve had a mitigation system installed. I should probably buy one because our radon level tested at 15 pCi/L when we bought our current house.

In Colorado, testing for radon during a home sale is almost routine. Home inspectors offer the service during inspection and I’ve always negotiated a radon mitigation system installation before closing a sale. Much of the US has potentially elevated radon levels, and homes with basements also have a higher risk. I’ve started noticing radon systems in my parents’ neighborhood in Pennsylvania, so the word must be out around the country, which is good news.
Tip #6: Detect Carbon Monoxide
CO is also odorless and colorless, like radon. Although, if your home has elevated levels of carbon monoxide, you’d probably already be dead. There’s not much to test. Instead, you need to install CO detectors and test those things monthly!
Install CO detectors near all gas appliances, bedrooms, and on each level of your home. Many smoke detectors now come with CO detection as a 2-for-1 device, if you want to cover both.

We always plug in a CO detector near our furnace and hot water heater, both powered by gas. I like this one:

Tip #7: Test for Mold
Here’s another easy little mail-in test you can handle yourself. Swab the suspected moldy area with a mold test kit and mail the swab to a lab for testing. Mold removal is a different animal altogether, which I won’t explore today. If you have allergies, you probably already know if your home has mold…
I’ve used a test like this one in the past:

Tip #8: Consider a CO2 Monitor
A newer player on the scene, carbon dioxide monitors are catching on as a way to measure indoor air quality. By measuring carbon dioxide levels indoors, you’ll know how fresh the circulating air might be, compared to a baseline of 400 ppm outside. The higher the ppm indoors, the worse your air quality is. This can be helpful if you’re trying to avoid airborne diseases (*ahem* COVID) and want to properly ventilate your space with fresh air.

How to Improve Indoor Air Quality
Next, let’s chat about how to improve air quality indoors. We’ve covered testing for pollutants and checking to make sure your home is ventilated and/or sealed up, as needed. With that baseline, here’s what to consider to further improve the air inside your home.
Tip #9: Ensure AC is Recirculating Air
If you’re running an air conditioner in the summer and the outside air is smoky or otherwise polluted, check to make sure your AC unit is recirculating indoor air. This will prevent the unit from drawing outside air into your home.
I’ve also read that recirculating AC in your car is more fuel efficient, because then your vehicle doesn’t need to cool and filter the hot air from outside. That makes sense.
Tip#10: Run a HEPA Air Purifier
Adding an air purifier with a HEPA filter to your home is a great way to give your indoor air a cleansing boost. While not cheap, these air purifiers help remove allergens including pollen, dust, and smoke from the air. Even when it’s not smoky and polluted outside, this is a nice gift for your lungs.
Here’s a selection of top-rated HEPA filter air purifiers on Amazon. Levoit looks like a reliable brand based on reviews. Consider how much interior space by sq ft you want to purify. It might make sense to invest in one larger, more powerful machine, rather than multiple small purifiers.
UNDER $100


UNDER $300


Tip #11: Add Houseplants
Certain indoor houseplants are known to improve air quality by filtering the air we breathe. Recent research shows that it’s very slow, so don’t rely on this method, just know that they help over time. Still, what’s not to love about plants? Here’s a list of beneficial plants if you hope to specifically target indoor air.
I recently decluttered the plants in our dining room since this side tends to turn into a houseplant jungle. If you’re curious about the chandelier, check out: How to Choose Light Fixtures for Your Home.

Reduce Indoor Pesticide Exposure
Did you know that pesticide exposure is not limited to Roundup on a grassy lawn? The EPA reports that a significant amount of pesticide exposure happens inside our homes. Here’s one stat from this EPA overview on indoor air quality:
“Another study suggests that 80% of most people’s exposure to pesticides occurs indoors and that measurable levels of up to a dozen pesticides have been found in the air inside homes (EPA).” – Indoor Air: Pesticides in the Home, EPA archives
Indoor pesticides fight everything from common pests like ants and rodents to microorganisms like fungi, bacteria, and viruses. When you think of it that way, it makes sense that our cleaning products are classified as pesticides!

Tip #12: Reduce Indoor Pesticide Exposure
If you have respiratory issues or just want to reduce this exposure, here are some ideas.
The EPA article on indoor pesticides has a lengthy series of non-chemical alternatives to reduce insect and rodent problems. Look for those ideas toward the end of this article.
Use non-aerosol cleaning products and consider the range of your airborne sprays. When you spray cleaning products, they diffuse into the air and can be inhaled, or settle on surfaces beyond the targeted area. Ventilate rooms while you clean and be sure to wipe down all surfaces to reduce further product exposure.
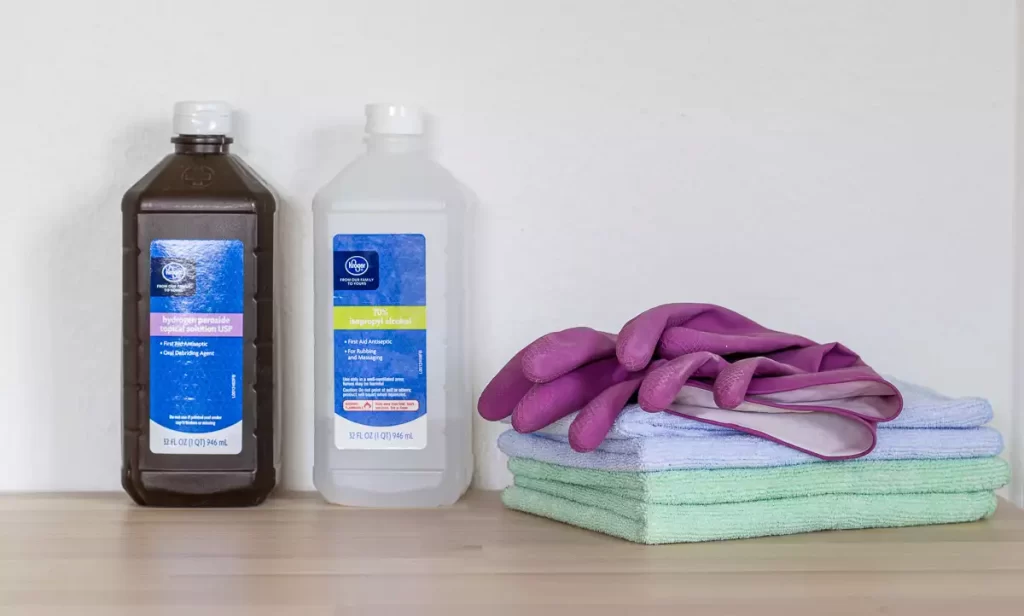
I’m not here to advocate any non-toxic cleaner over another. However, if you’re looking for alternatives to conventional cleaners, you might like my previous articles on easy DIY cleaners.
You Might Also Like:
DIY Natural Cleaners That Really Work
4 Non-Toxic Weed Killers for Your Yard
DIY Cleaning Hacks for People Who Hate to Clean
Hope You Feel Inspired…
Did you find any ideas motivating in this article? I hope so. Improving indoor air quality can only be a good thing for all who live in your home.


