

To elevate your next craft or decor project, try adding gold leaf to glass! Whether you’re planning to make DIY gifts or just want to add sparkle to your home, gold leaf is easy and fun. It’s also available as silver leaf and copper leaf, but “gold leaf” seems to be the most common term, so that’s what I’ll call it in today’s post.
Supplies Needed to Apply Gold Leaf to Glass
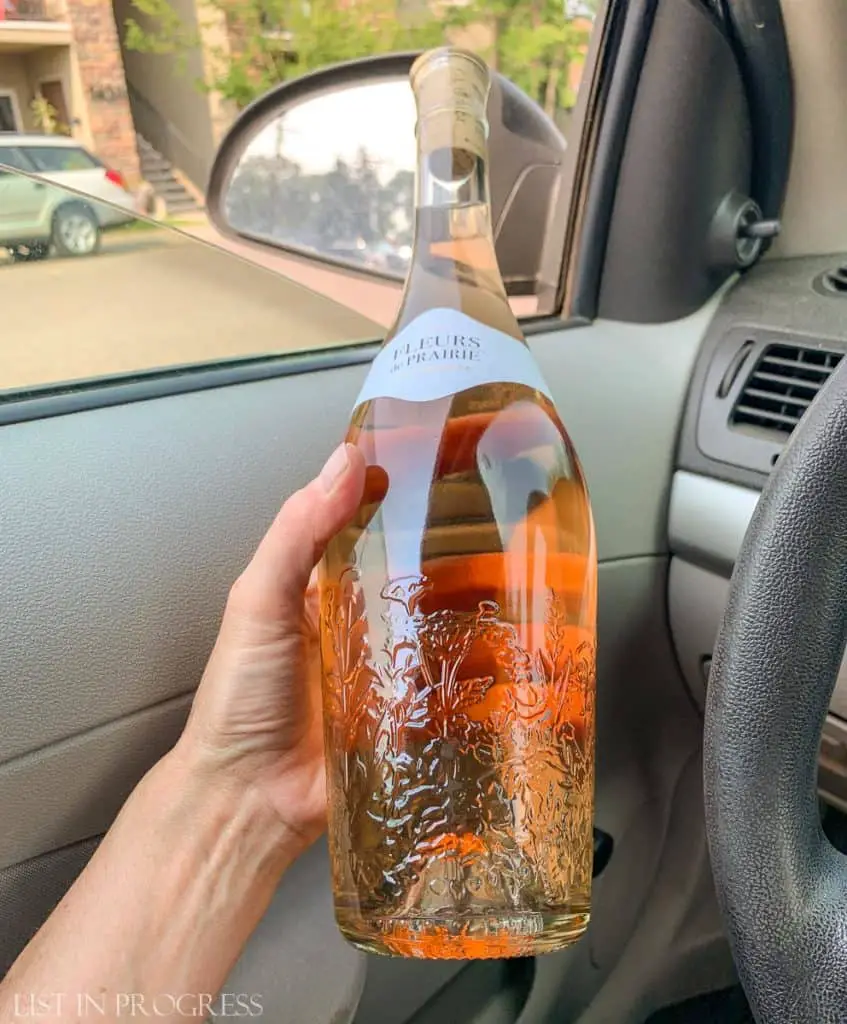
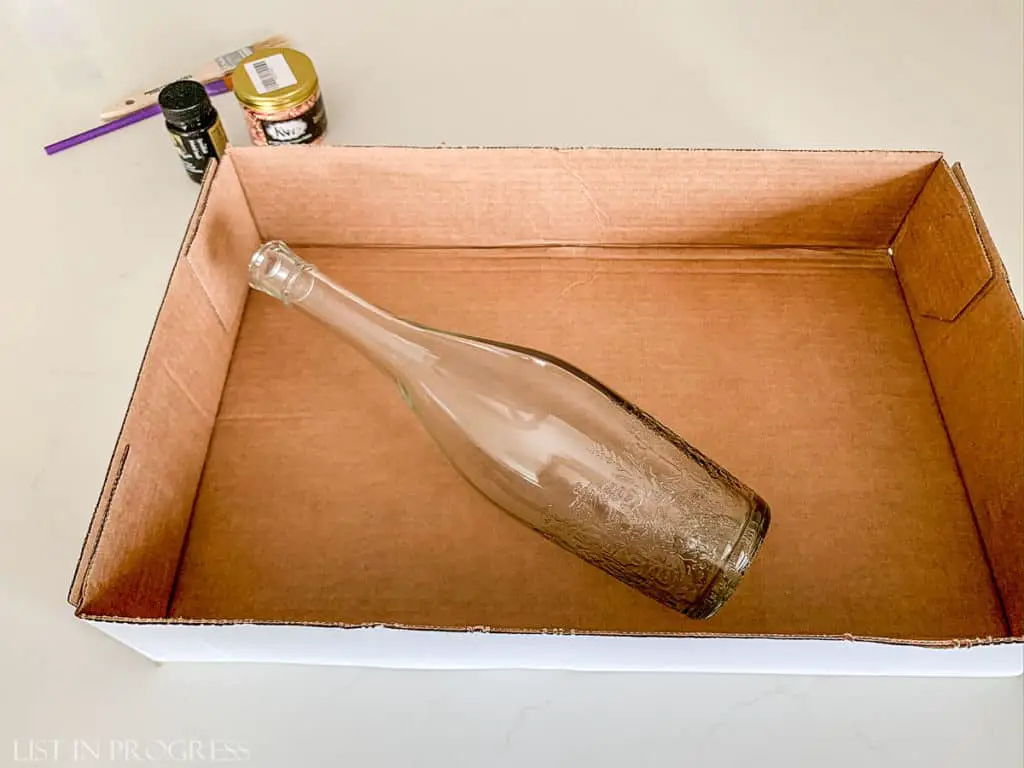
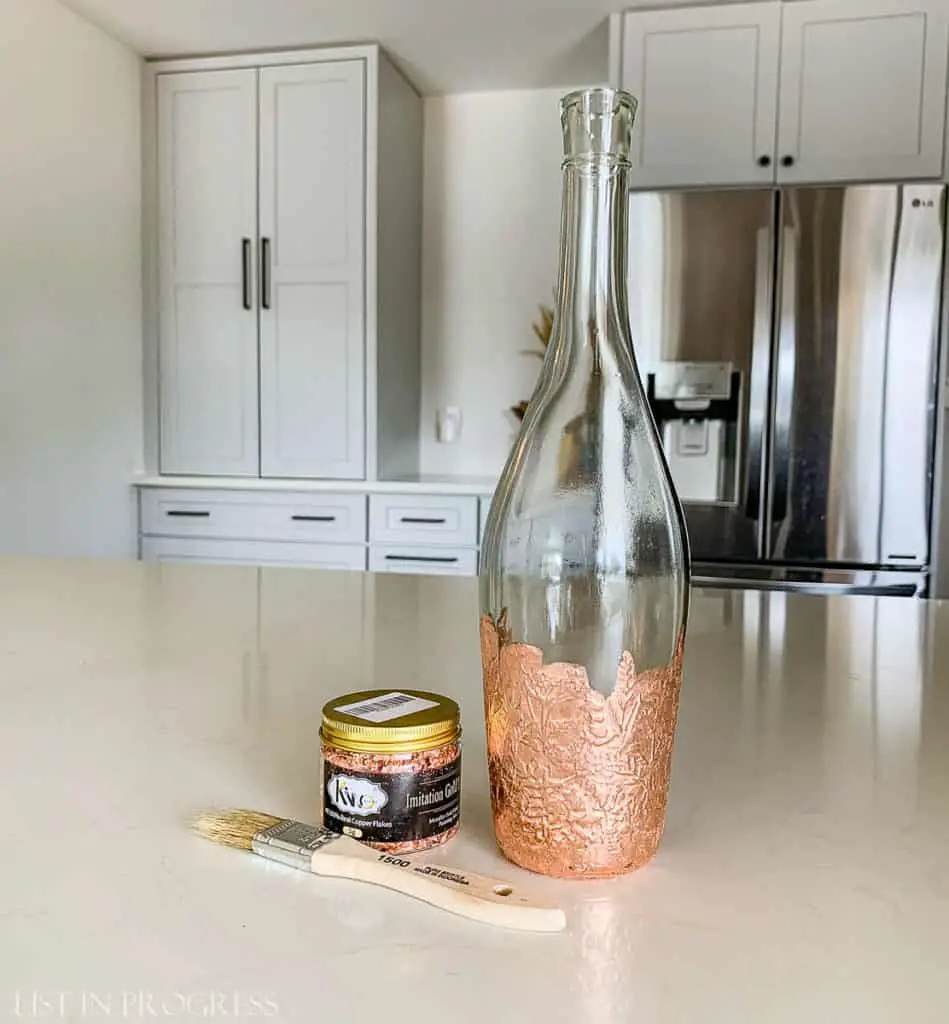
I was inspired to try this DIY project over the summer after spotting a fun wine bottle at the store. (I admit, I bought this rosé 90% for the bottle and 10% for the wine.) While I’ve seen gold leaf applied to cards, candle holders, ceramics, and other home decor, I don’t usually get the itch to add metallic accents to our home. For some reason, this wine bottle just spoke “gold leaf” to me and I grabbed it.
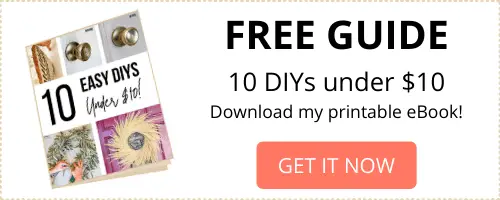
To apply metallic leaf, you’ll need a few inexpensive supplies, in addition to the item you plan to gild. By the way – gold leaf is not real gold. Sorry to disappoint, but at least this is an inexpensive DIY. If you’d like to practice your technique before tackling a more expensive or precious piece, try using a mason jar. You can always add votive candles to the jars to make inexpensive table decor.
Gold Leaf Supplies
Glass item for project
Isopropyl alcohol
Gold leaf sheets or flakes (I used these copper flakes)
Adhesive + small paintbrush
Chip brush
Shallow cardboard box
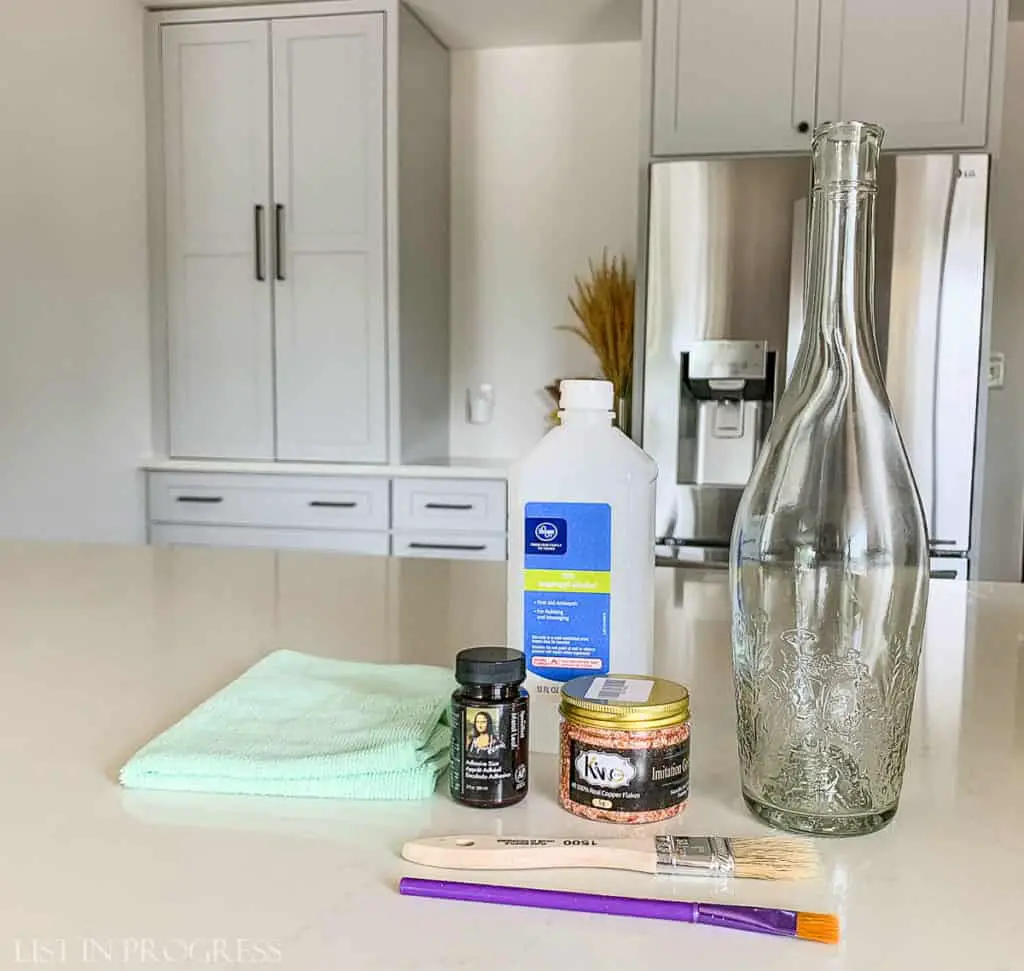
Clean Your Glass Item Well
You’ll need a clean base before applying gold leaf to the glass. If you remove stickers or labels and have gummy residue, try using lemon essential oil or Goo Gone, etc. to remove it. I’ve had success with both of those options, but lemon EO is my favorite because it smells amazing.
Next, clean the glass with warm soapy water and wipe it down with isopropyl alcohol. (That is, if you have it on hand – COVID has wiped the store shelves clean!) I used a microfiber cloth for this step to ensure no lint was left on the glass. You could also just use a paper towel.
Love DIY? Don’t Miss This!
Make Your Own Shower Steamers!
Set Up Your Project in a Contained Area
My next tip is to use a shallow cardboard box to keep the gold leaf flakes contained for easier clean up. I used the lid of a copy paper box. Also, this is an indoor craft. Close all windows and doors, so you won’t have a breeze blow your flakes around. The foil is paper-thin and can be quite messy if you’re unprepared.
Apply Adhesive to the Glass
Next, paint on the adhesive wherever you plan to add gold leaf to the glass. I borrowed my son’s paintbrush for this step, but I might have ruined it, so learn from my mistake and use an old one! This adhesive is pretty thin; use a light hand to paint it on because it will run if it’s too thick. #rookiemistake If that happens, just wipe it off the glass with a damp cloth.
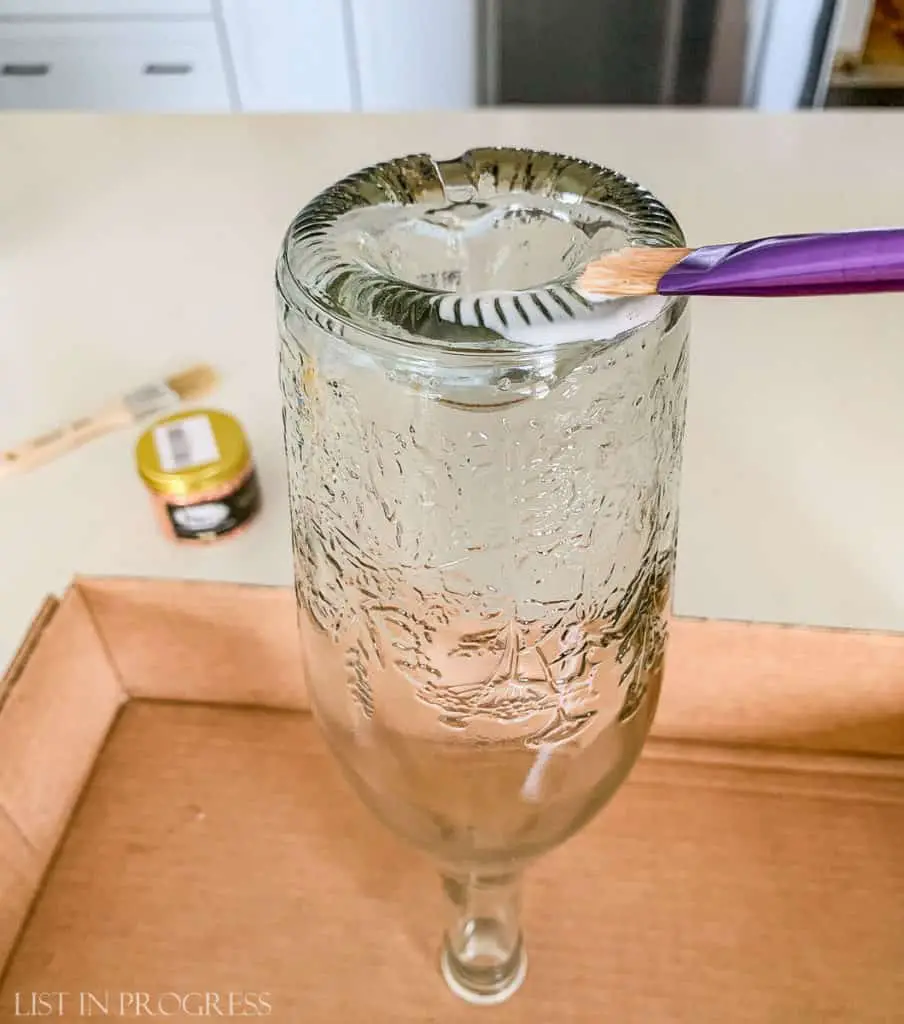
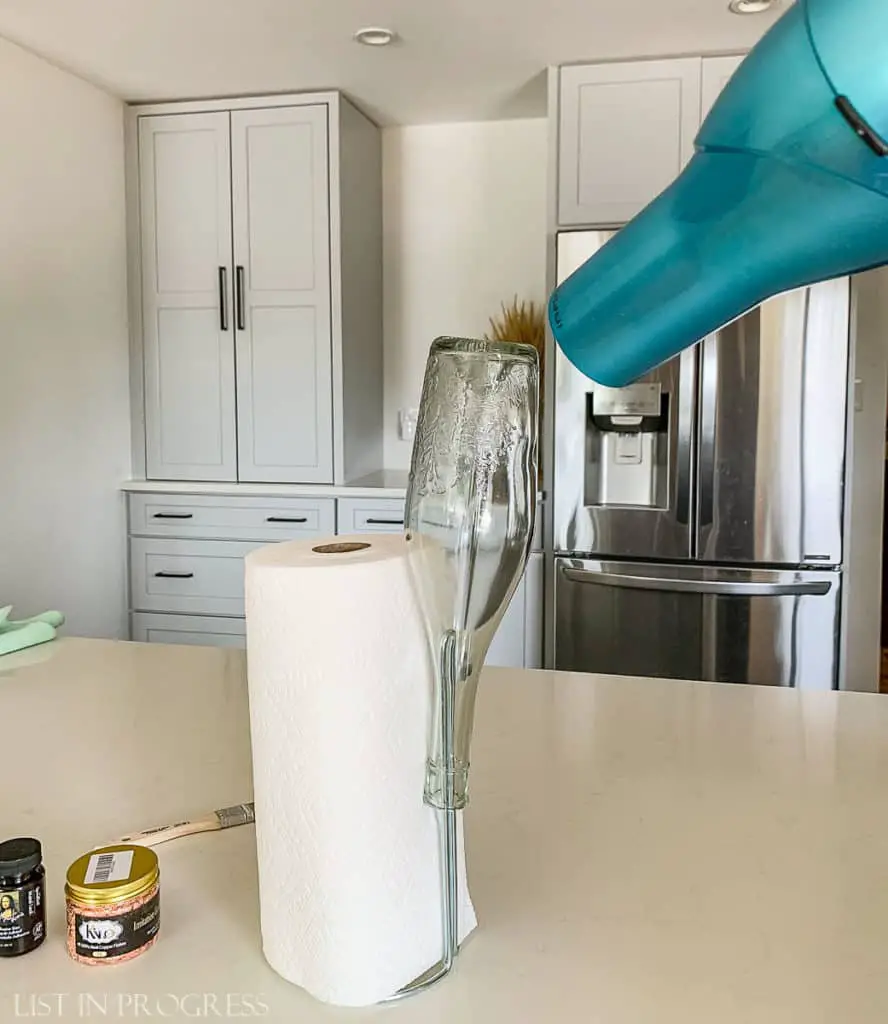
I learned as I painted, and I turned the bottle upside down to dry, so that the glue would droop a bit for a more organic look. On the final piece, you can see the spots where my paintbrush strokes are too defined, which may not be the look you’re going for.
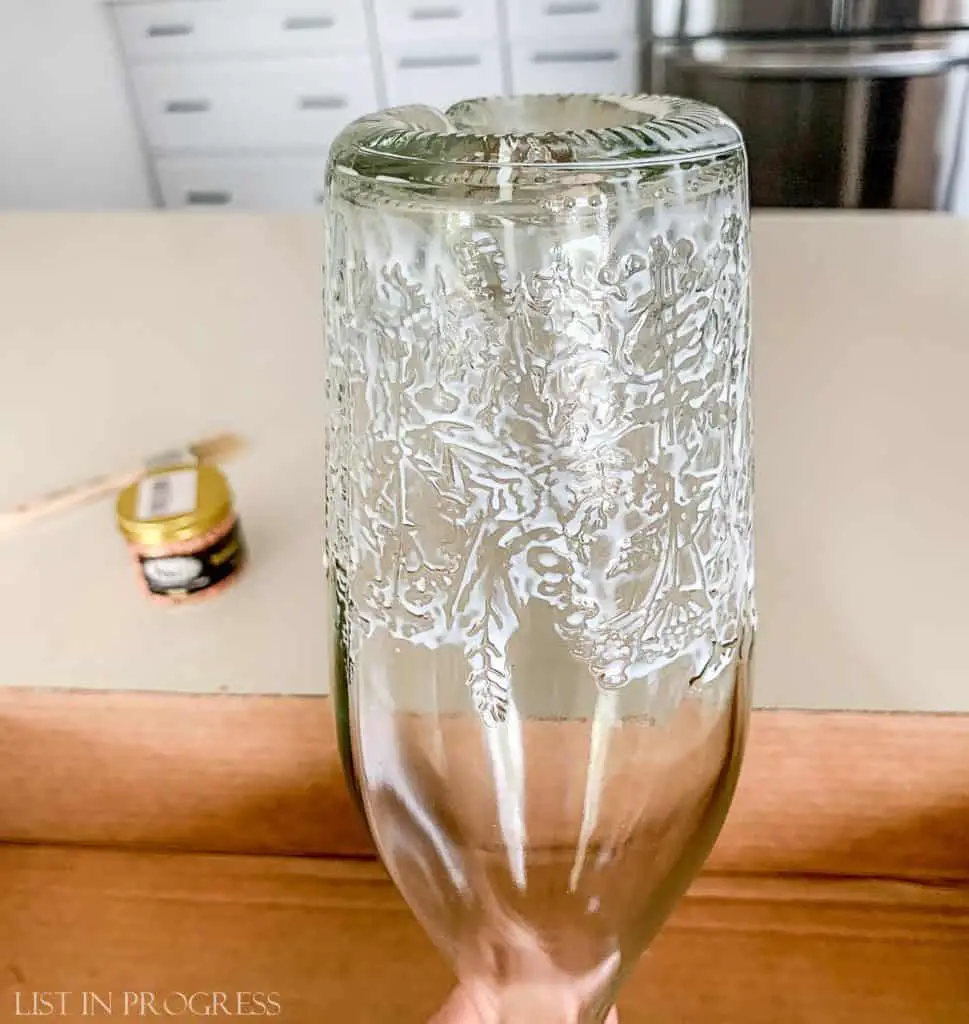
The adhesive should dry completely before applying any gold leaf. You can speed this up with a hairdryer. The surface will feel slightly tacky but it should be clear.
Read More About Our DIY Home Updates
Favorite Behr White Paint Colors
Closet Door Ideas to Update Any Room
Easy DIY Wax Melts to Make Your Home Smell Great
Trends in Cabinet Hardware
Now Apply the Gold Leaf to Glass
This is the best part! You can just stick the gold, copper, or silver leaf on the glass, wherever you’ve applied adhesive. I tried out these copper leaf flakes for this project, but metallic leaf also comes in sheets, which might be slightly easier to apply in larger sections.
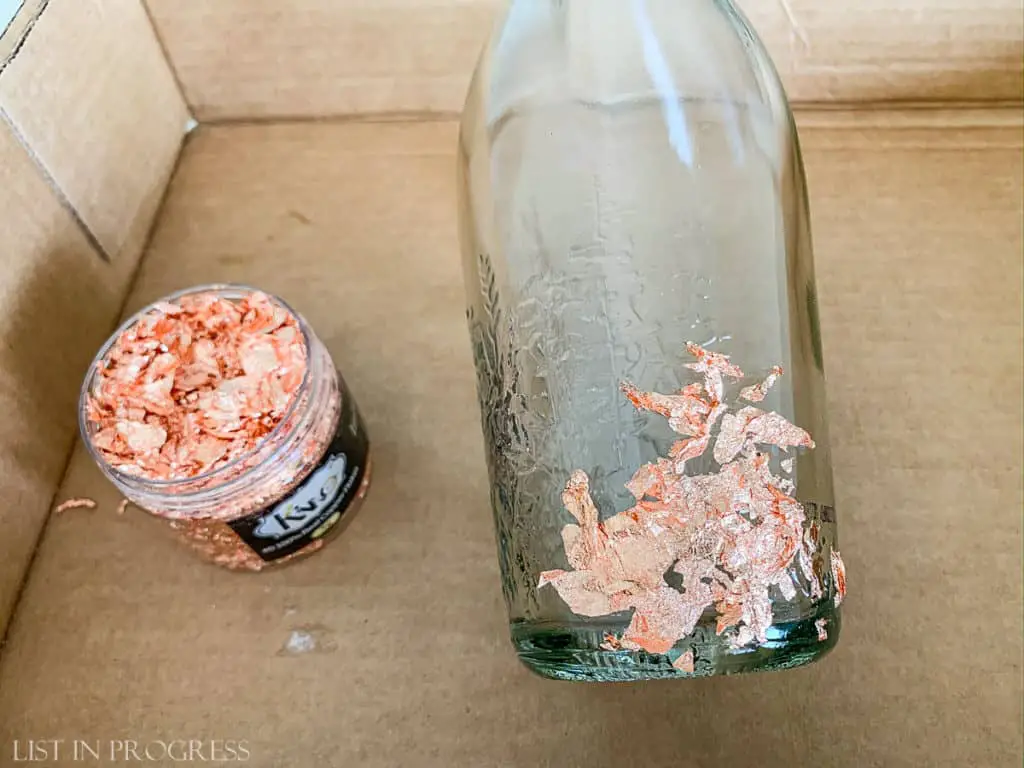
Keep applying the leaf until the adhesive is entirely covered. It will look a little messy at this point.
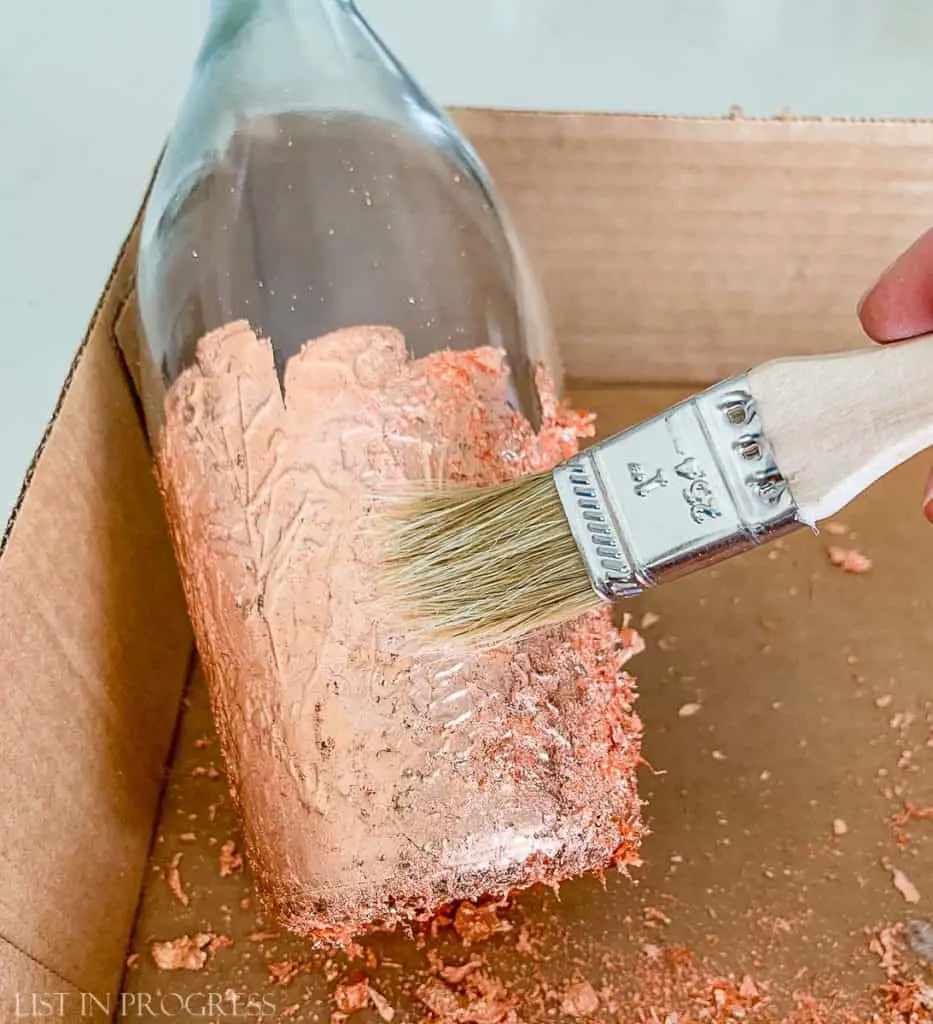
Use a chip brush to smooth the gold leaf over the glass surface. The chip brush will also help dust off any extra flakes that haven’t adhered to the surface. At this point, you should start to see a final, smoothly gilded surface emerge.
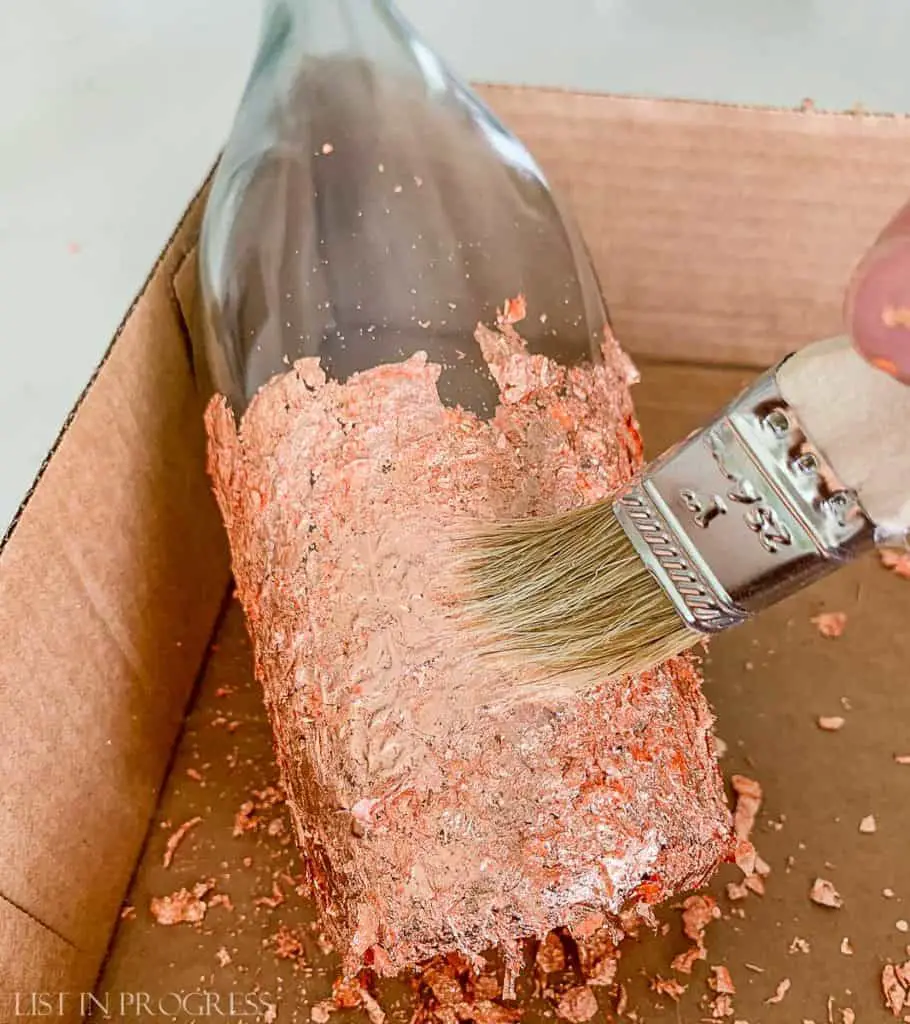
Keep brushing the glass with the chip brush until all of the extra metallic leaf is brushed away and the surface looks smoothly covered. Ta-da! You’re done. Wasn’t that easy?
Carefully Clean Up Extra Metallic Leaf
You can reuse any of the leaf flakes that were scraped off the project during application. I just shook my scraps into the corner of the box top and then carefully packed them back into the jar. You can see below that my jar still looks full – this project barely used the copper leaf. I can still gild all the things! My family is so lucky. Ha!
Be careful to keep the flakes contained because they can end up all over your workspace if a breeze (or sneeze) blows through. Just a word of warning.
Admire Your Creation!
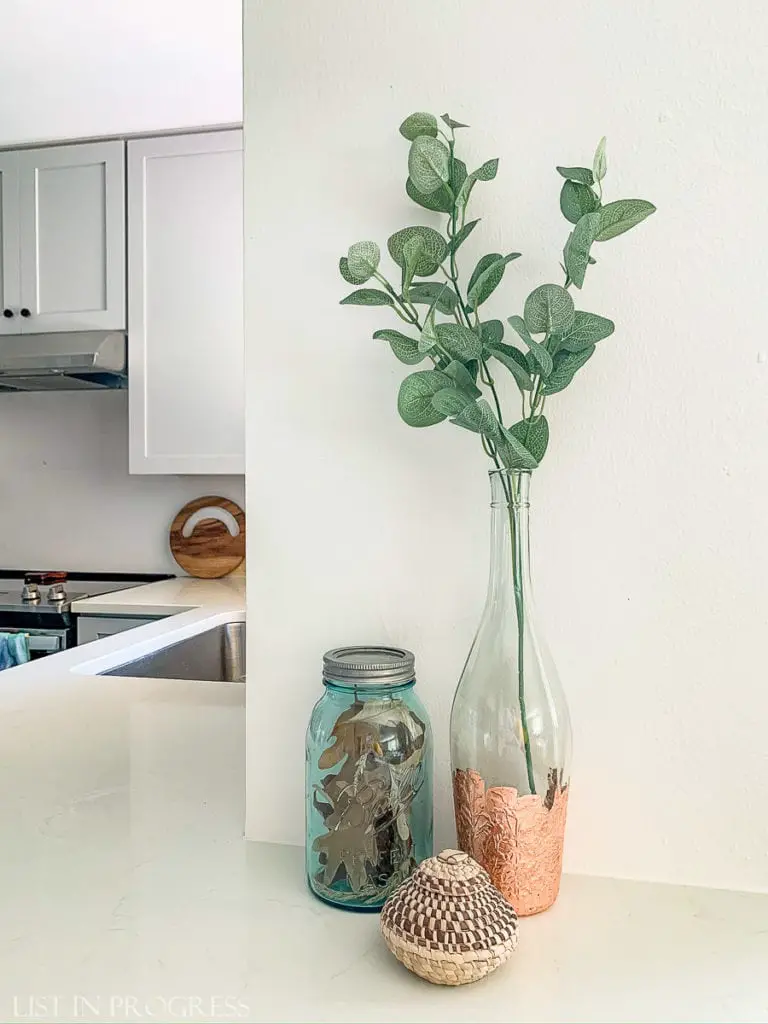
Now that I’ve tried this project, I’m dreaming of other ways to add gold leaf to glass decor in my home. Perhaps some Christmas gifts might be gilded this year, too! Get creative and have fun with this craft. Would you try gold, silver, or copper? I’m thinking about adding some copper leaf to the aqua mason jar in the photo below. What do you think?
Read More About Our DIY Home Updates
Favorite Behr White Paint Colors
Closet Door Ideas to Update Any Room
Easy DIY Wax Melts to Make Your Home Smell Great
Trends in Cabinet Hardware


Do you have to spray a protective coating or something on it, and if so, what to use!?
Hi Maureen, sealer depends on what you plan to use the project for. I didn’t seal this decorative bottle and I don’t mind a little tarnish, but you can seal to prevent that. You could apply a clear topcoat like Krylon UV clear or clear shellac or mod podge.