If you love giving handmade gifts, try making DIY shower steamers this year. These goodies make the perfect gift for friends, teachers, hosts/hostesses, or really anyone who loves scented goodies. Not only will you have thoughtful, creative, handmade gifts for everyone on your list – you can enjoy the leftovers!
Easy DIY Shower Steamer Ideas
- Overview: Shower Steamer vs. Bath Bomb
- DIY Shower Steamer Recipe Overview
- Lavender DIY Shower Steamer Recipe
- Citrus DIY Shower Steamer Recipe
- Cold Zapper DIY Shower Steamer Recipe
- Other Suggested Scent Combinations
- Cost Breakdown – These Are Super Affordable Gifts!
- Gift Wrapping Ideas
Overview: Shower Steamer vs. Bath Bomb
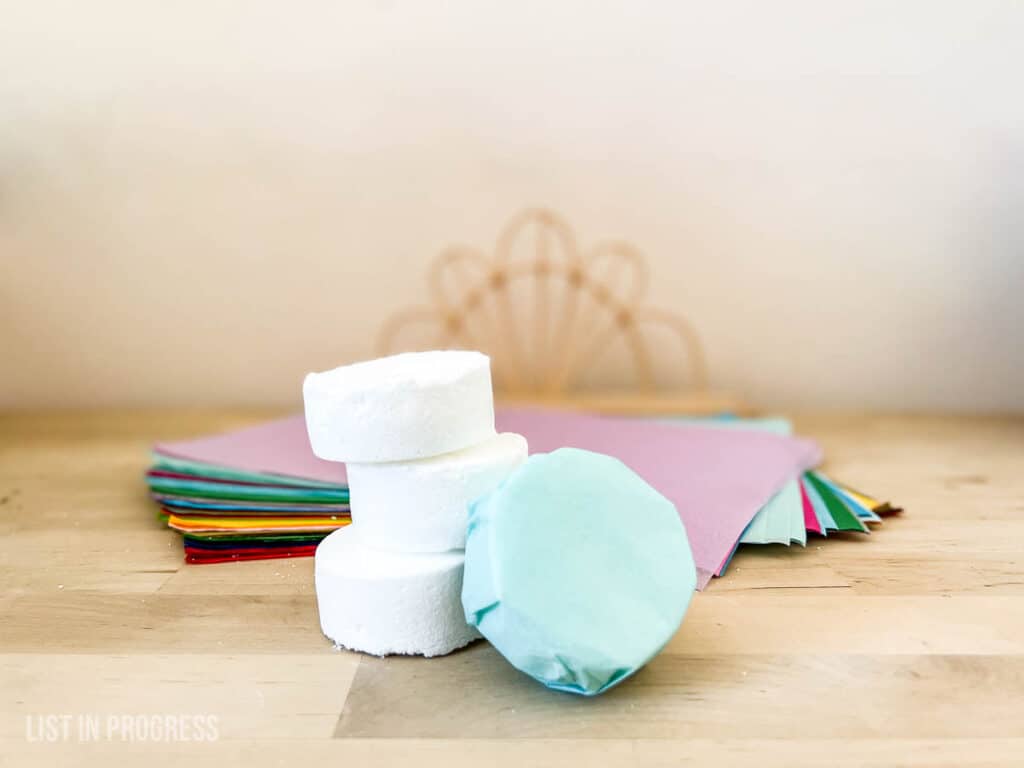
What is a shower steamer? It’s a little dissolving puck that makes your shower smell amazing. This recipe has citric acid, baking soda, and essential oils; other recipes might call for epsom salts, which I’ve tried, but I like to control the scent. When water hits the steamer, the citric acid + baking soda react and dissolve into foamy suds. As that happens, the essential oils are released into the warm air of your shower, making it smell delicious.
JUMP TO RECIPE!
Here’s what one looks like dissolving in my sink:
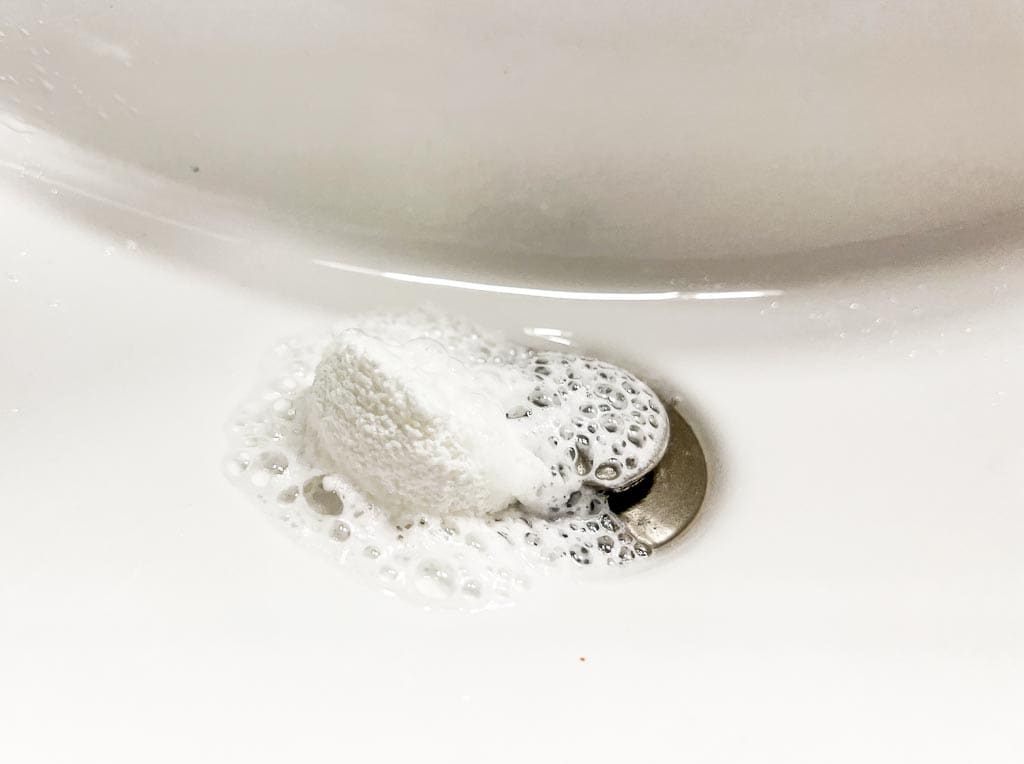
Sometimes shower steamers are called shower melts or shower bombs, but the real difference between steamers and bath bombs is in their formulation. Shower steamers are chock-full of essential oils – much more than bath bombs – because shower steamers don’t come in contact with your skin. I toss one in the corner of my shower and let it bubble away, releasing scent for about 10-15 minutes.
Bath bombs dissolve in bath water, so the ratio of essential oils to carrier oil is critical. Any essential oils added to a bath must be properly diluted by carrier oils to avoid irritating the skin. That’s why shower steamers are fairly foolproof; you can just avoid touching them while they dissolve, and the shower washes everything away.
Love essential oils? Try this easy DIY wax melt recipe!
DIY Shower Steamer Recipe Overview
Here’s my easy, inexpensive DIY shower steamer recipe. Get ready to elevate your holiday gifts this year!
PRO TIP: this project is super simple, but you should allow 24 hours for them to dry. This is not a same-day DIY gift.
Before drafting this post, I gave my latest batch of shower steamers to a couple of friends. Keep reading for feedback from a fellow essential oil lover!
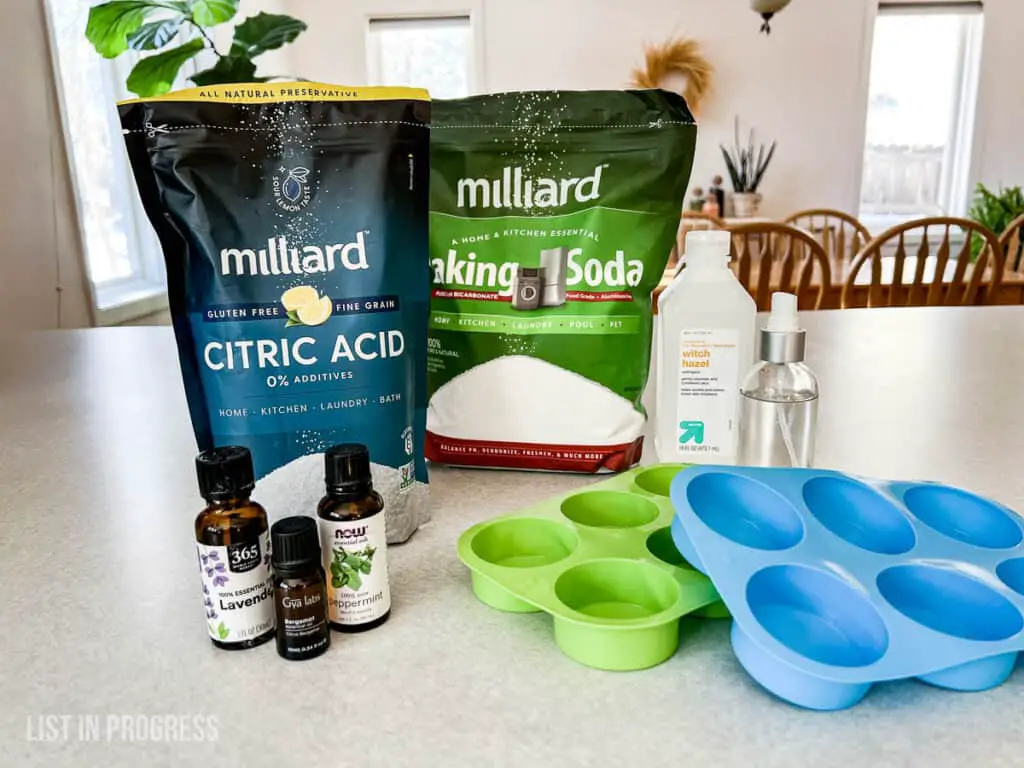
You’ll Need:
- citric acid
- baking soda
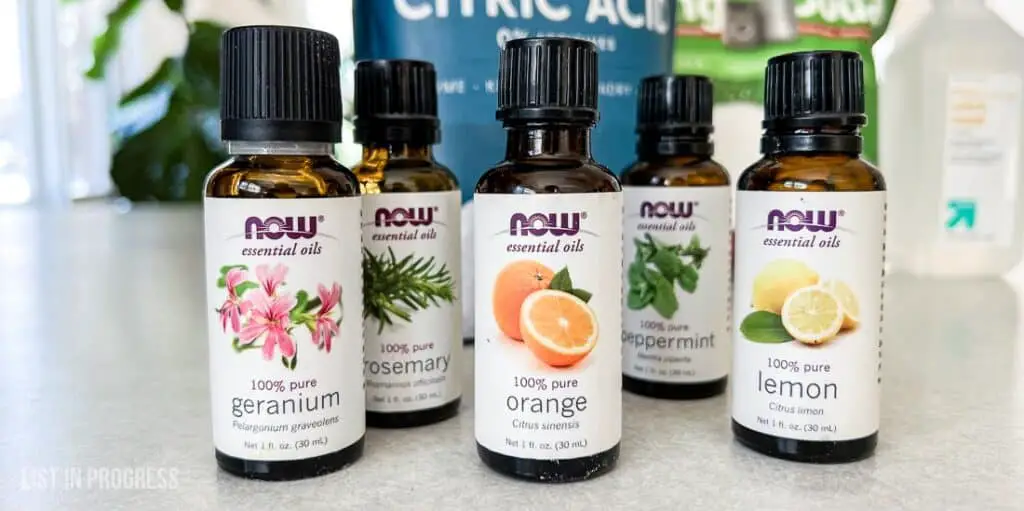
- essential oils (my suggestions)
- unscented witch hazel
- small spray bottle
- silicone mold
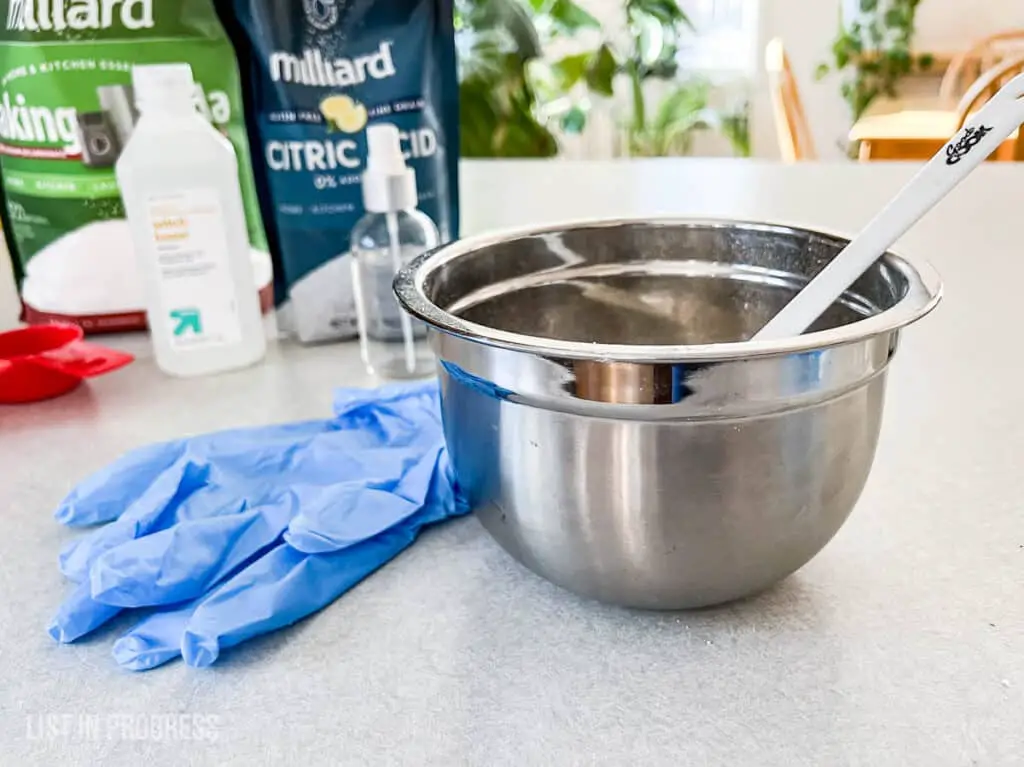
- household cleaning gloves
- old bowl
- old measuring cups
- old spoon or spatula
- wax paper
- Sharpie
wrap with tissue paper
seal with printable round labels
Hint: Save Money on Supplies
Because you’re working with essential oils, you’ll need to dedicate a set of mixing cups, a bowl and spoon/spatula, and perhaps a baking tray to this project. They don’t need to be fancy or heat-safe. If you need to buy any of these items, grab something cheap (dollar store, thrift store, etc.).
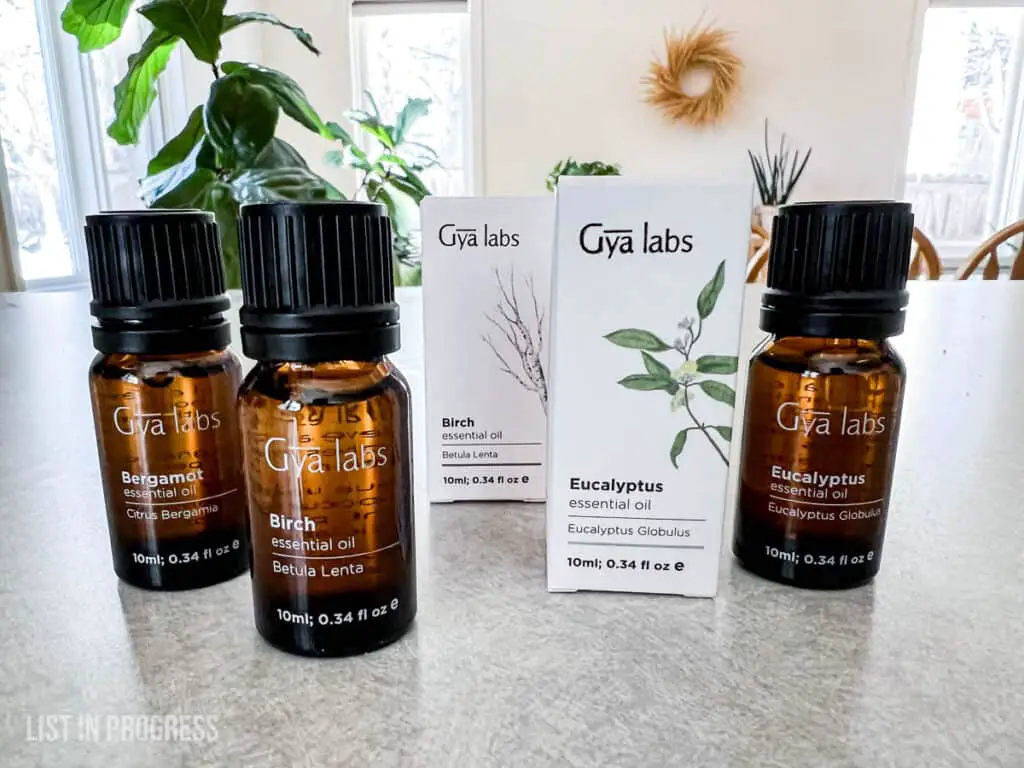
I suggest these three basics if you are starting from scratch with essential oils:
If you already have those, here are other versatile oils to try:
There are a bazillion others to choose, but that mix will give you a nice variety of scents. Tea tree is also very popular and has antibacterial properties (but I can’t stand it, so you won’t find it here!).
I’m a fan of these affordable Gya labs essential oils through Amazon; they are high quality at a great price point.
Prep Your Supplies
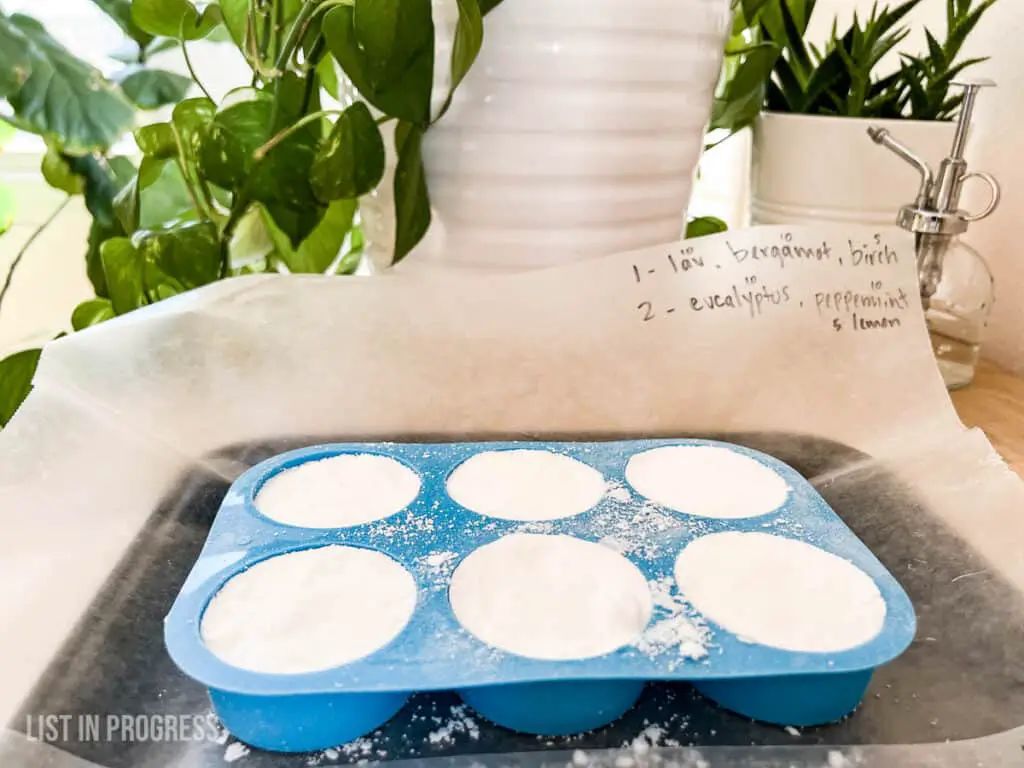
First, lay a sheet of wax paper on an old baking tray or another solid surface. Have a Sharpie on hand to jot down your formulas on the wax paper as you work.
Fill the spray bottle half-full with witch hazel. You won’t need very much.
Decide which scent combinations you plan to try first. I like to experiment, so I make small batches of shower steamers with different scent combos.
Lavender DIY Shower Steamer Recipe
Lavender is a solid pick for a universal DIY shower steamer that almost anyone on your gift list will love. Here’s how to make it.
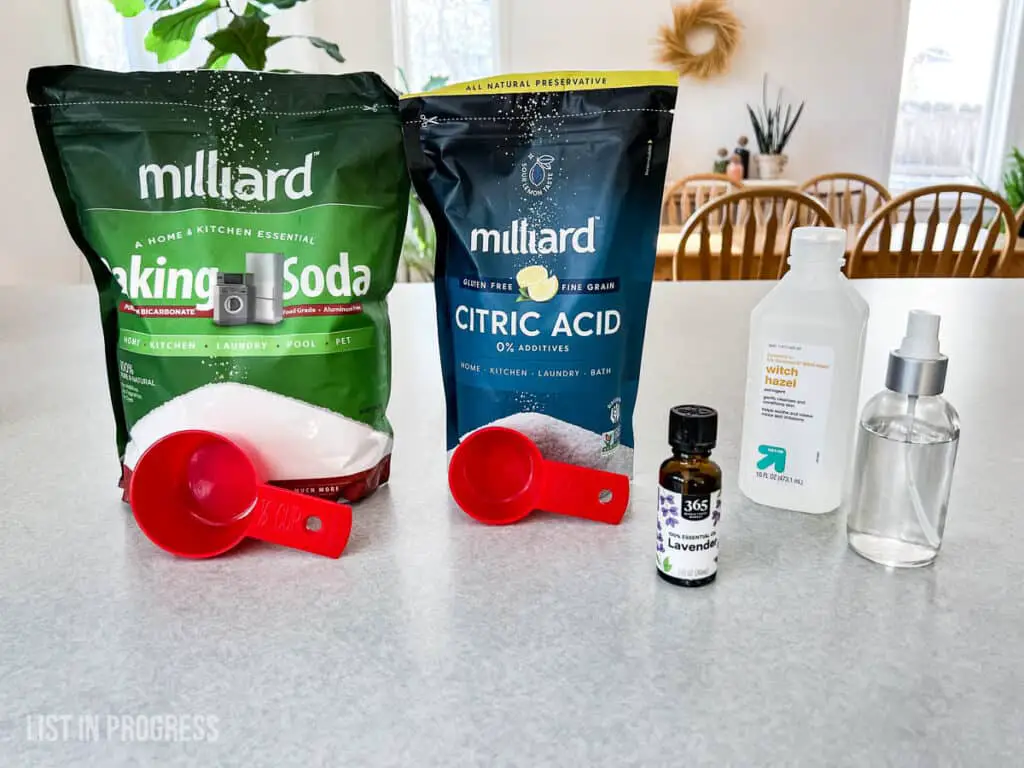
RECIPE:
1/2 C baking soda
1/4 C citric acid
20-30 drops lavender essential oil
Makes 3 steamers. Scale up the 2:1 baking soda/citric acid ratio and add more EO for a larger batch.
STEPS:
1. Mix the baking soda and citric acid together in a bowl.
2. Add essential oils to desired strength. Remember, it’s ok to add more since these won’t really come in contact with skin.
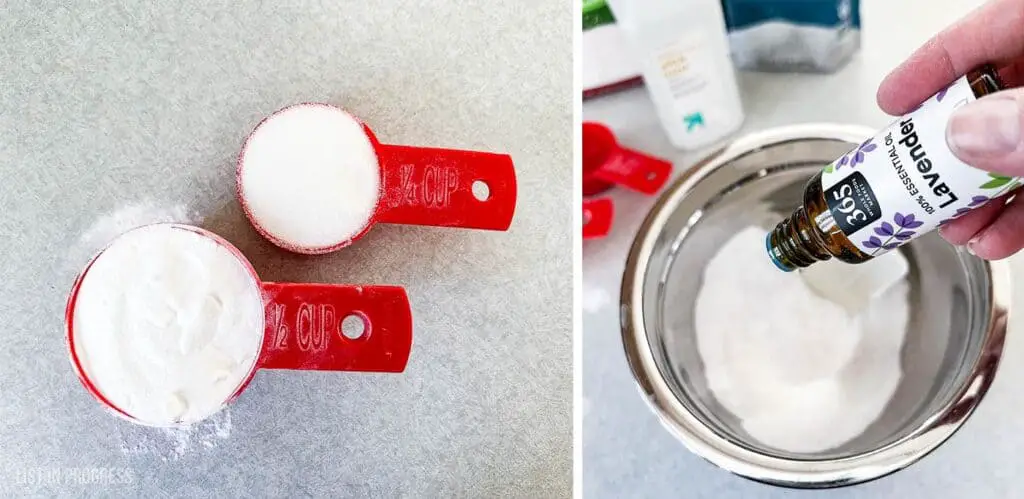
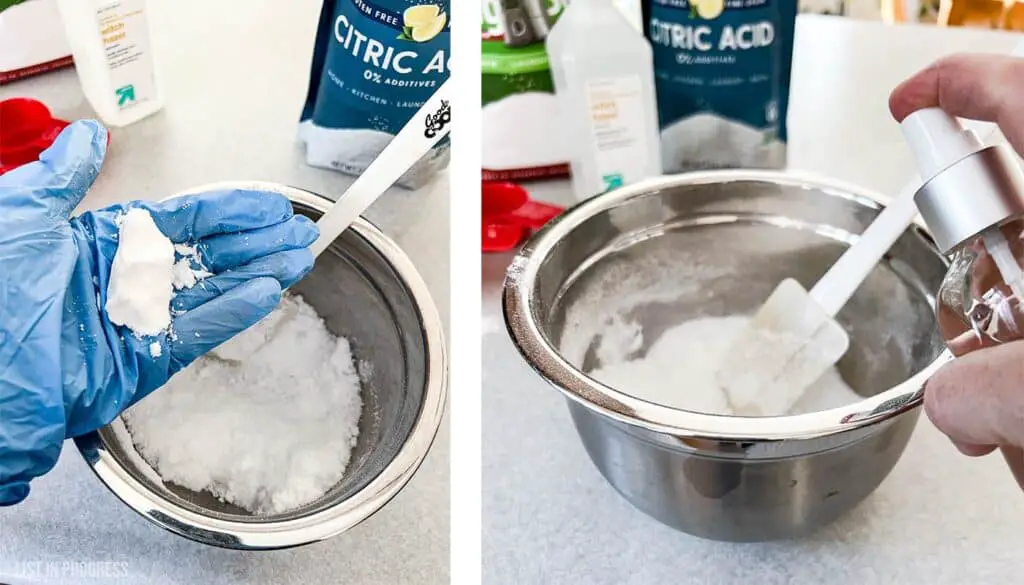
3. WEAR GLOVES and mix together. I do this with one hand. Aim for a consistency like damp sand – just barely sticking together.
4. If the mixture is still dry and sandy, use your other hand to spray witch hazel onto it. Continue to mix by hand. Once the texture feels like it’s clumping together, the mixture is ready to press into molds.
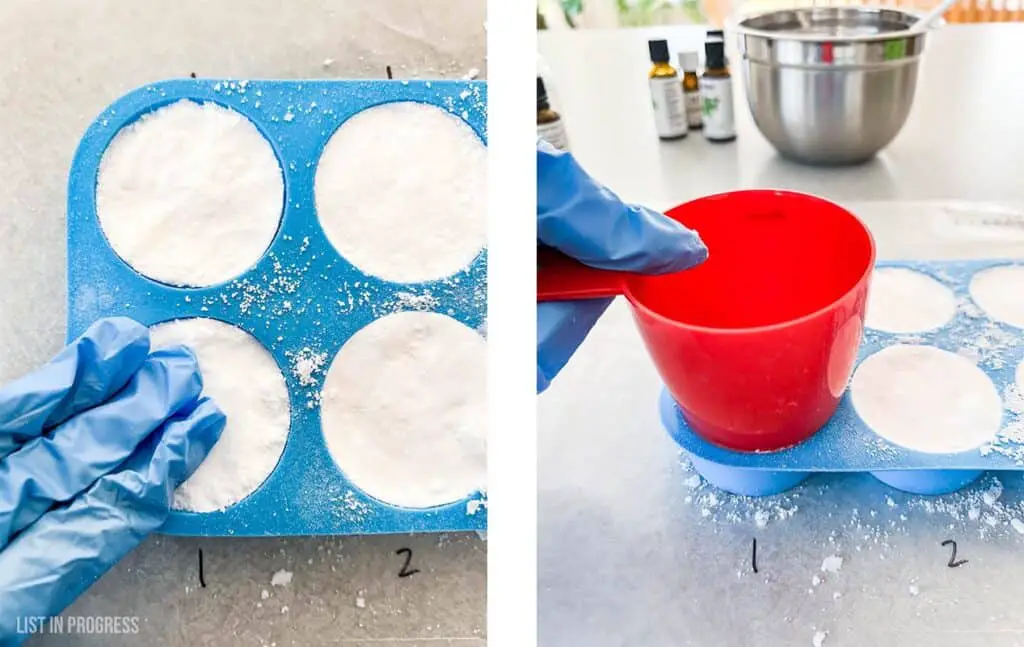
5. Set the mold on wax paper and/or baking tray. This part is messy.
6. Press the mixture into the mold in a few layers, making sure everything gets firmly packed down. I finish by pressing each puck with the bottom of my measuring cup to level everything out.
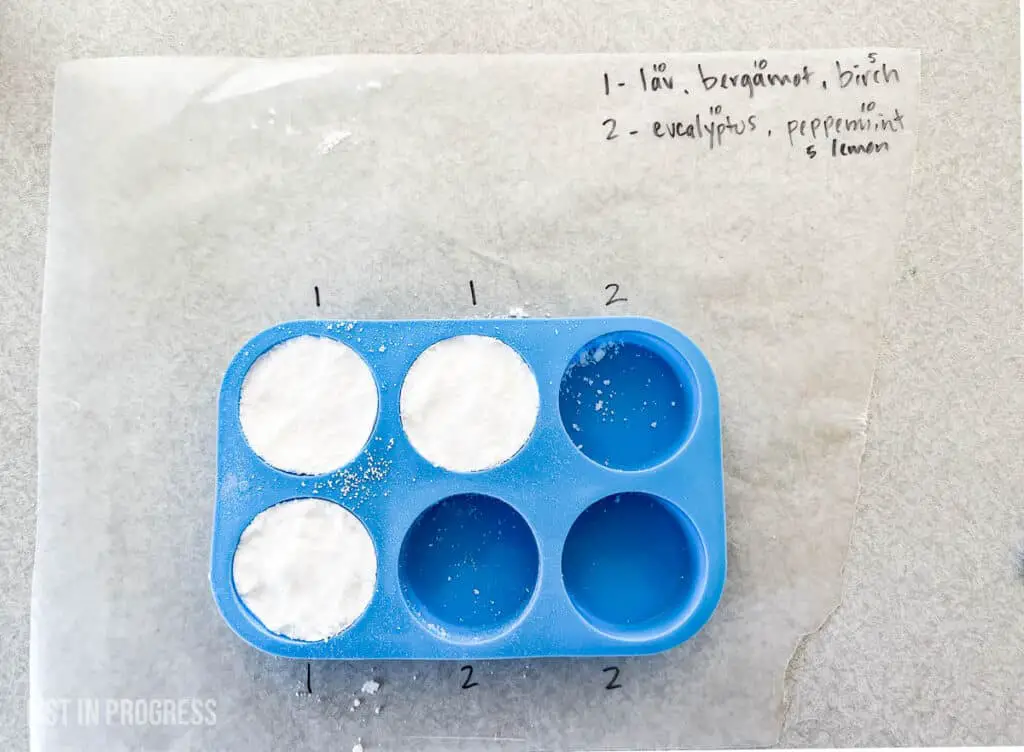
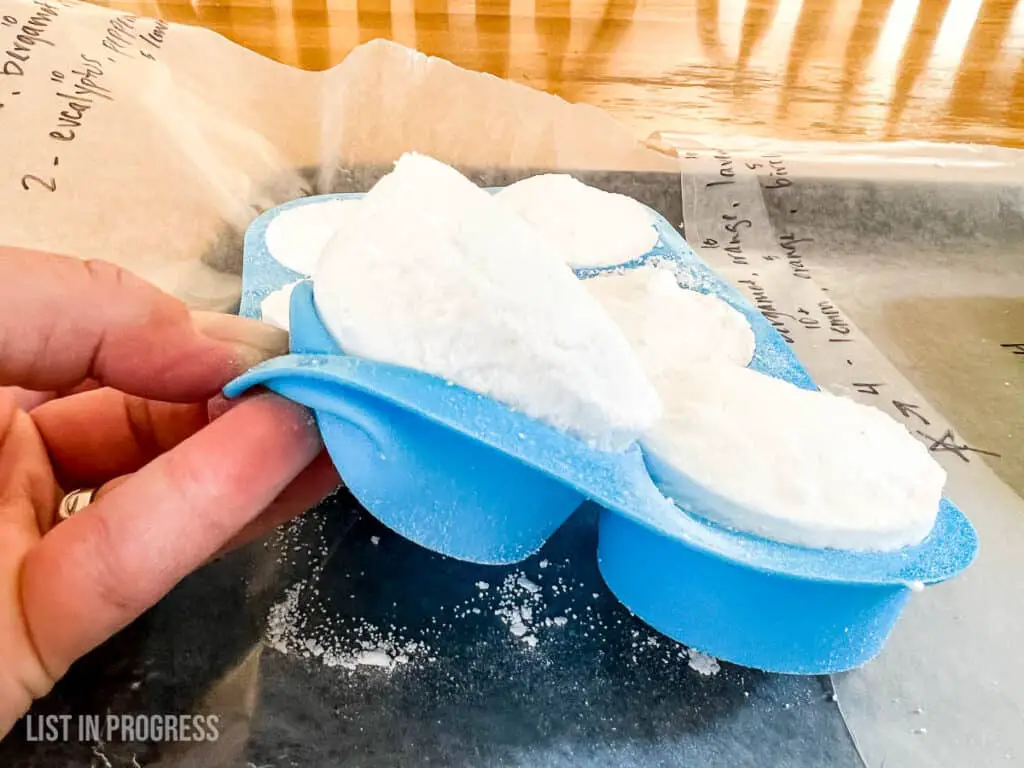
7. Allow shower steamers to dry for ~24 hours. They will harden and then should be easy to pop out of molds.
8. If you’re experimenting with scents, jot the essential oils in each batch directly on the wax paper. You’ll remember what you made, figure out what you like, and be able to label ingredients when it’s time to wrap them up.
NOTES:
Dry time depends on your climate. In Colorado, I can pop steamers out of molds after 10-12 hours, but it’s safer to just let them harden and dry overnight.
You must wear gloves. Citric acid can be hard on sensitive skin and can damage nail polish. Plus, you should protect your skin from essential oils while mixing the ingredients together.
These molds are great. They are thin and flexible enough to easily pop out the steamers. This steamer size is also perfect for a 20-minute shower. They are called “oreo molds” which is a good size for each puck. You could also go a tad bit smaller with a 1.5″ mold like this.
Citrus DIY Shower Steamer Recipe
1/2 C baking soda
1/4 C citric acid
20-30 drops lemon essential oil
OR
10 drops lemon essential oil
5 drops lime essential oil
5 drops orange essential oil
5 drops bergamot essential oil
Makes 3 steamers. Scale up the 2:1 baking soda/citric acid ratio and add more EO for a larger batch. Click here for directions.
Cold Zapper DIY Shower Steamer Recipe
NOTE: Peppermint is great for relieving headaches and clearing out sinuses. You could streamline these steamers and stick with peppermint alone, but I like to add eucalyptus for a more complex, cold-busting shower steamer. Although this steamer scent isn’t going to earn ooohs and aaahs, it’s wonderful to have on hand when someone in the house is sick!
1/2 C baking soda
1/4 C citric acid
15-20 drops peppermint essential oil (it’s strong)
OR
10 drops peppermint essential oil
10 drops eucalyptus essential oil
5 drops lemon essential oil
Makes 3 steamers. Scale up the 2:1 baking soda/citric acid ratio and add more EO for a larger batch. Click here for directions.
More Great Scent Combos
I’m a bit of an essential oil junkie, which you might have figured out… or know from my post on DIY wax melts. This year, I’ve added a few new EO’s to my collection. My current favorites are birch, which smells like wintergreen, and bergamot, which is sort of citrusy and complex.
These are good combinations to try:
Relaxing Floral
10 drops lavender
10 drops bergamot
5-10 drops orange
This one’s a winner. My friend Kristin tried it and sent feedback to share with you:
“The scent filled my whole shower with a soothing light fragrance that was pleasing, without being overwhelming. The steamer lasted through my entire shower and I loved that the scent lingered in the bathroom for quite a bit after…Thank you!”
Woodsy Floral
10 drops rose or lavender
5 drops sandalwood
5 drops ylang ylang
Bright Citrus
15 drops lemon
5 drops orange
5 drops birch
This is my personal favorite. It smells like sunshine on a summer day.
Cost Breakdown of This DIY Shower Steamer Recipe
If you really want to get into the weeds with me, keep reading. Here’s the cost breakdown so you can see how budget-friendly this project can be for holiday gifts. Good shower steamers typically run $5-7 in stores, but my recipe is about $2.50 each!
Invest upfront in bulk quantities to save money. Here’s an example calculation based on these amounts, purchased from Amazon (prices may change). I assume you’ll need to buy the molds, but I hope you can find old cooking items to repurpose for this project. Costco also sells 5 lb bags of baking soda for about $13 (at my store).
2 lb bag citric acid = $15
5 lb bag baking soda = $15
lavender EO = $8
witch hazel = $3
silicone molds = $9
Total Investment = $50 + tax
Total Yield = 24 shower steamers
Estimated cost = $2.50 per steamer, +/- depending on items you already have on hand
Actual breakdown. To be generous, let’s say you spend about $55 on the items above. You won’t use up all of the ingredients and some items are fixed costs. A 2lb bag of citric acid will yield approximately 24 shower steamers. Based on that, the cost per steamer would be $2.30 with only lavender EO. If you add this peppermint ($7) and this lemon EO ($8) for some variety, the cost bumps to roughly $3 per steamer.
Keep in mind, these essential oils will stretch a long way beyond this project. For example, you could also use them in:
- DIY cleaning formula (vinegar + orange EO + lemon EO in a spray bottle)
- Body oil (jojoba oil + avocado oil + few drops of EO)
- DIY wax melts for cozy home scents
Gift Wrapping Ideas
OK, so you bought the supplies and made the shower steamers. Great! Now what? Won’t they crumble? Stink up a gift bag?
Here’s how to wrap your DIY shower steamers.
Optional Packaging
tissue paper
round adhesive labels
plastic bags
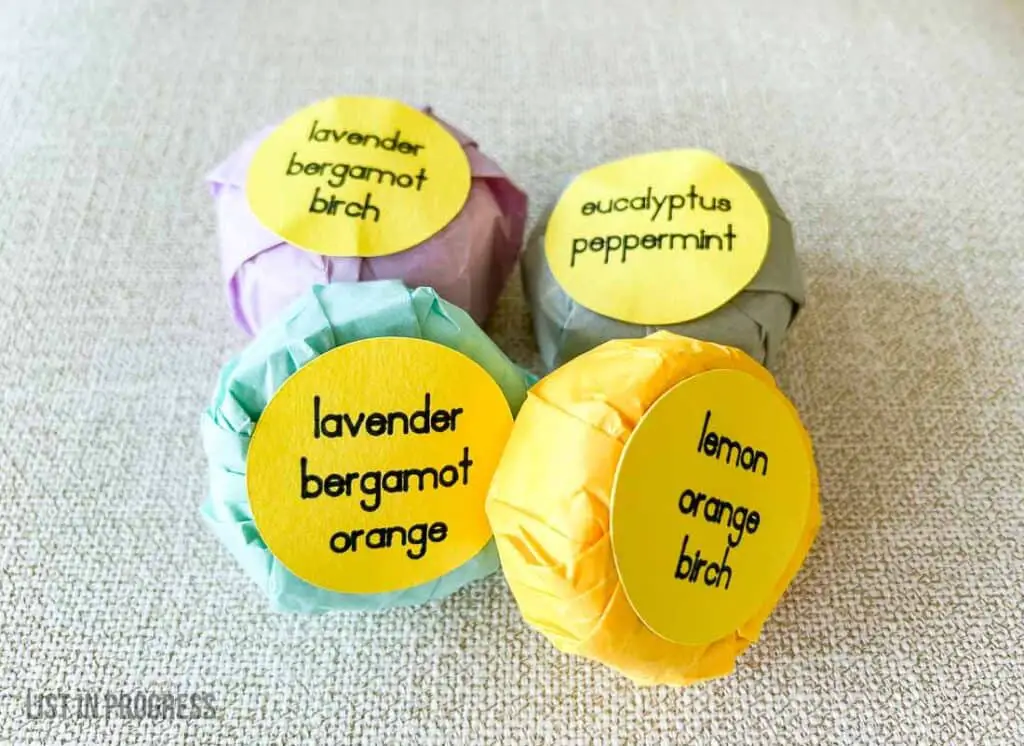
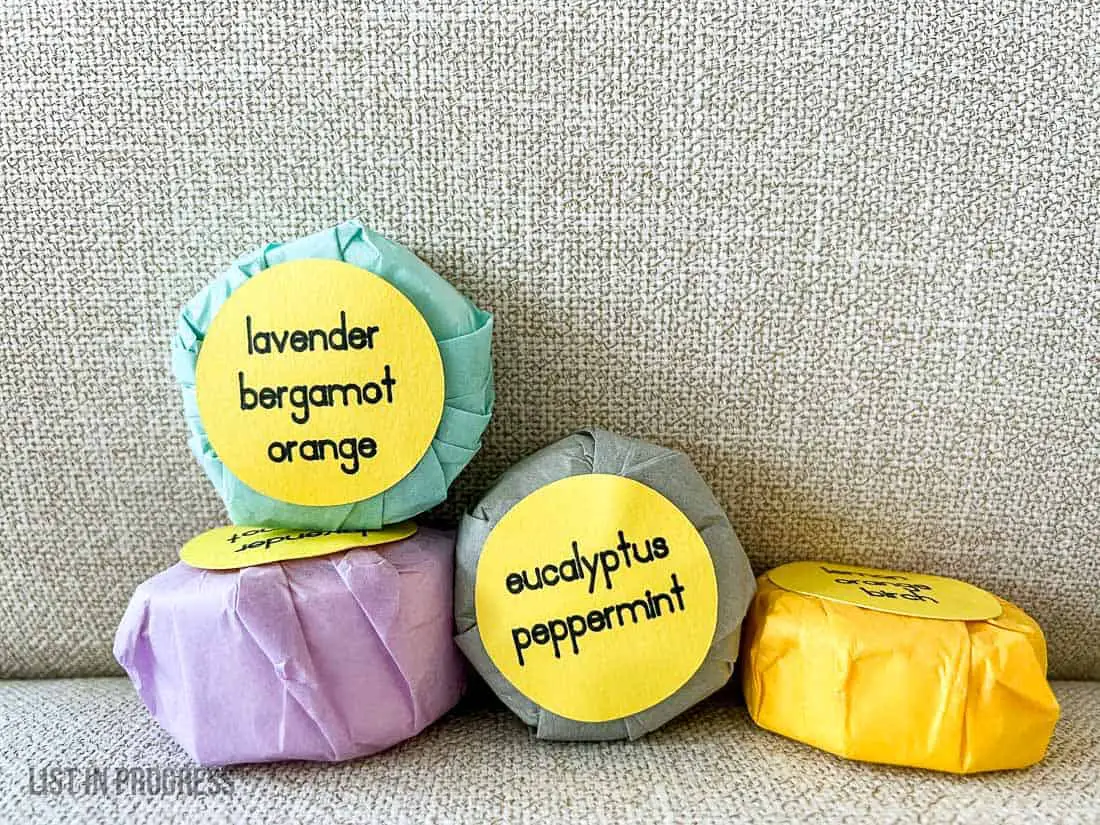
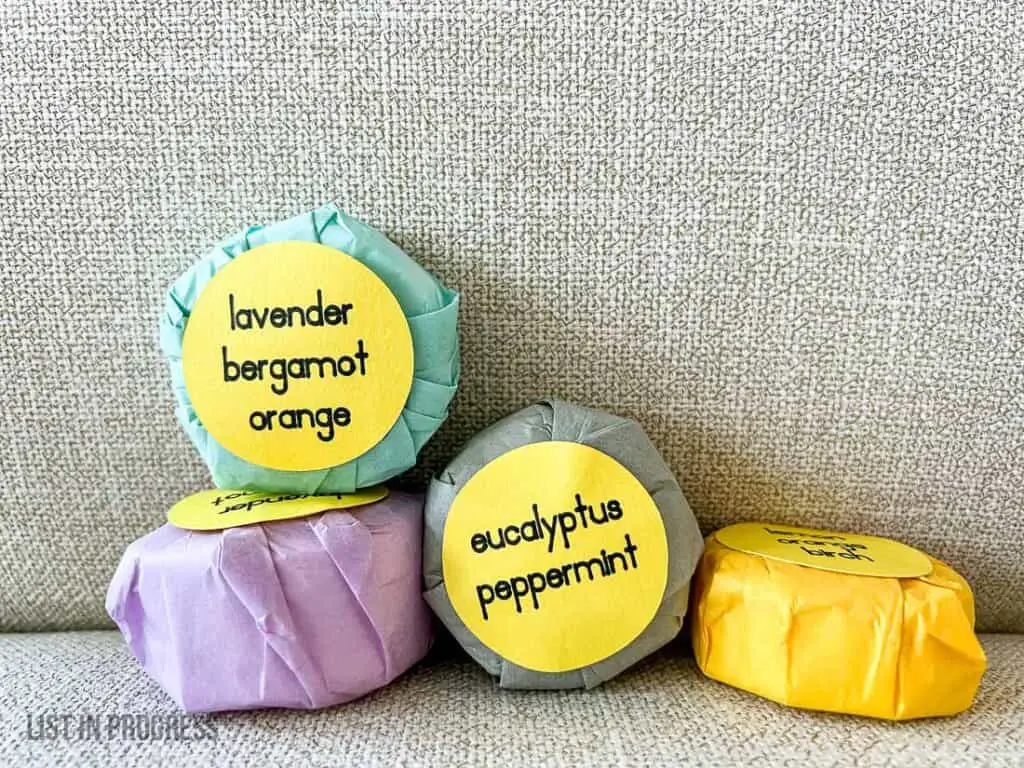
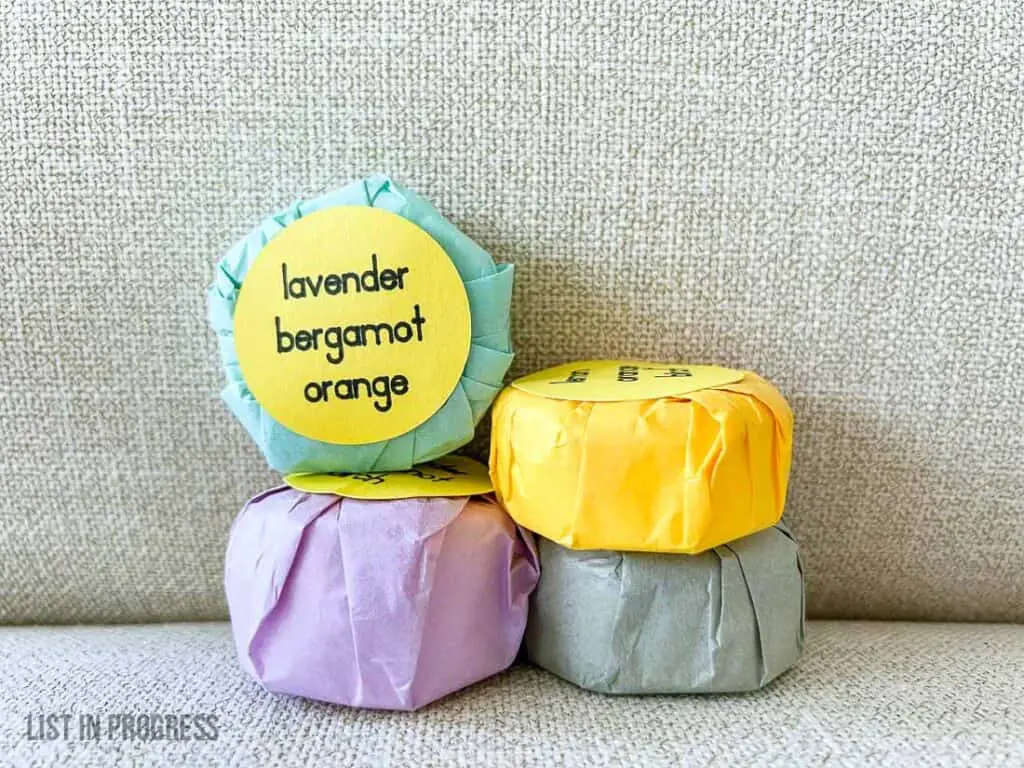
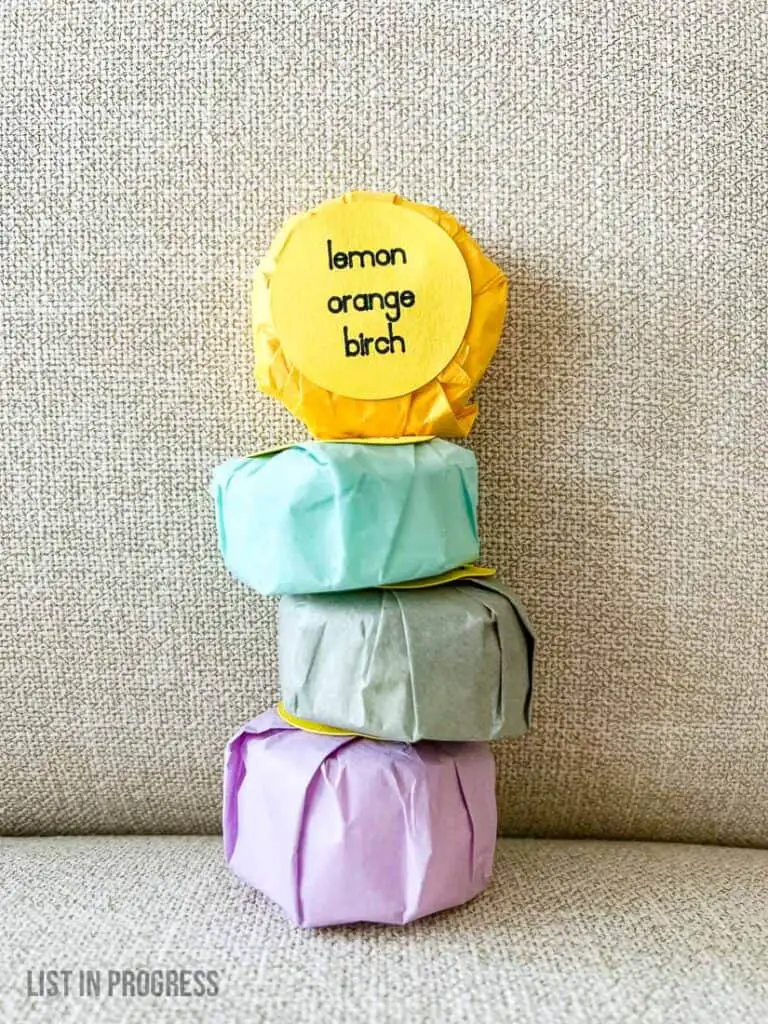
If you don’t mind a slight scent with your gift, in all the best ways, just wrap them in tissue paper. Here are a few I’ve wrapped with colorful tissue from this 8×11 multi-color pack. Seal them with printer labels, like these 1-2/3″ circle labels. I printed little cards with my Cricut, only because I didn’t have round printable labels on hand.
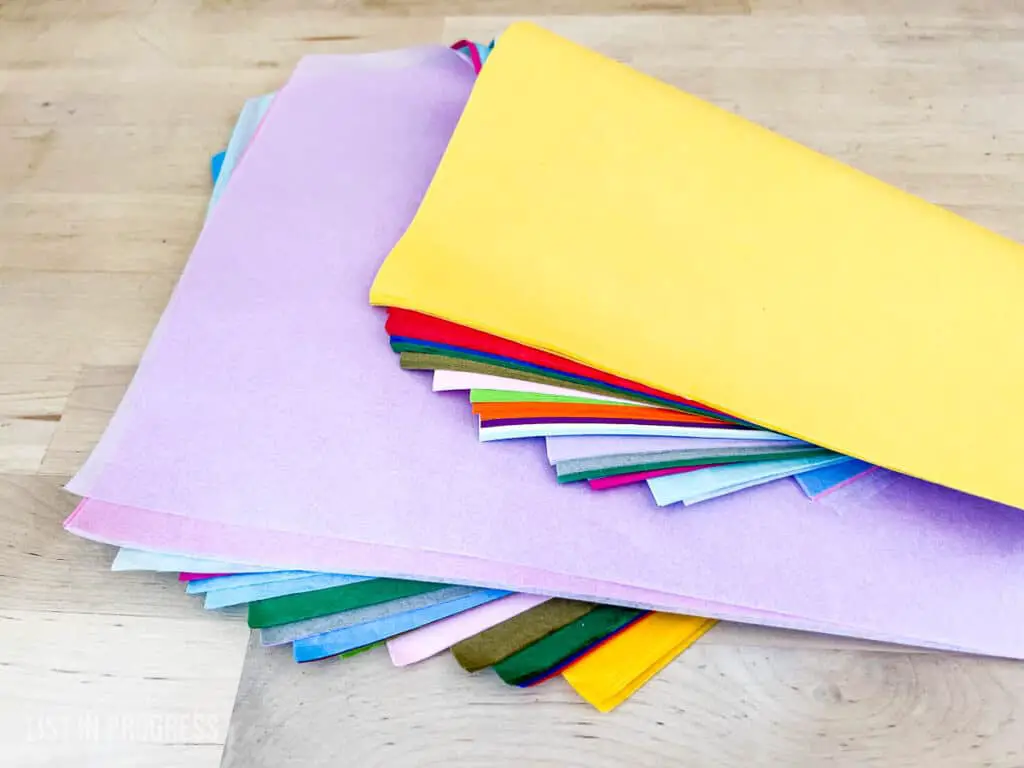
Let’s say you’re planning to ship these shower steamers in a box. EO scents would ruin a lovely batch of baked goods, so I suggest shipping those separately. If they are sharing the space with clothes or toys, definitely pack them in a few sealable plastic bags (plus bubble wrap, so they won’t break) and be prepared for everything to absorb some of the scent. Essential oils are powerful and I can’t guarantee that they won’t transfer scent to items packed together.
That’s a wrap! 😉
If you try this project, please let me know how it goes! Any scents I should try next?
