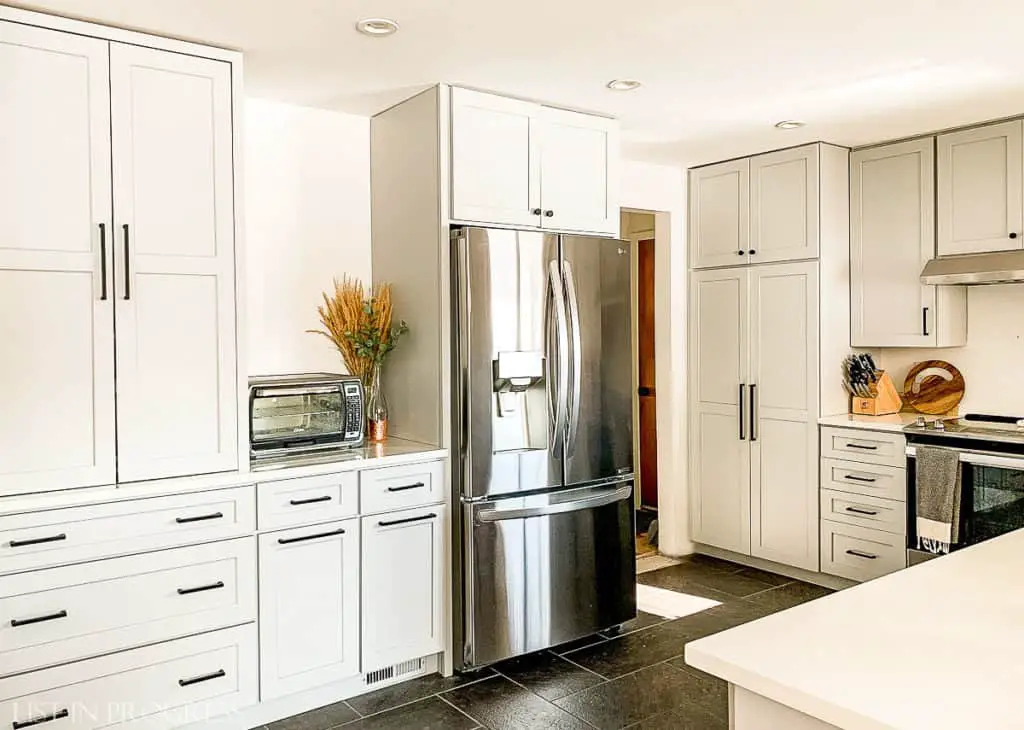
We are wrapping up our unusual DIY kitchen remodel, and it’s coming together even better than we hoped. When I say “DIY kitchen remodel,” I don’t just mean that we painted cabinets. We actually revamped our original cabinets, added some new, and tied it all together.
I’m sharing all the cabinet details and real cost in two posts, in case anyone reading is pondering a similar project. Is it really possible? Yes, with moderate DIY skills and a lot of patience, here’s how.
This is Part One. Read Part Two here with details on cost and lessons I’ve learned through this project.
Just want to FIX your cabinets? Read this post!
How to Repair Kitchen Cabinets

Read More About Our DIY House Updates
Favorite Behr White Paint Colors
Closet Door Ideas to Update Any Room
How to Apply Gold Leaf to Glass Decor
Trends in Cabinet Hardware
Cabinet Brainstorming for Our DIY Kitchen Remodel
When we bought our second fixer-upper, we planned to rip out the cabinets and install new ones, along with the other usual updates. However, the more we examined the 1980’s oak cabinetry, we realized that the cabinets were quite customized and still in great shape. We wanted to add new maple cabinetry along a third wall in the kitchen, so we debated how to tie everything together. Could we keep the existing cabinets, add new ones, and still create a uniform look? Question of the hour. Here’s where we started:
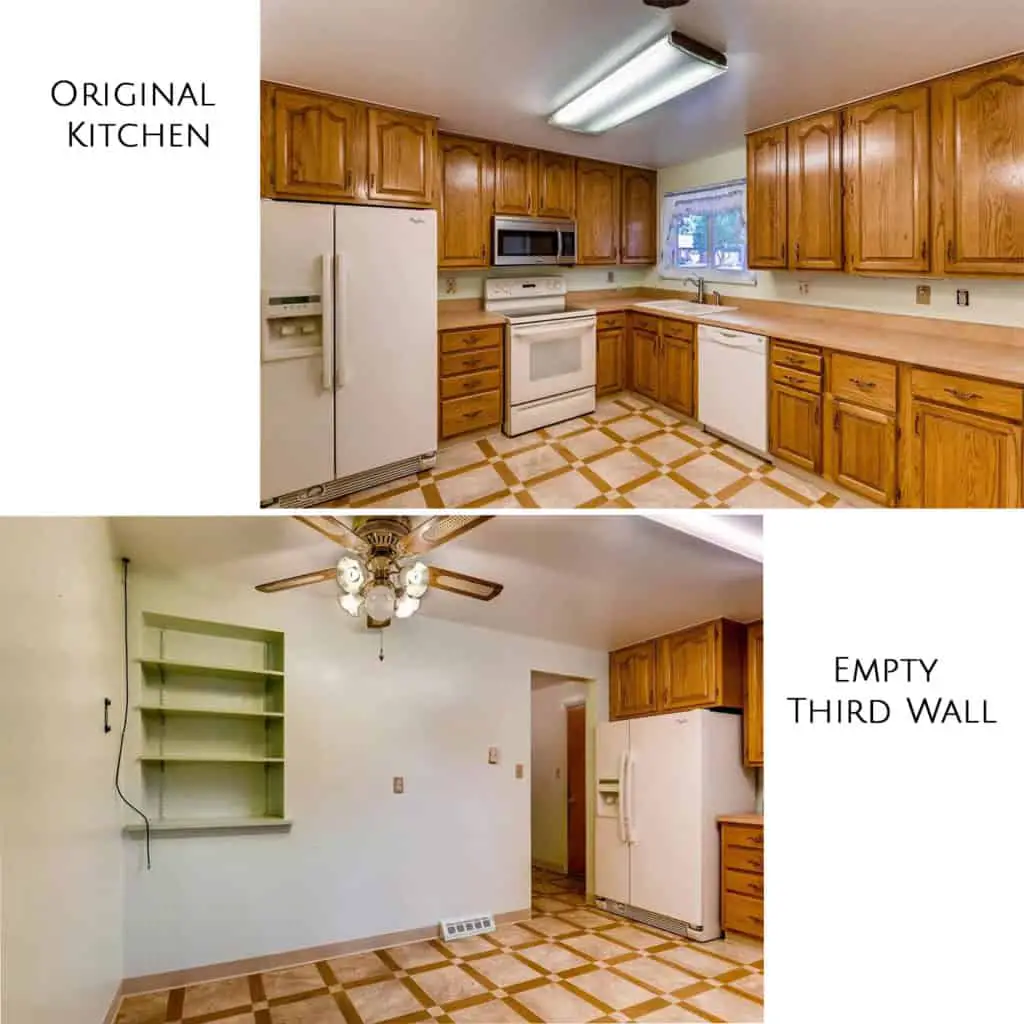
I got quotes to reface the cabinets (basically a facelift with new doors and veneer) and quotes to replace them (all new). But the more we thought about the project, it seemed so wasteful to just rip them out and trash them. Also expensive either way!
The quote to reface existing cabinets and buy new ones for the third wall, which we would install and paint, was over $12k. Also, since they wouldn’t match my custom paint color, we would start from scratch with the refacing in a stock color. The quote to just replace everything was over $11k for product, no installation, and $24k to sub out the entire project, including labor.
Update 2024: considering that costs have risen for both materials and labor, I’m sure this kitchen would easily have been over $30k!
Our kitchen would be unusable for the duration of either project, which is a major drawback.
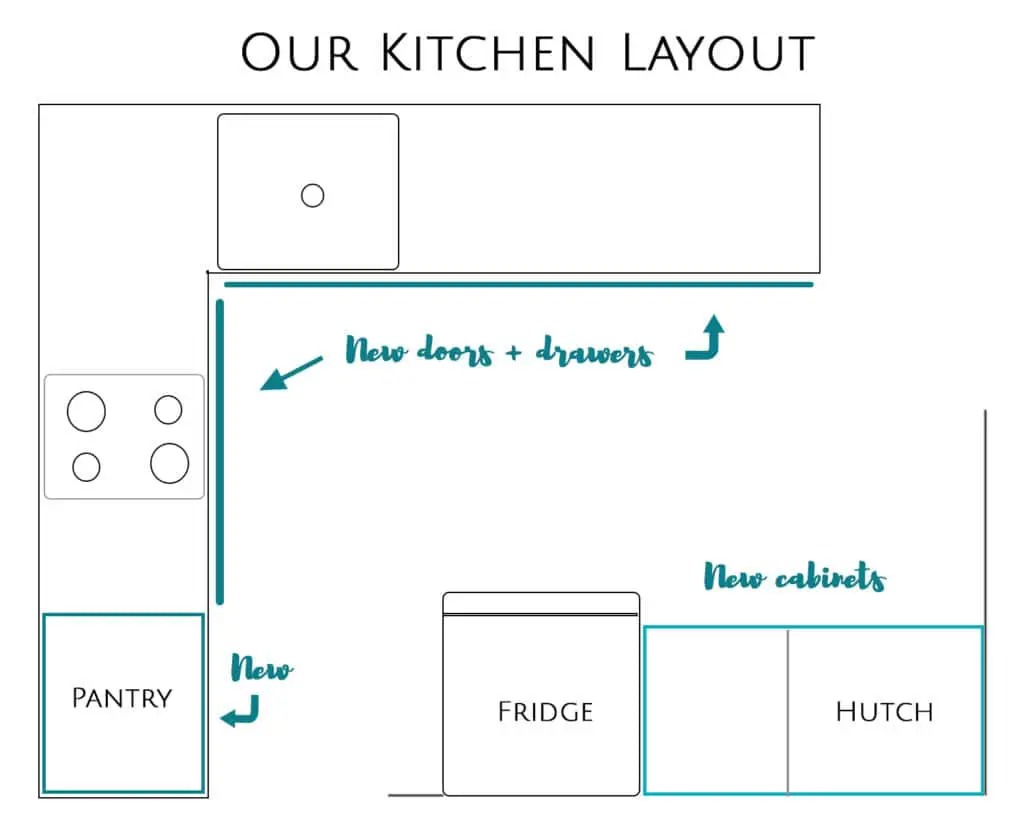
Time for a new game plan. Could we buy new products in maple and paint everything to match? We did some research and found that this should be possible, if unusual. We would need to disguise the fact that our DIY kitchen is two wood species – oak and maple. Updating doors to a full overlay style would help cover much of the oak frames. (Here’s the difference between standard and full overlay.) We would also need to carefully coordinate shaker-style doors and drawer fronts to give everything a uniform look.
Items We Bought for the Cabinet Remodel
These are the cabinet-related items we decided to update in our kitchen. We researched online and in-store options, measured a million times, and ultimately bought (all online!):
– Cabinets
– Replacement doors, drawer fronts, and soft-close hinges for all existing cabinets
– New drawer boxes and soft-close glides for existing drawers
– Pulls and knobs
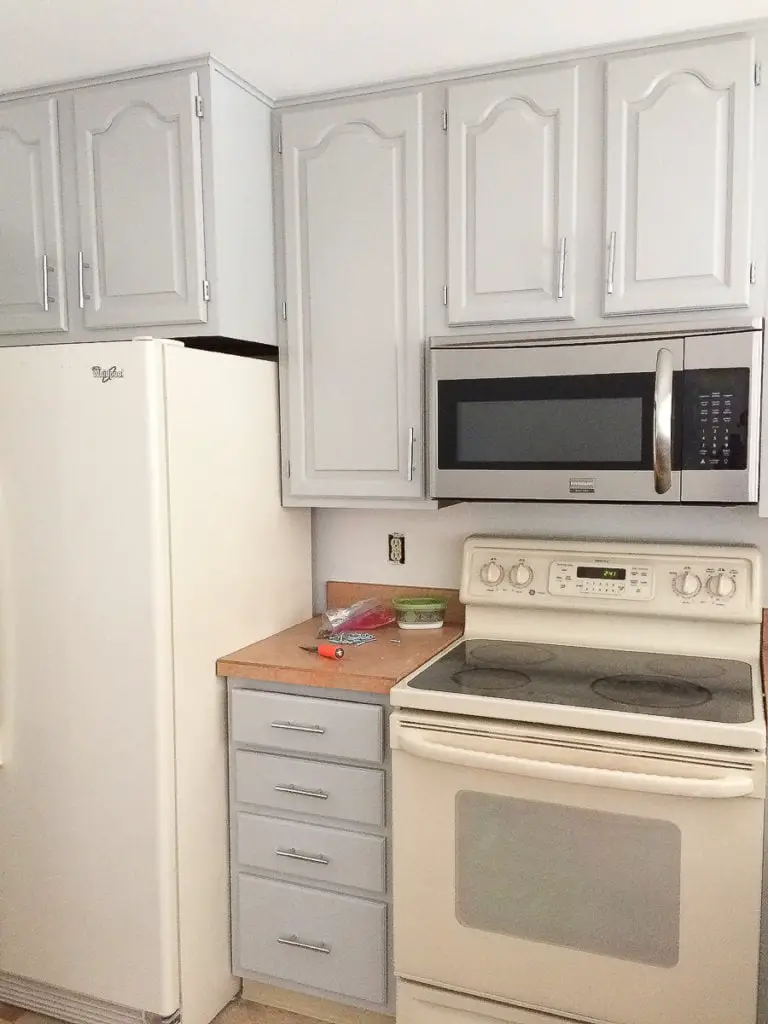
By this stage in the game, the original cabinets were painted with General Finishes Milk Paint, which looked great. This is why we thought paint could tie everything together. Here’s what it looked like:
Where to Buy Cabinets Online
While researching options, I found a bunch of online cabinet companies. Investigating further, the pricing for solid wood products is so much better online than I’ve found at big hardware stores. Of course, it’s a gamble with an unfamiliar, online business. We all know this. Definitely do your own research and look at reviews first! We bought our components from these sources: Unfinished Kitchen Cabinets, Cabinet Doors Depot and Cabinet Door World.
Our largest purchase was the new cabinets, which I ordered from Unfinished Kitchen Cabinets. Their sister company, Cabinet Doors Depot, sells the doors and drawer fronts we needed to match new cabinets to the rest of the kitchen. After many conversations with customer service, I was convinced that I could order coordinating products from the two companies. It seemed like the best route for our project. I ordered two doors first, which we used to check the full overlay measurements, test out paint and pick hardware.
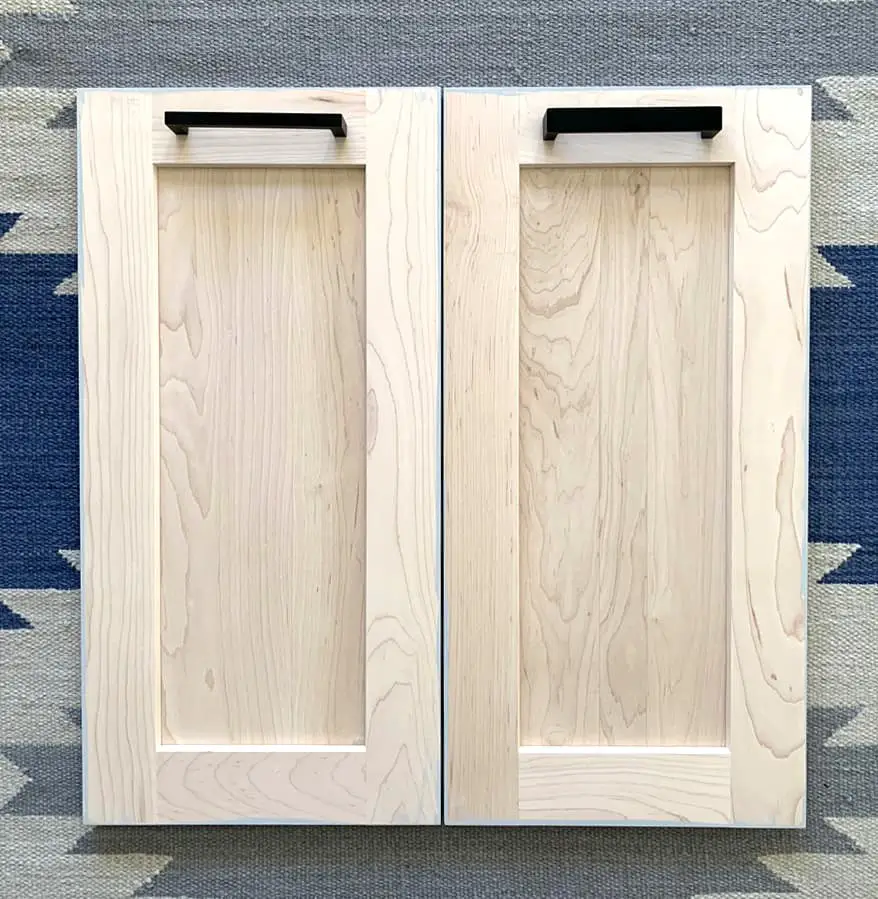
To plan our orders, we measured our kitchen and reviewed the available cabinet sizes. We wanted a custom-size pantry, custom hutch, two trash base cabinets, one 3-drawer base, and one upper cabinet for above the fridge. We drew sketches for these new cabinets, as well as filler, toekick, end panels, fridge panels, and molding. For new doors and drawer fronts, we followed these directions and measured out full overlay doors and drawer fronts. Then we crossed our fingers and bought the whole shebang!

Read More About Our DIY House Updates
Favorite Behr White Paint Colors
Closet Door Ideas to Update Any Room
How to Apply Gold Leaf to Glass Decor
Trends in Cabinet Hardware
Where to Buy Drawer Boxes Online
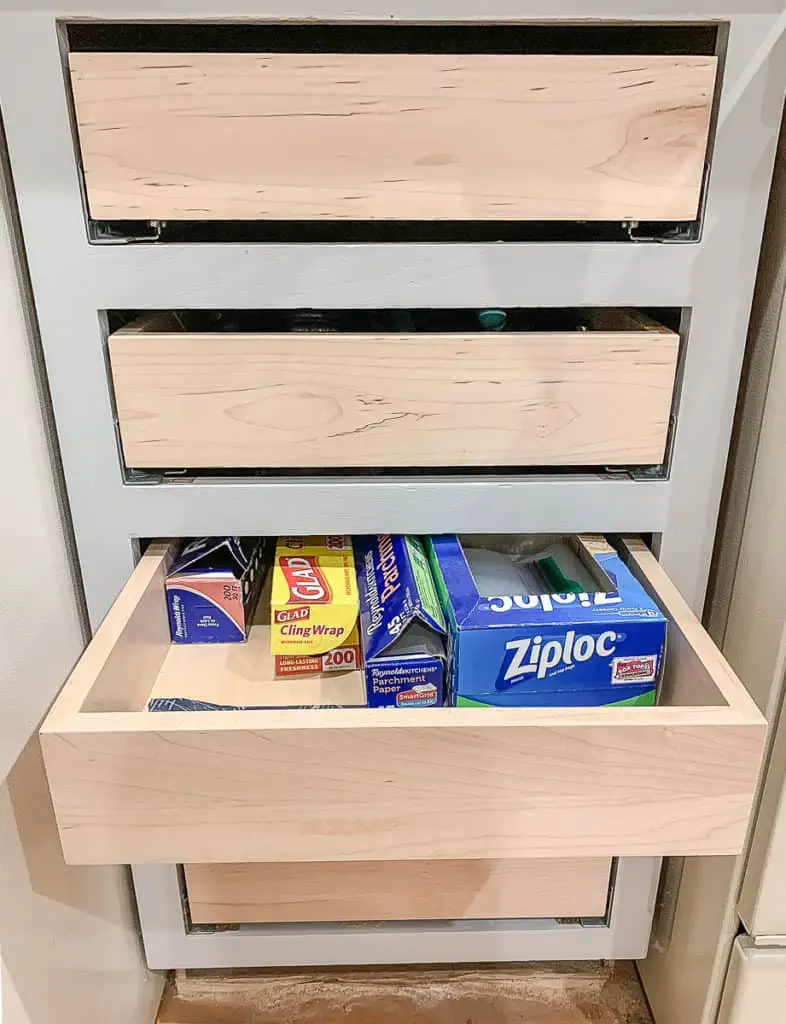
While waiting for the cabinets, I ordered new drawer boxes from Cabinet Door World, which shipped a few weeks later. Since we wanted soft-close slides, it seemed worth it to just upgrade the entire box. Specifically, we bought dovetail drawer boxes and 21″ undermount soft-close slides for our existing 24″ base cabinets. Wyatt says the installation requires fairly high-level DIY experience, so let me know if you want more details on how to do that! I saw glue, clamps, scraps of wood and a drill were involved, but that’s all I know. After living with them for six months, I am really pleased with these drawers. They are beautiful and the ordering/shipping process was smooth; I’d definitely recommend this company based on our experience.
Checking Work Off the List
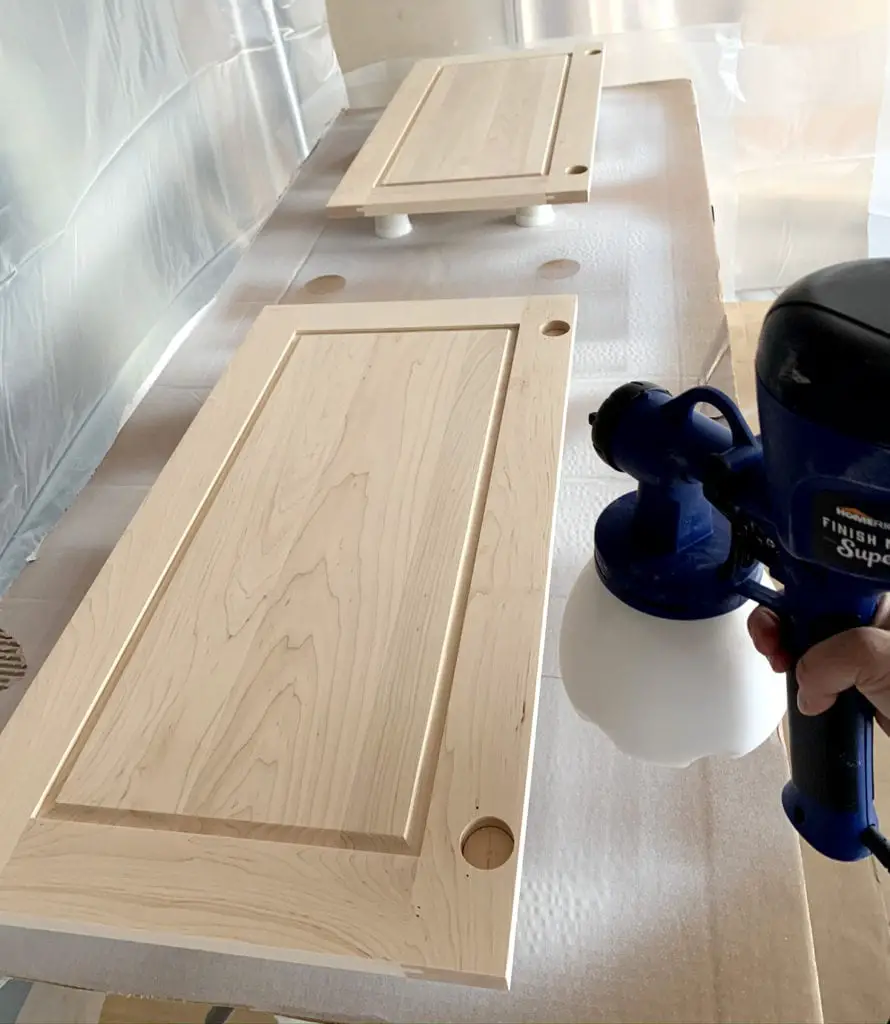
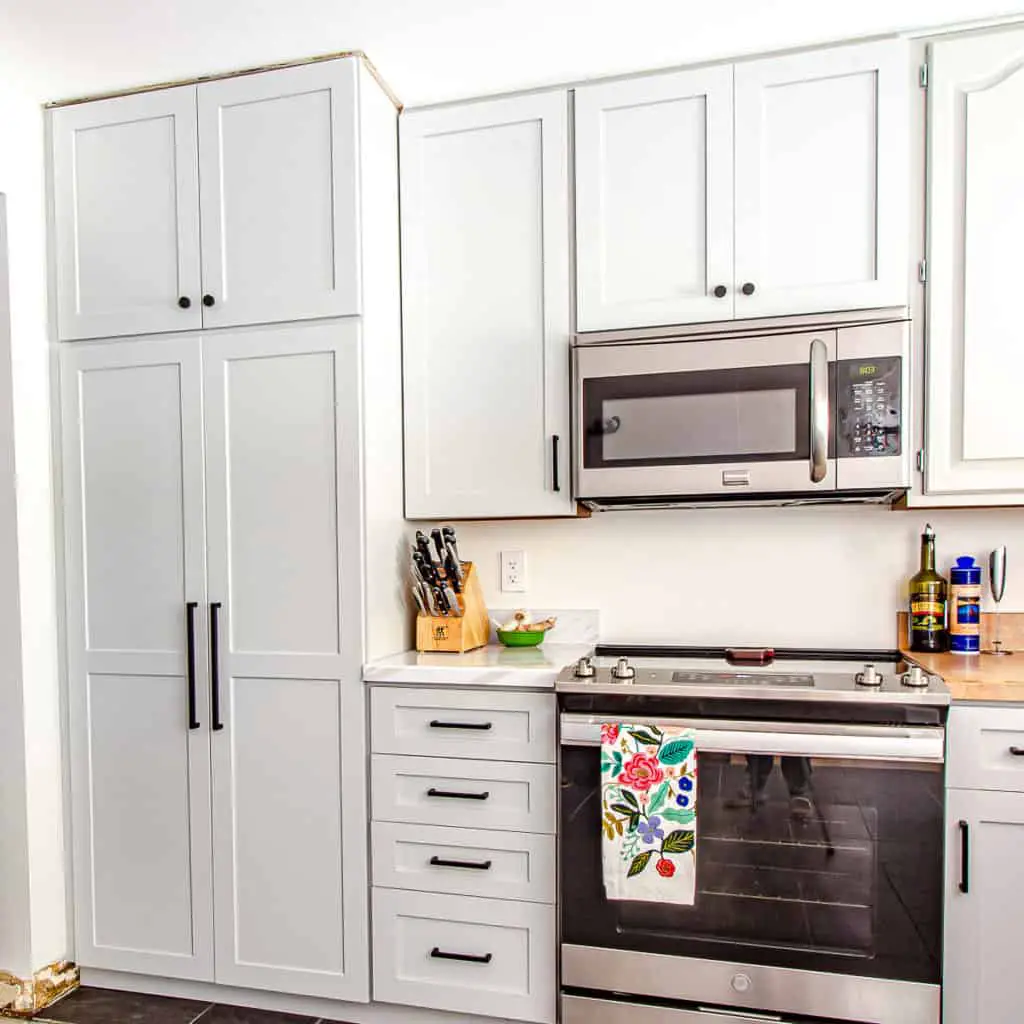
While waiting for the cabinets to arrive, we finished most of the updates to the old section of the kitchen. We received the new doors and drawer boxes first, which was helpful. I painted all of the new doors and drawer fronts with a paint sprayer for a super smooth finish. Wyatt installed the new drawer boxes and attached drawer fronts and pulls. We also installed the new doors with these soft-close hinges and new hardware. The full overlay looks awesome, and I love that they almost entirely cover the old oak cabinet frames. We also installed a new porcelain tile floor. Whew! Busy times over here.
The Best Paint for Kitchen Cabinets
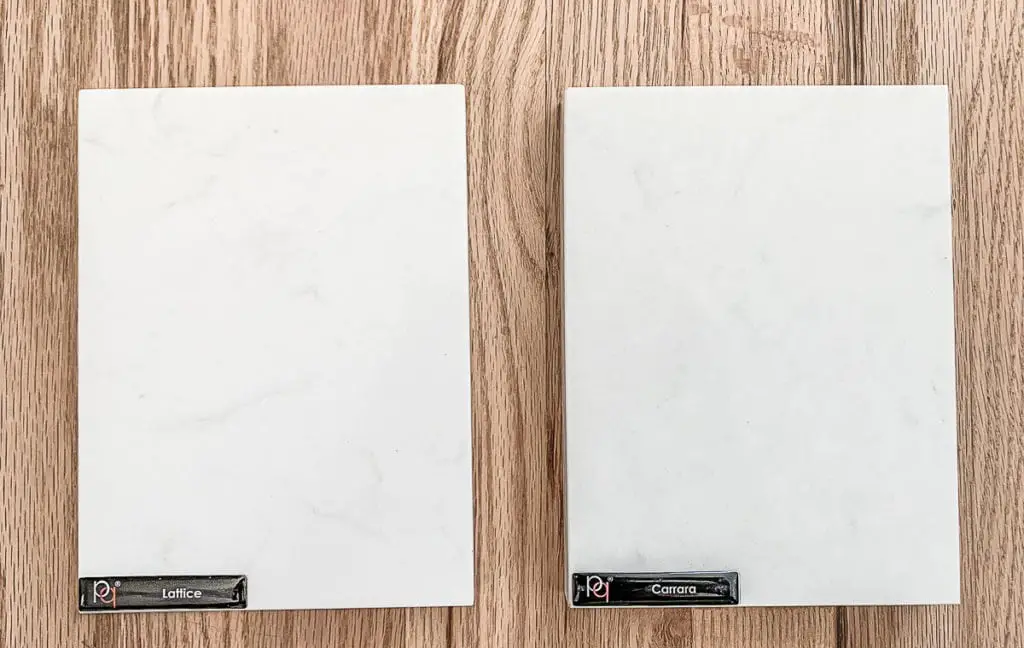
During this stage, I made sure to order the rest of the supplies for the new kitchen: sink, faucet, drain assembly, and new hardware. I brought home countertop samples to choose a few quartz options that look good with our paint color. (Some businesses wouldn’t let me borrow them, but others let me check out samples for 24 hours. Just ask around.) I find it extremely helpful to see samples in my own kitchen.
As for hardware, I bought a mix of black pulls and knobs for the new kitchen, to add visual interest. Most of the pulls are these 5 1/16″ size square bar pulls, with a few larger ones on the bigger doors. Here are more ideas for modern black cabinet pulls. I also mixed in a few sleek knobs on some of the upper cabinets. My best advice on installing cabinet hardware without mistakes is to use a template like this.
So Far, So Good…
We’ve hit a few bumps in the road, but our DIY kitchen remodel has been sloooowly coming together. Stay tuned for Part Two and I’ll break down the costs for this project and share lessons we’ve learned. If you’re planning a similar DIY project, I hope our experience will help you!
Easy Meals During a Kitchen Remodel

>> Read Part Two of This Post! <<
Sources
New cabinets
Doors and drawer fronts | hinges
Drawer boxes | slides
Square bar pulls – small | large
Round knobs
Porcelain floor tile
Cabinet paint (satin finish)
Refrigerator
Range
Dishwasher (similar)
Read More About Kitchen Projects

1 – Kitchen Trends in 2021 to Consider
2 – Kitchen Remodel COST and Lessons Learned
3 – The Best Paint for Kitchen Cabinets
4 – Choosing a Kitchen Backsplash Tile Layouts





I learned so much from this post. Thank you for taking the time to write it.
Great job on your DIY kitchen remodel! Your attention to detail is impressive.
Thank you!
Great job on your DIY kitchen remodel! It’s inspiring to see how you were able to transform your space and make it your own. Your attention to detail and willingness to take on this project yourself is impressive. It’s also helpful to see how you managed to stay within your budget and find creative solutions to common kitchen remodeling challenges. Thank you for sharing your journey so far and inspiring others to tackle their own DIY projects.
Thank you so much, Kaushik!!
Thanks for posting. I have identical solid wood cabinets that require updating. Did you still set your hinges in the same spot on the cabinet frame after installing full-overlay doors? I sought inside-cabinet photographs but couldn’t locate any.
Hi Matthew, great question. No, I started over with hinges and the placement didn’t matter. The old and new hinges were two different styles. Because I ordered new doors and designed them to cover as much of the cabinet box as possible, I ordered 1-1/4” overlay hinges. This website (where I eventually bought the new doors) was helpful to figure it all out.
By the way, Shaker style doors are by far the most simple doors to make and have great clean lines.
This is the type of work I do from making new doors, drawers and faceplates to painting and installation. Personally I use an inexpensive paint gun from Harbor Freight, thin down the latex Cabinet and Trim enamel. (Behr since it dried and cures very quickly)
I probably should mention that I have years experience at spray painting for a living, but it’s not difficult once you get the hang of it. This is all stuff most people could do from home if they have a decent table saw and a place to spray paint like a fairly empty garage and plenty of plastic film or large sheets of cardboard to keep overspray off things.
I’m just now finishing up a job of over 30 doors and 6 drawers. It’ll cost my customer under $2000 for everything.
Thanks for the feedback, Martino! I wish I had been able to hire you and save myself the time and energy! Good to know you’re on board with this method for DIYers like myself.
Hi Erin,
Thanks for the posts. I have similar cabinets, solid wood and in pretty good shape, but need to be updated in appearance. I have two questions. Did you paint the inside of your cabinets too? Since you did the full overlay doors, did you still place your hinges at the same place on the cabinet frame as your old hinges? I looked to see if you had any photos of the inside of your cabinets, but couldn’t find any.
Thanks,
Lisa
Hi Lisa,
Thanks for the comment! I did not paint the inside of my cabinets because I was sick of painting. You certainly could! As for hinges, I ordered totally different hinges that work for full overlay doors, which are different than the type that were on my old doors. I’ll go back and check my post to see if I linked those and try to provide more info. I bought hinges similar to these, because our cabinets have frames: https://www.rockler.com/blumreg-compact-soft-close-blumotion-overlay-hinges-for-face-frame-hinges
Hope that helps!
Erin