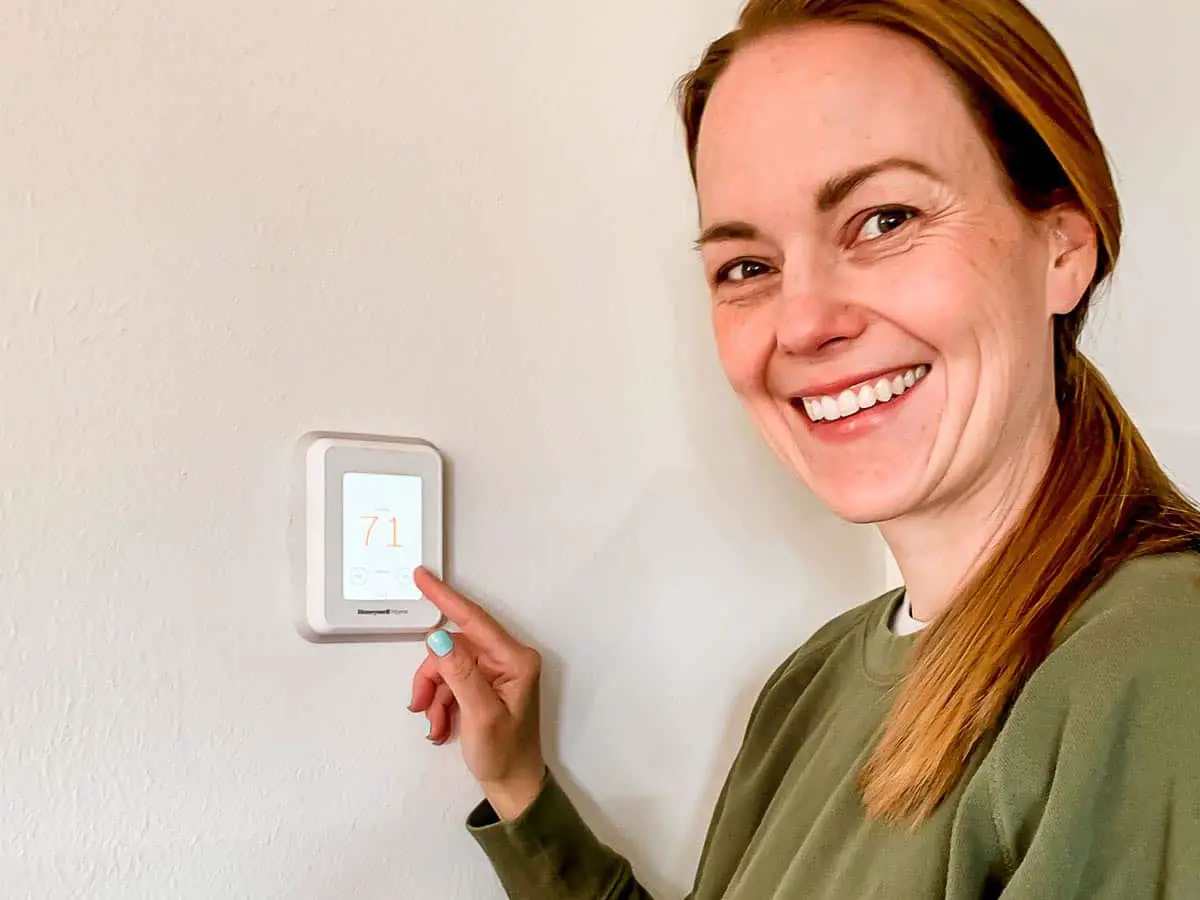
Here’s a 2021 update on our white smart thermostat, which helps us save energy and lower our bills. I’ve been controlling our home temp remotely while we travel this summer and it’s so nice to be able to cool down the house a few hours before we return!! I’m a huge fan of this low-profile, energy-smart thermostat. Here’s how to install a Honeywell T9 Smart Thermostat, if you feel inspired to make a switch.
Want to save more money? Don’t miss this post with ideas on how to lower your electric bill!
How to Lower Your Electric Bill (Without Going Crazy)
Choosing a White Smart Thermostat
I’m the first to admit that I’m a late adopter when it comes to tech stuff. However, I do love technology that makes my life easier and our home more energy efficient. For us, that includes smart lightbulbs, innovative switches and outlets, docking stations, and devices along those lines.
Also, since we’re updating our home with plans to sell, I view a smart thermostat as a selling point. However, I didn’t want to spend a ton of money on this upgrade, so I researched the most affordable options with great reviews. I landed on this T9 Smart Thermostat from Honeywell, because of the price point and sleek look.
> These are My Favorite Stylish Switches and Outlets <
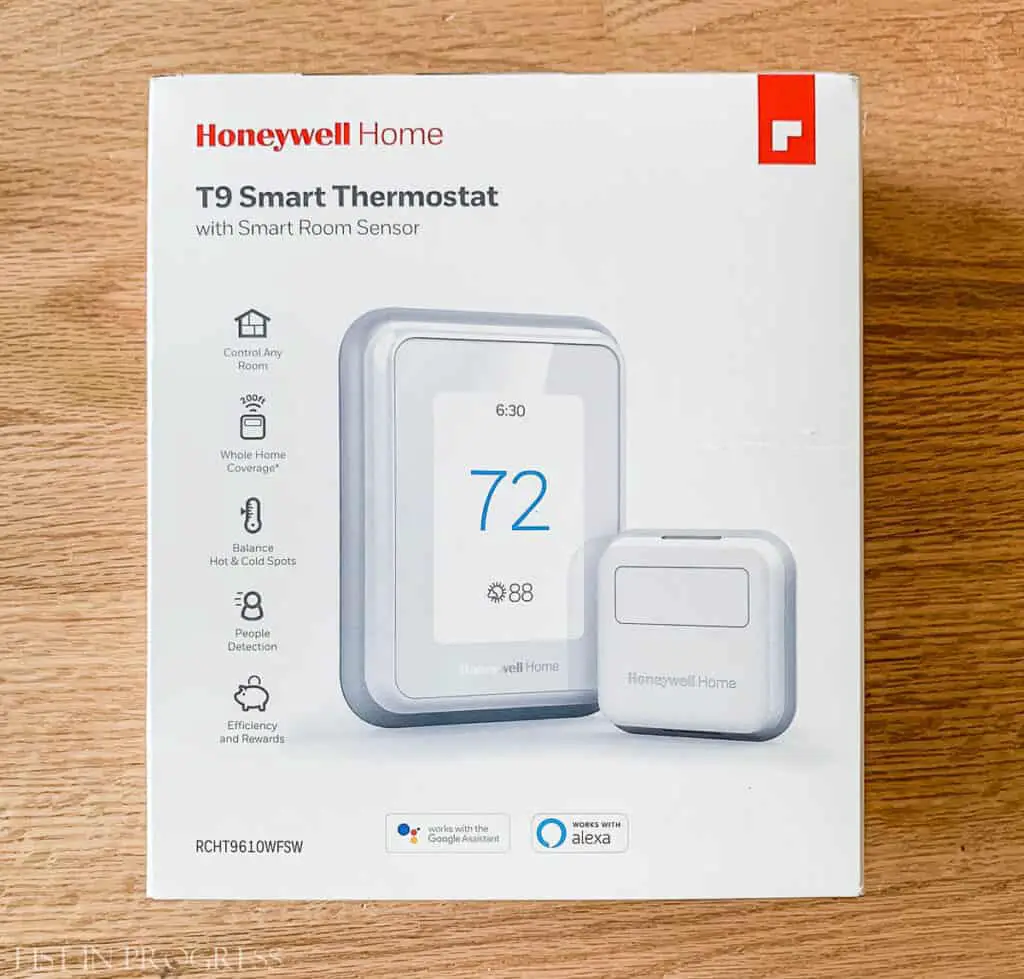
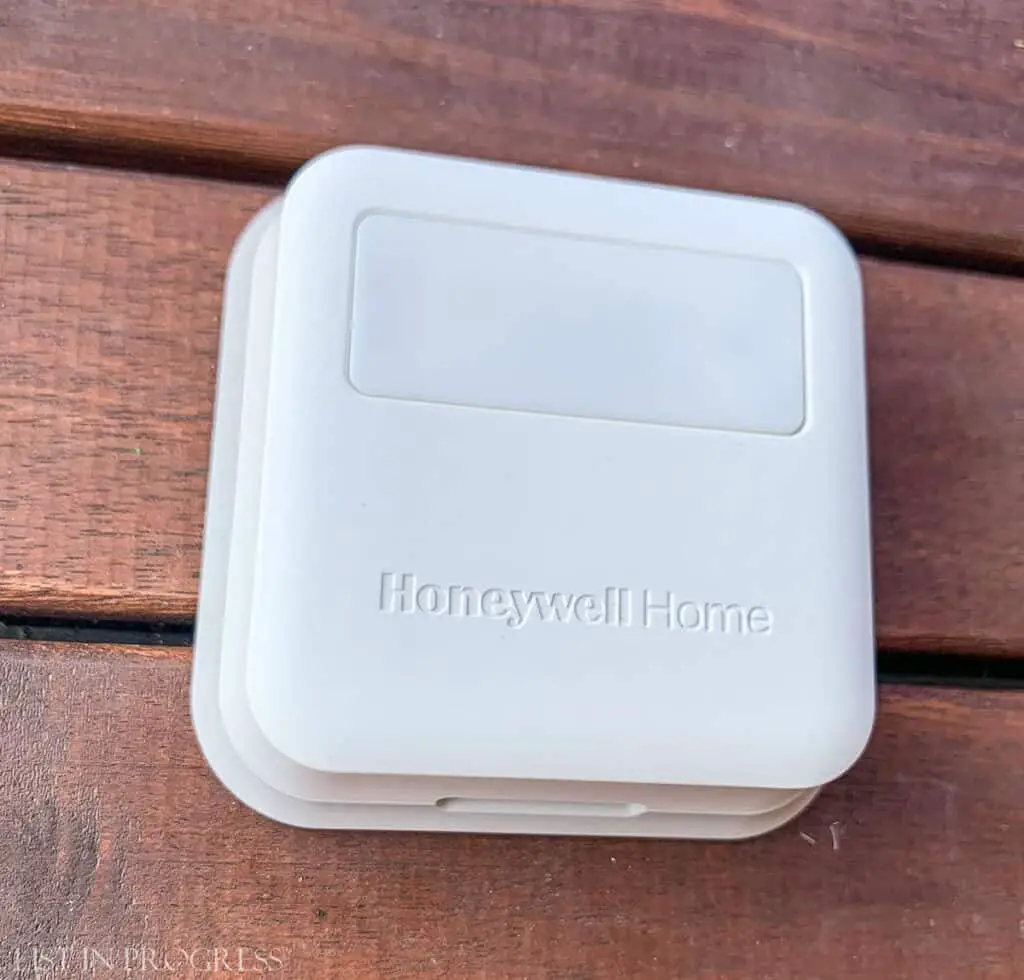
This device gets high marks due to its sensor network, which are innovative in the smart thermostat game. You start with the main hub and then add sensors throughout your house to help the thermostat adjust to your preferred temperature. We don’t really need it, but I could see this being a great feature in a multi-story house with a newer furnace.
Also, you can connect this thermostat to Alexa and Google Assistant, if that’s your thing. That’s a nice feature!
Installing Your New Smart Thermostat
This is not a hard project, but I would recommend that you have a few outlets or other entry-level electrical projects under your belt first. The wiring sequence was a bit involved, although the instructions were very thorough and really guided us step by step.
This project took us about one hour from start to finish. You’ll need a screwdriver and possibly a pair of pliers, a wire stripper, and a headlamp or flashlight. We used a flat-head screwdriver on our old thermostat, but if you’re replacing a newer model, you might need a Phillips-head. We found this project easier to manage as a two-person team, but you could certainly do this by yourself.
Tools You May Need:
Screwdrivers – flathead and/or Phillips
Needle-nose pliers
Wire stripper
Flashlight/headlamp
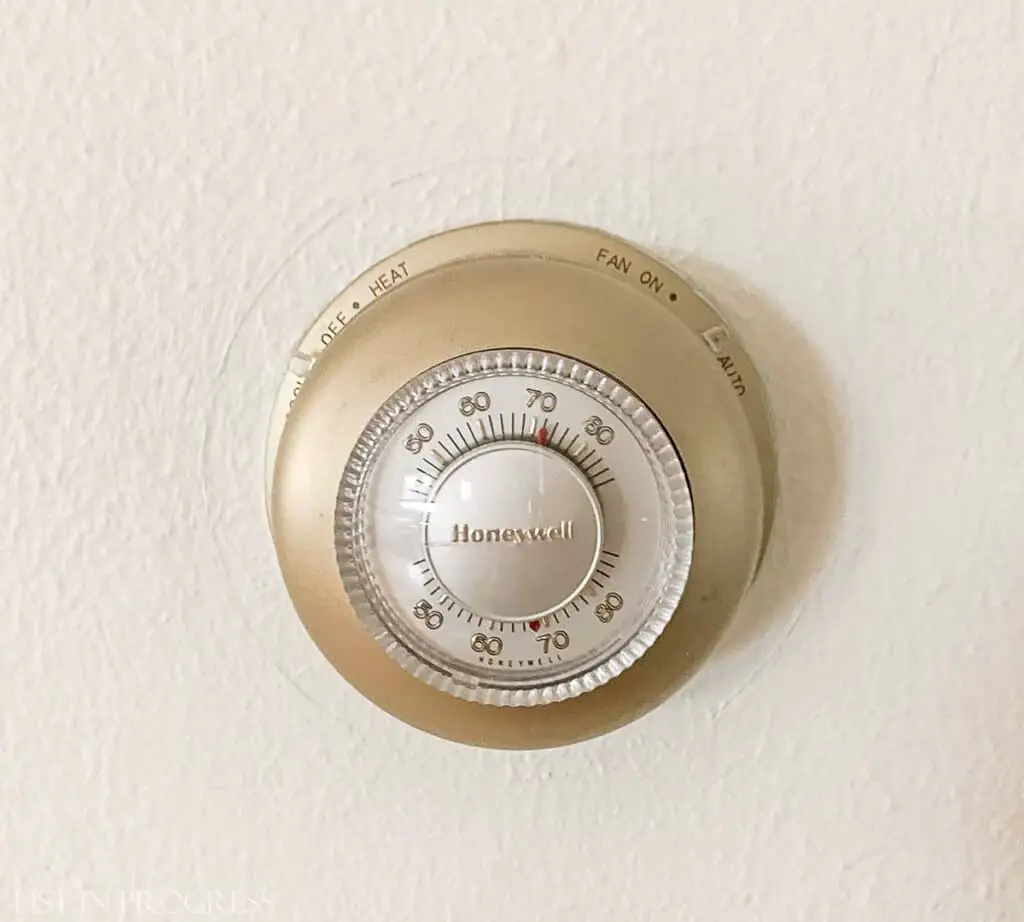
BEFORE – Old Thermostat
FIRST – Cut the Power
Locate the breaker that controls your furnace and make sure it’s off.
SECOND – Remove the Old Thermostat
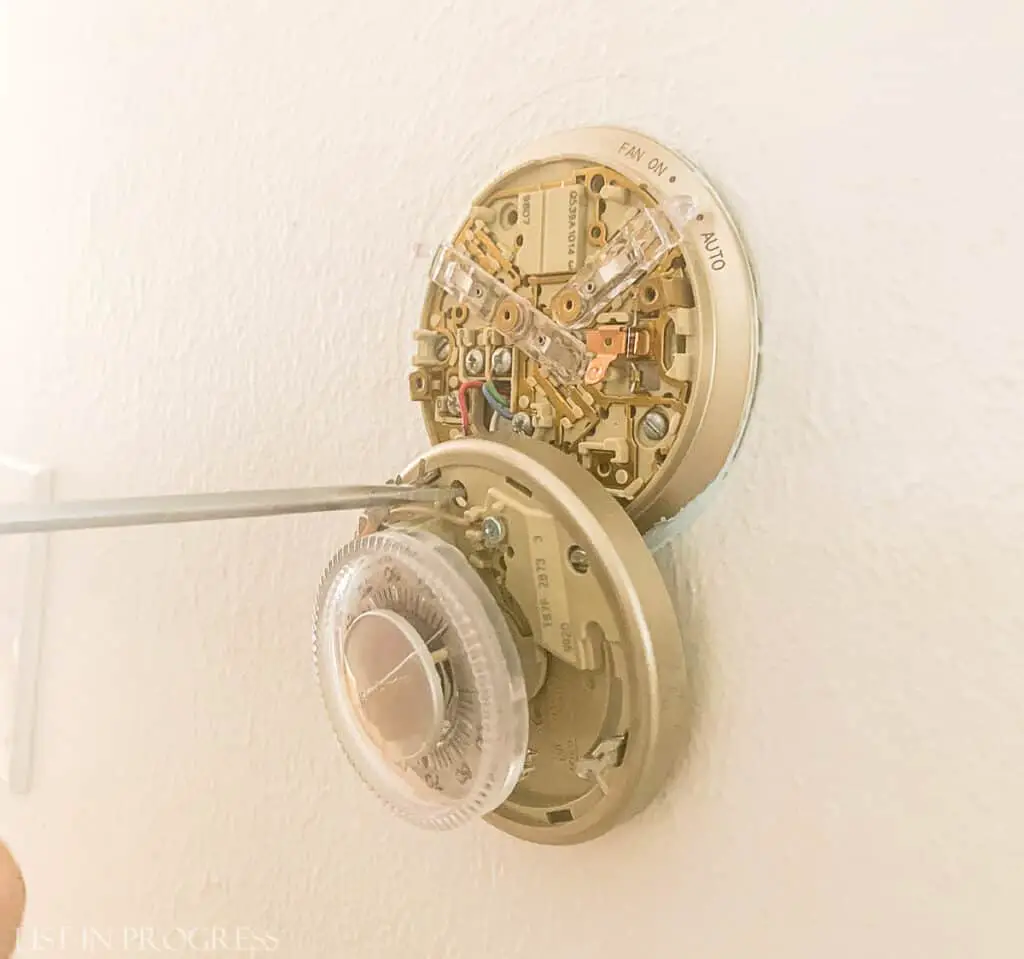
Our old thermostat was the classic, round mercury Honeywell model, so we carefully followed these instructions to disconnect it from the wall. It has two little flat-head screws, but yours might have Phillips-head screws.
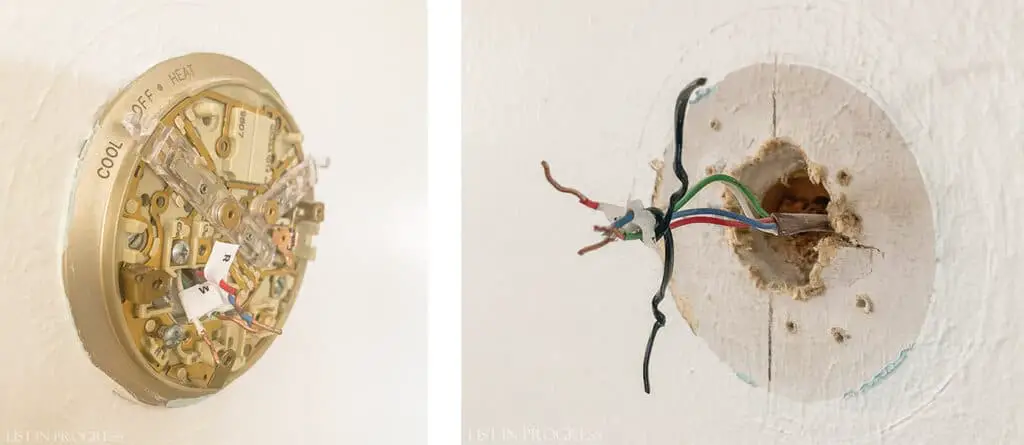
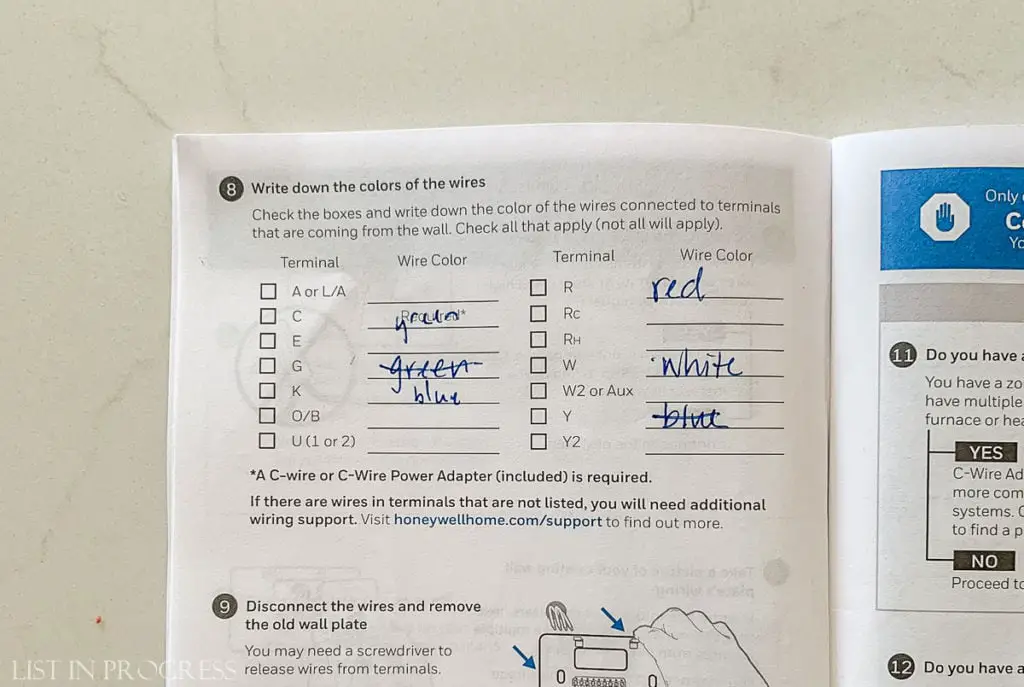
The new thermostat kit came with labels for the wires, which is really handy. We attached those and noted the color coding system in the instructional manual, which is critical for later on. These wires are really short, so one of us held the end of a wire with needle-nose pliers while the other wrapped a tiny label around it. Then we tied the wires with a twist tie, so they wouldn’t slide back into the wall. You could also wrap them around a pencil.
THIRD – Adjust the Wiring at the Furnace
OK, here’s where things get tricky. This wiring business really depends on what kind of furnace and thermostat system exists in your home. We have one thermostat and it’s directly wired to the furnace with four wires at each end. To update from an old, simple thermostat to a fancy, smart one, we needed to adapt the wiring so that continuous power would run to the control box 24/7.
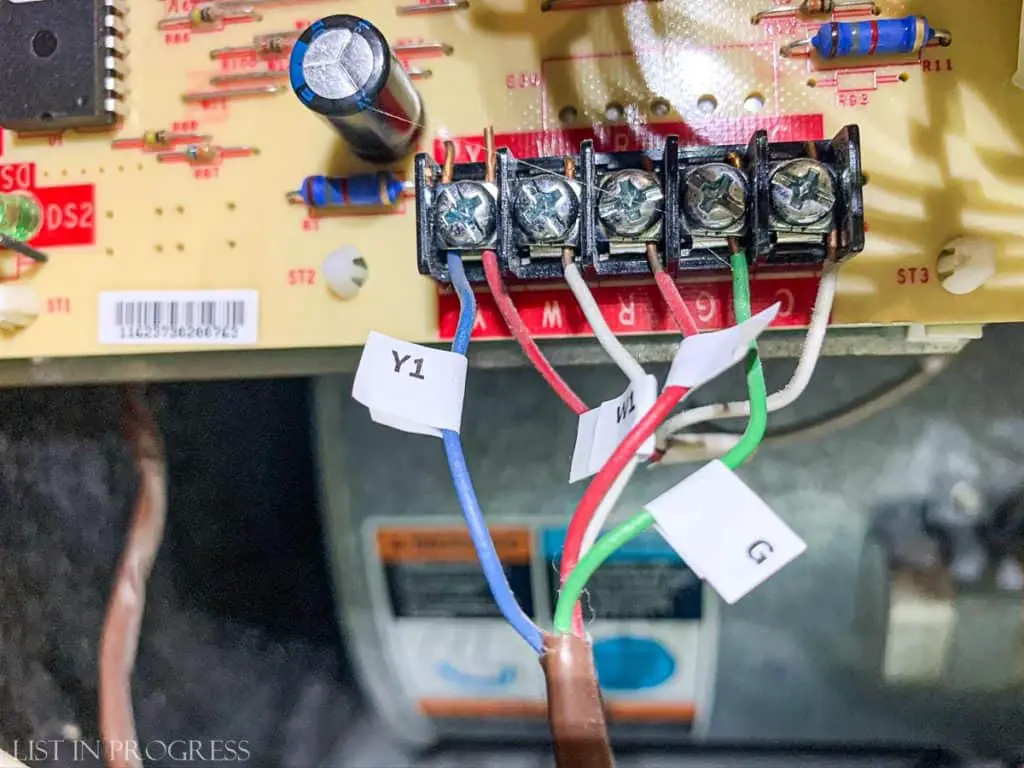
That means we used the C-wire adapter that is provided with this Honeywell theromostat. Essentially, we used the adapter to change from four to five wires running to the furnace. For some reason, I forgot to photograph this step, and I’m so sorry! It’s probably because I was busy handing little sticky labels to Wyatt and holding the flashlight. The installation guide is VERY clear, so rest assured that you won’t miss a step, if you read carefully. Here’s what the wiring looked like before we added the c-wire adapter. Just imagine five wires are now connected instead of four (the extra red and white wires go to some other mysterious location in our house).
FOURTH – Reconnect the Wires to the New Thermostat
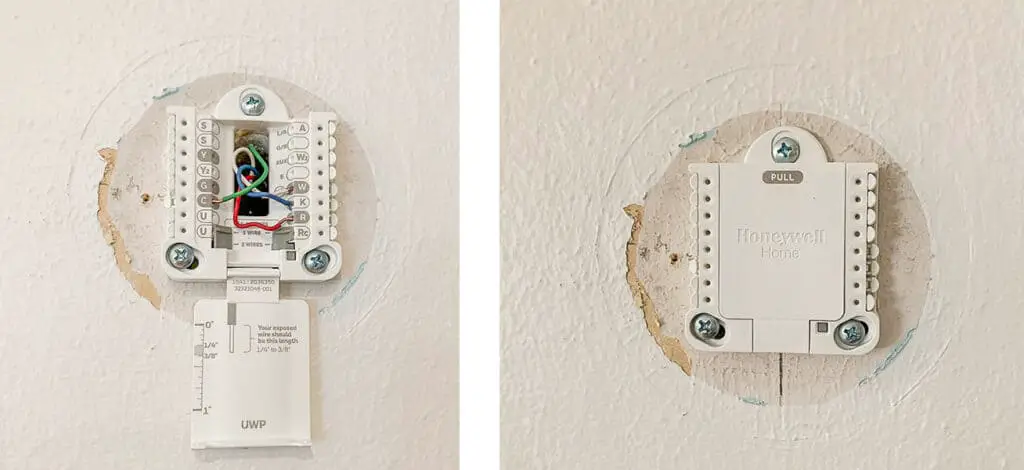
Once the furnace is all set, head back to the thermostat and attach the new wall plate.
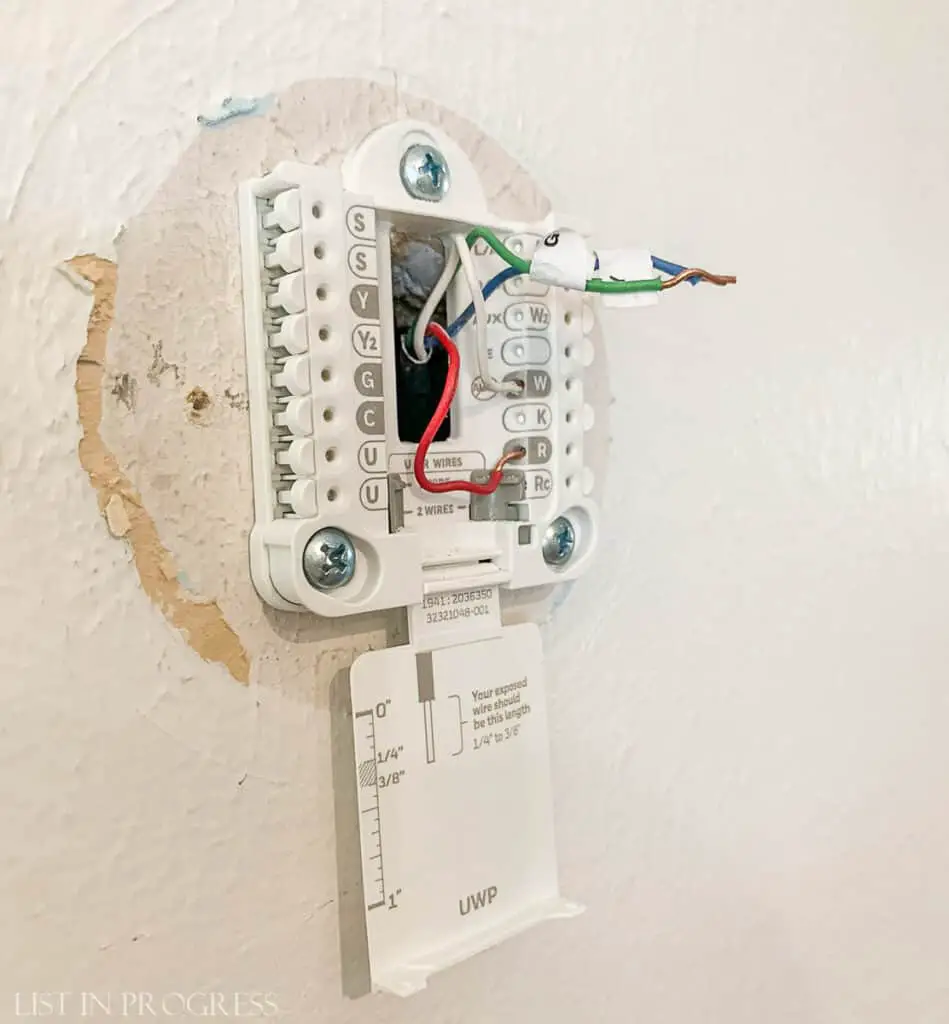
If you used a c-wire adapter like we did, carefully follow the directions to relabel the wires. This matters because your wires will be reassigned to new locations. Our G became C and our Y (actually a blue wire – so why isn’t it B??) became K. Confusing, see? It was really helpful to use the label guide in the instruction booklet. (There’s a step not pictured where the instructions explain how to relabel, but you return to step 8 to record it.)
I promise, this is not as confusing as it sounds, because the manual walks you through each detailed step.
Close the cover and snap on the fancy front of the thermostat. It’s go time!
LAST – Flip the Switch and Light it Up
Turn the power back on and cross your fingers. We had no issues with this installation, which is a huge point in its favor. Electric projects are not always so fluid.
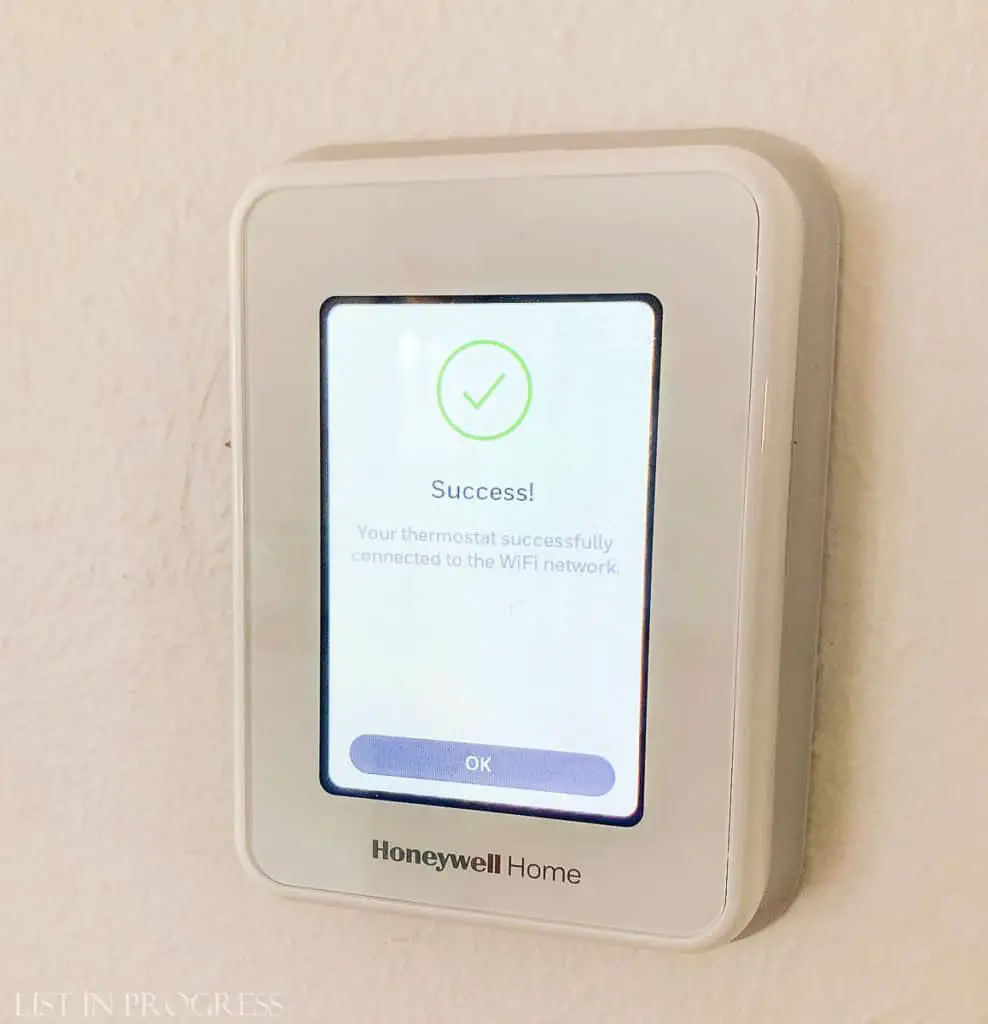
The setup guide is simple. Enter your login info for your WiFi network and follow the other screen prompts. You’ll also need to install the app on your phone or tablet so you can control the device remotely. It’s pretty easy.
Like most modern thermostats, you can adjust it to specific temperatures based on time of day. This is the key to energy efficiency. It’s nice to have the temperature adjust automatically based on when you’re home, out, awake, or asleep.
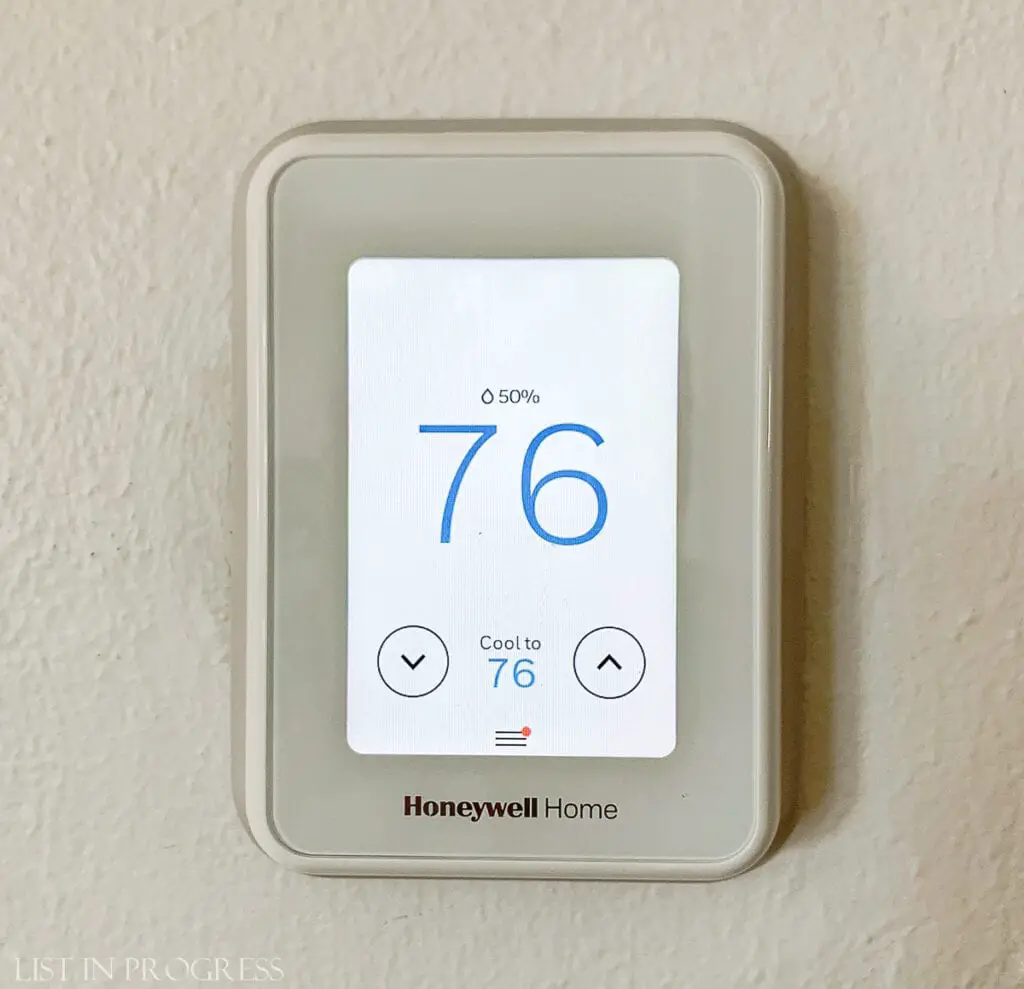
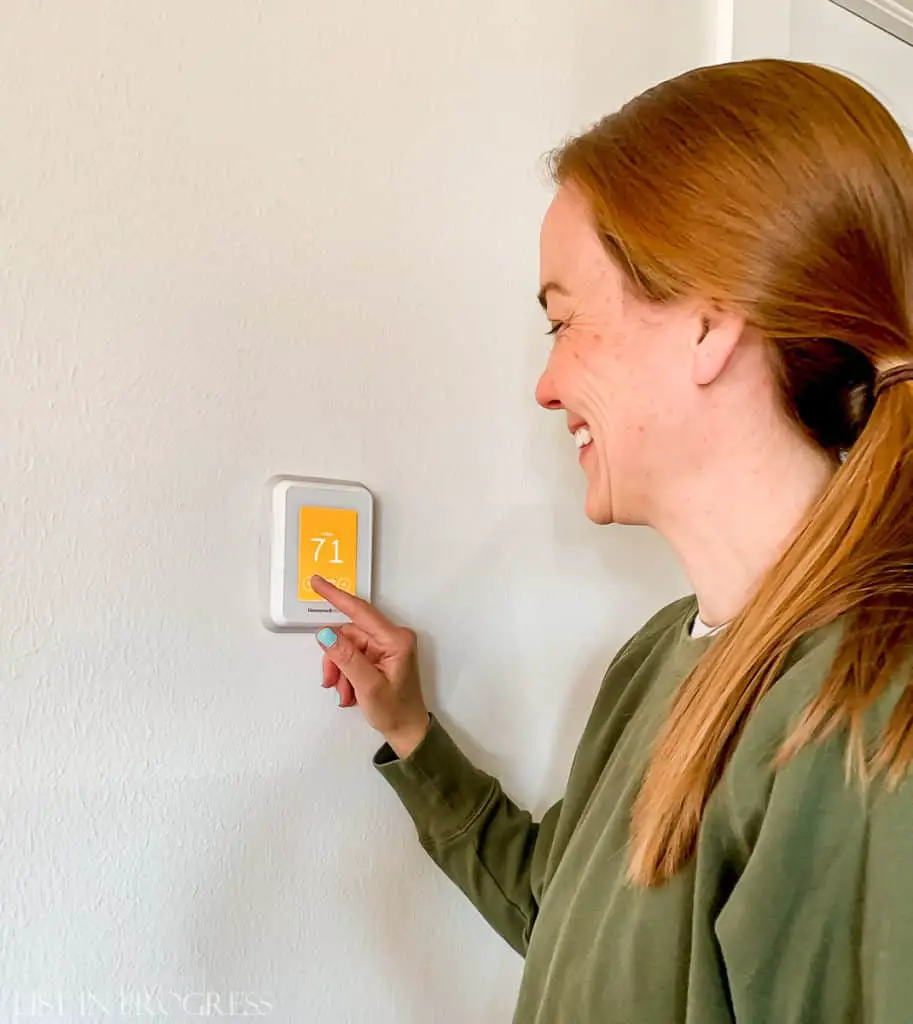
There is also a vacation setting that I schedule based on our travel plans. Because the Denver summer is blazing hot, it’s great to schedule the AC to kick on before we get home. Same thing with heat in the winter (which you’re seeing in the photo below, with the orange screen).
Want to save more money? Don’t miss this post with ideas on how to lower your electric bill!
How to Lower Your Electric Bill (Without Going Crazy)

Enjoying Our Low-Profile, White Smart Thermostat
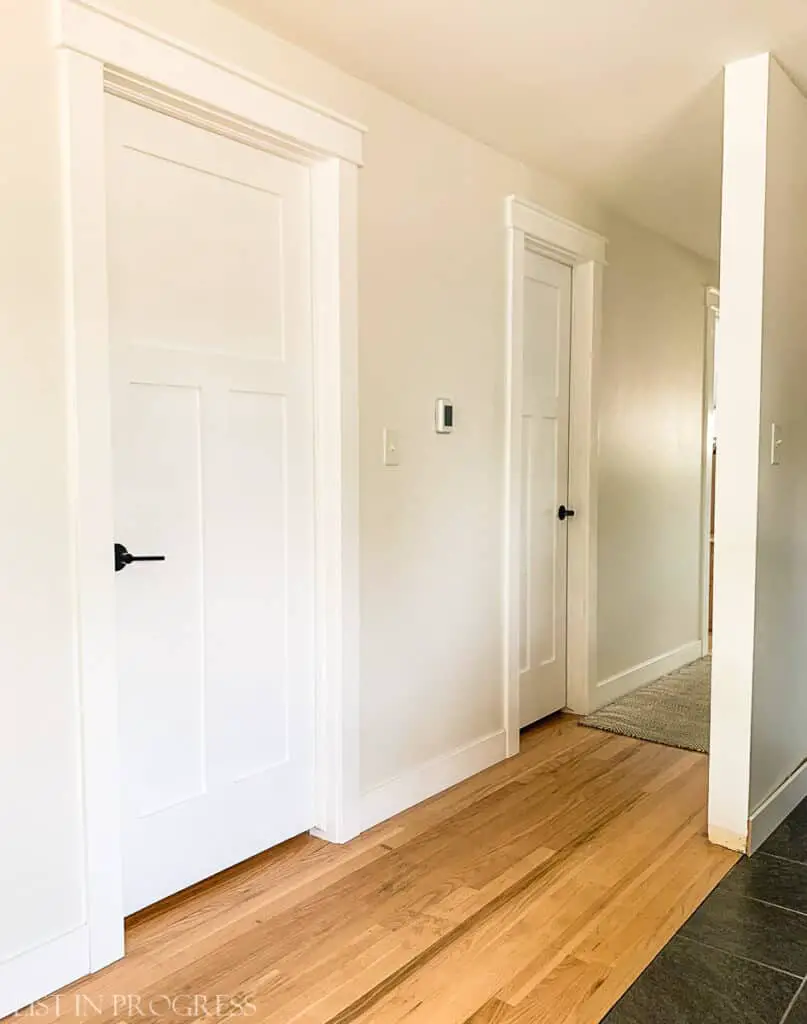
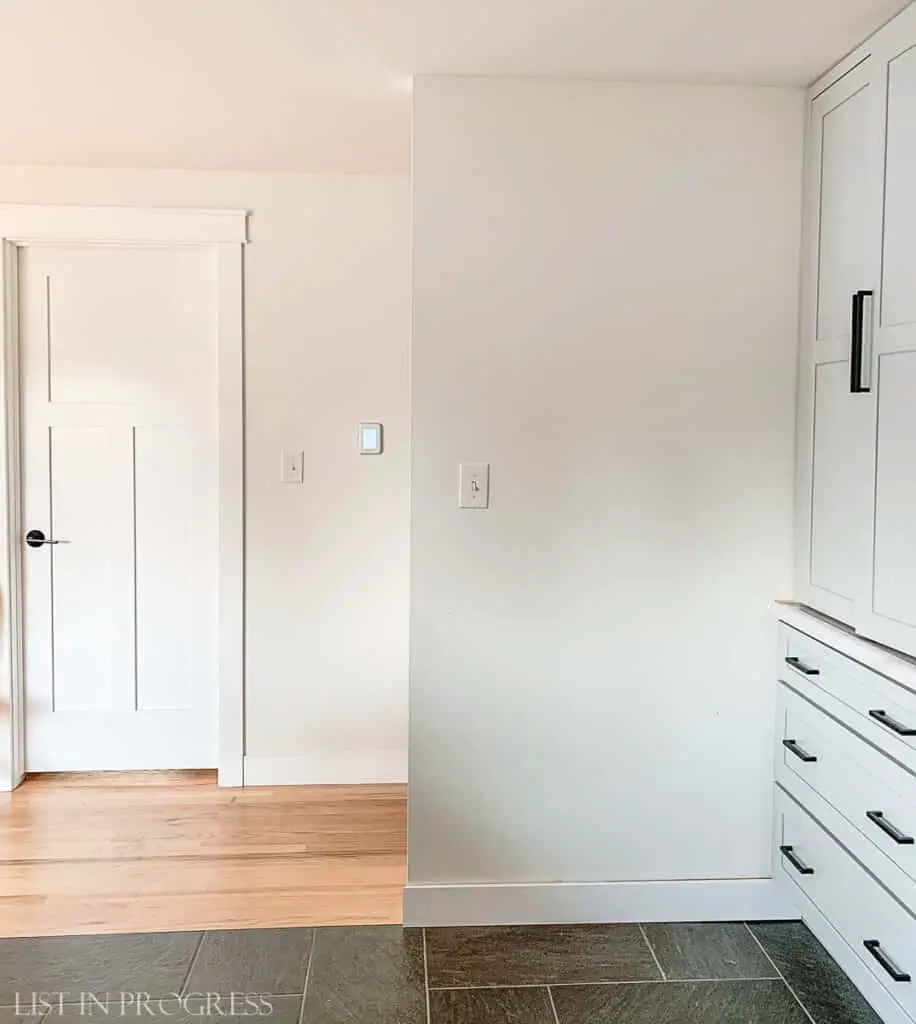
I love the sleek look of our Honeywell T9 Smart Thermostat. What an upgrade! The white on white looks so much better.
Other White Smart Thermostats to Consider
Some great thermostats are on sale TODAY with Amazon Prime Day Deals.
>> Check out the Prime Day thermostat deals here <<
Here are other white smart thermostats that look promising. There aren’t many white options, but I hope that more low-profile designs will emerge. Please note this Mysa Smart Thermostat is for electric baseboard heaters.
Do you have any questions? What are you wondering about smart thermostats? I hope you feel empowered to try this project!
DIY Remodeling Tips from List in Progress

1 – How to Create Craftsman-Style Door Trim
2 – Best Exterior Behr White Paint Colors
3 – The Best Flooring for Every Room in Your House
4 – 2021 Cabinet Hardware Trends


