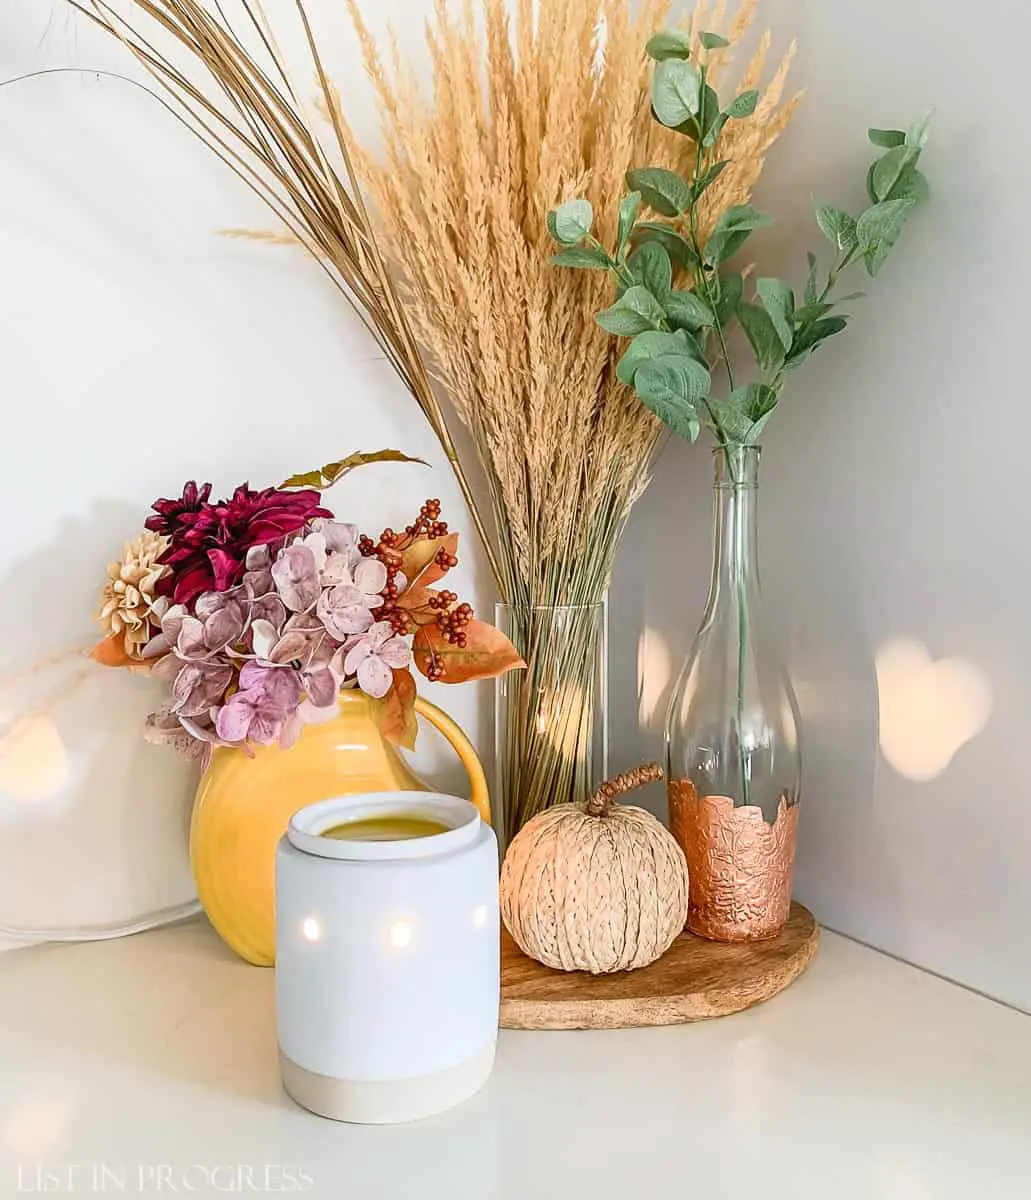
I’ve discovered the easiest (and laziest) way to make DIY wax melts that will make your home smell amazing. As the temps drop and we start to hunker down, it really helps my mood when our house smells like something delicious – or relaxing – or refreshing… you know, whatever I’m in the mood for at the moment. Anyone else? The best part is, you can customize DIY wax melts with the scents you love, using essential oils. Check it out.
Love essential oils? Check out this post!
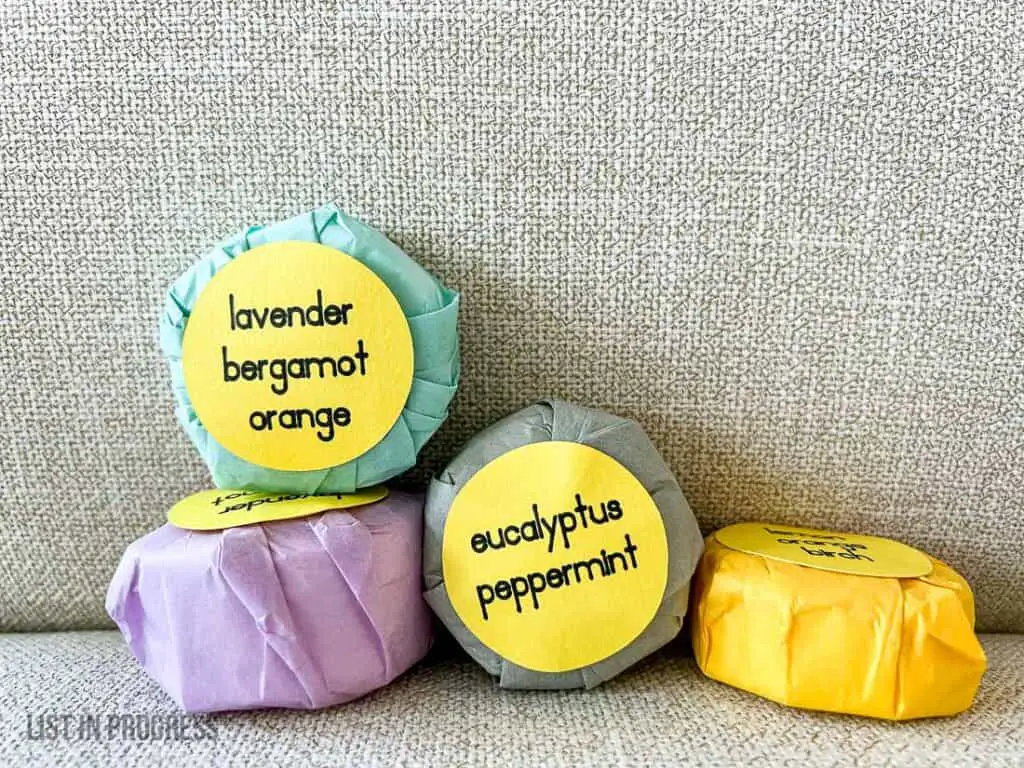
Make These Easy DIY Shower Steamers
What are Wax Melts?
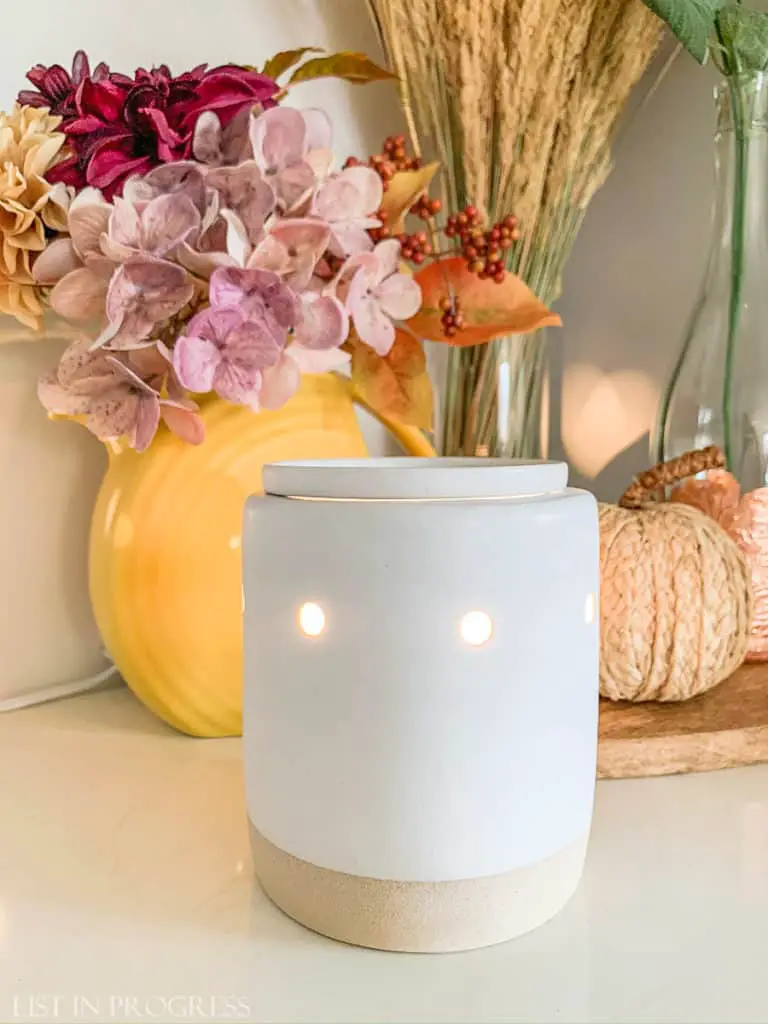
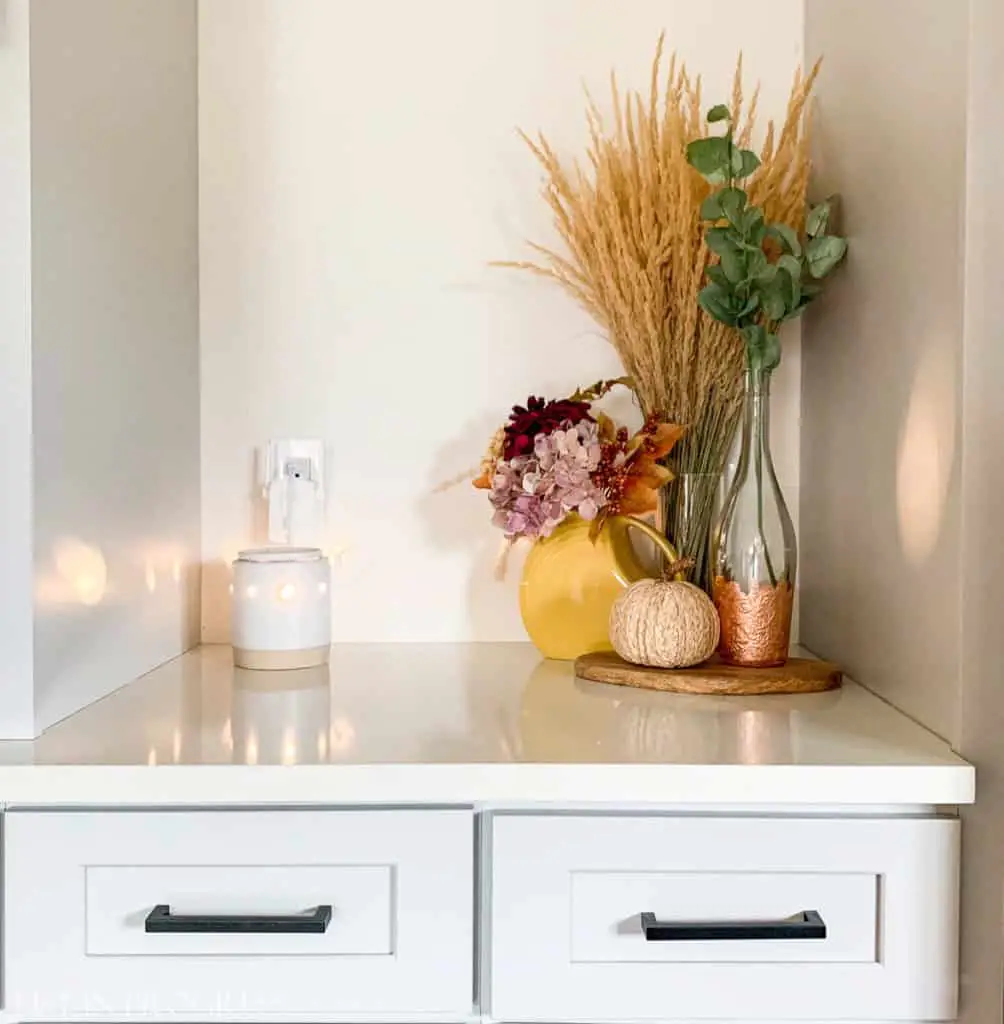
Wax melts are essentially the same idea as a candle, without the flame. They are a chunk of scented wax that you melt over a little lamp, like this one below, which releases the scent into the air. You can find them for sale from a ton of vendors if you don’t want to DIY this project. However, if you’re picky about ingredients like I am, it’s honestly SO simple to just make them at home.
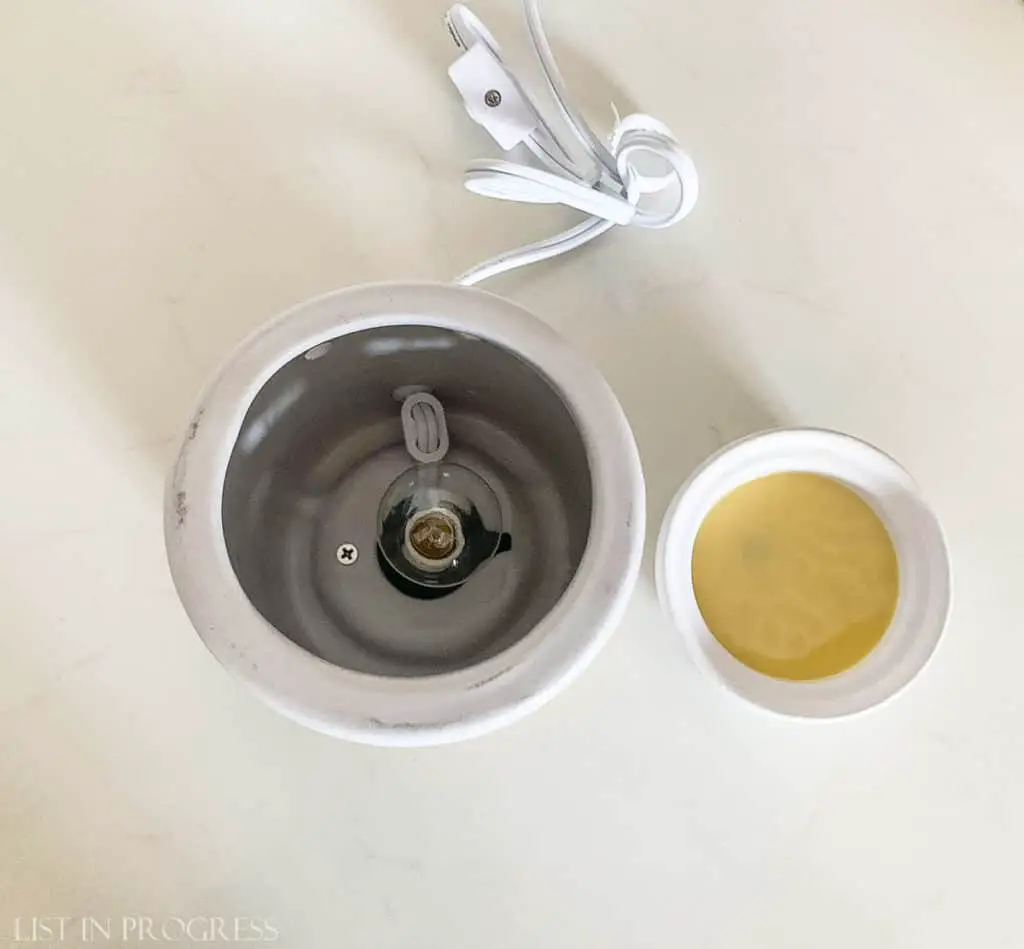

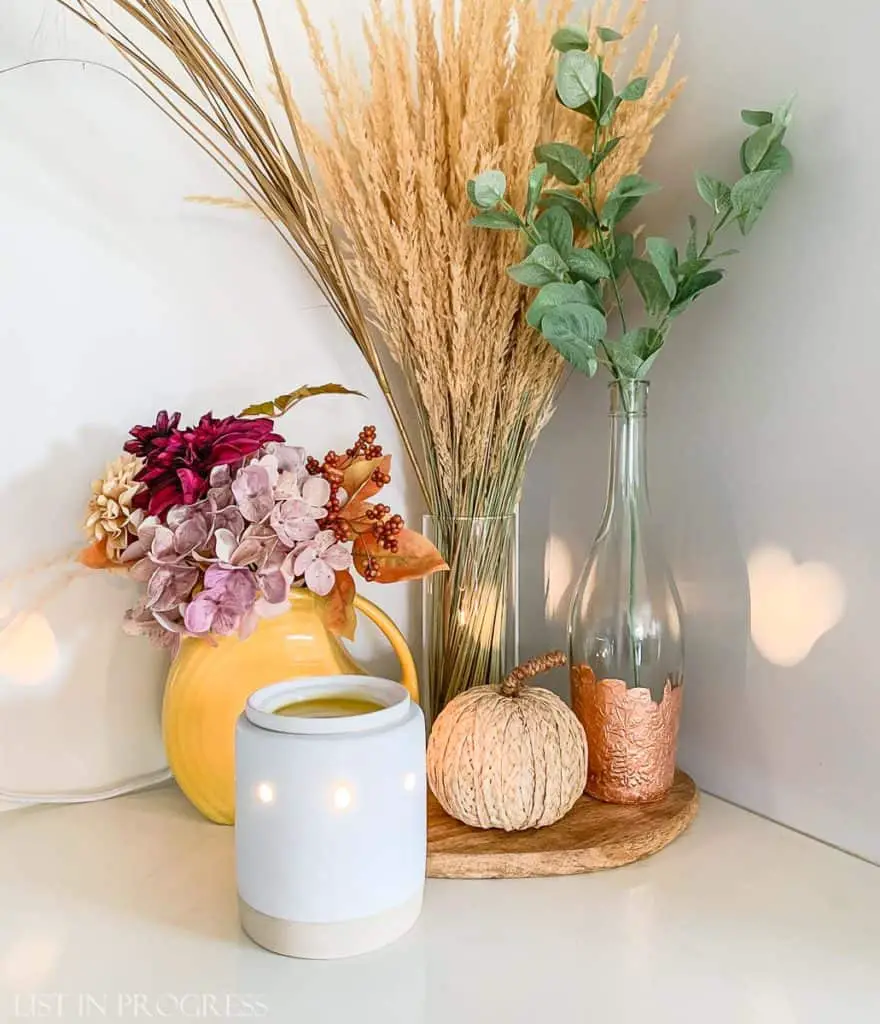
By the way, I have nothing against candles or diffusers. I just prefer something scented that doesn’t involve fire, and I’m on the fence about using diffusers around young kids.
How to Apply Gold Leaf to Glass Decor
How to Make DIY Wax Melts
There are two ways to make DIY wax melts. First, there are the pretty, Pinterest-worthy melts that you can make in bulk and give away as gifts. Mix the ingredients in a double boiler, pour into silicone molds, and let them cool. They are lovely.
Second, there is the lazy DIY method. You’re in luck because that’s what I’m sharing today! Like my favorite “one-pot wonder” dinners, I’m going to show you the quick and easy way to make DIY wax melts. With zero cleanup. What’s not to love?
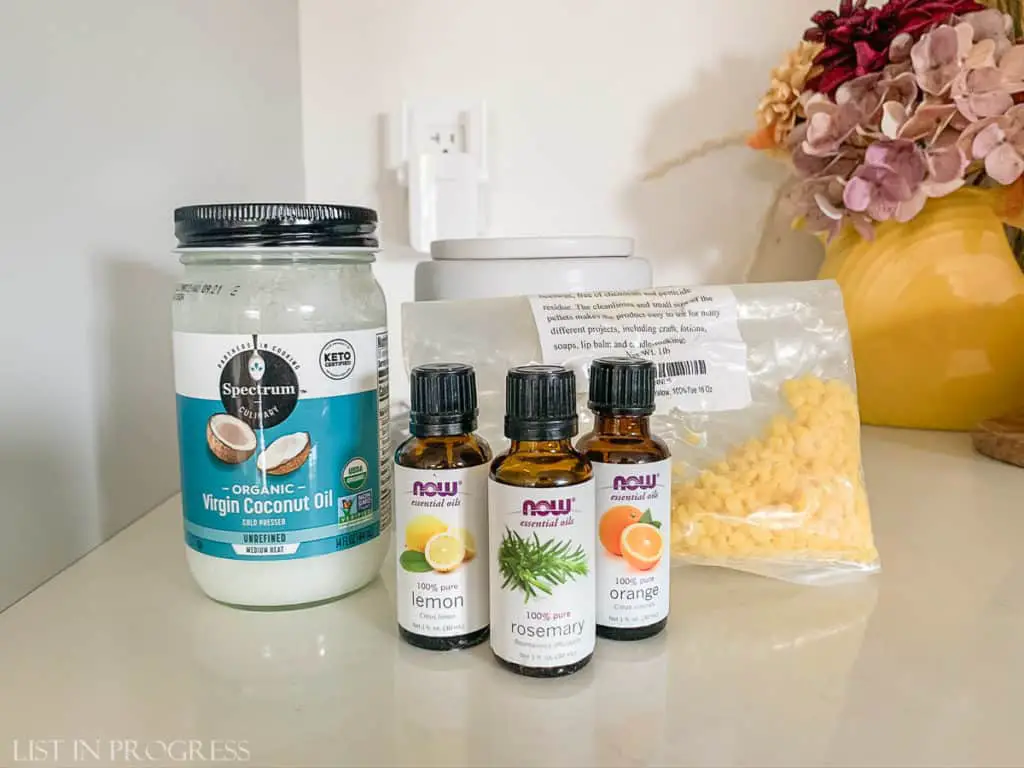
You’ll need:
- ~ 1 tbsp beeswax pastilles
- ~ 1 tbsp coconut oil
- ~10-20 drops essential oils of choice (see recs below)
- wax warmer
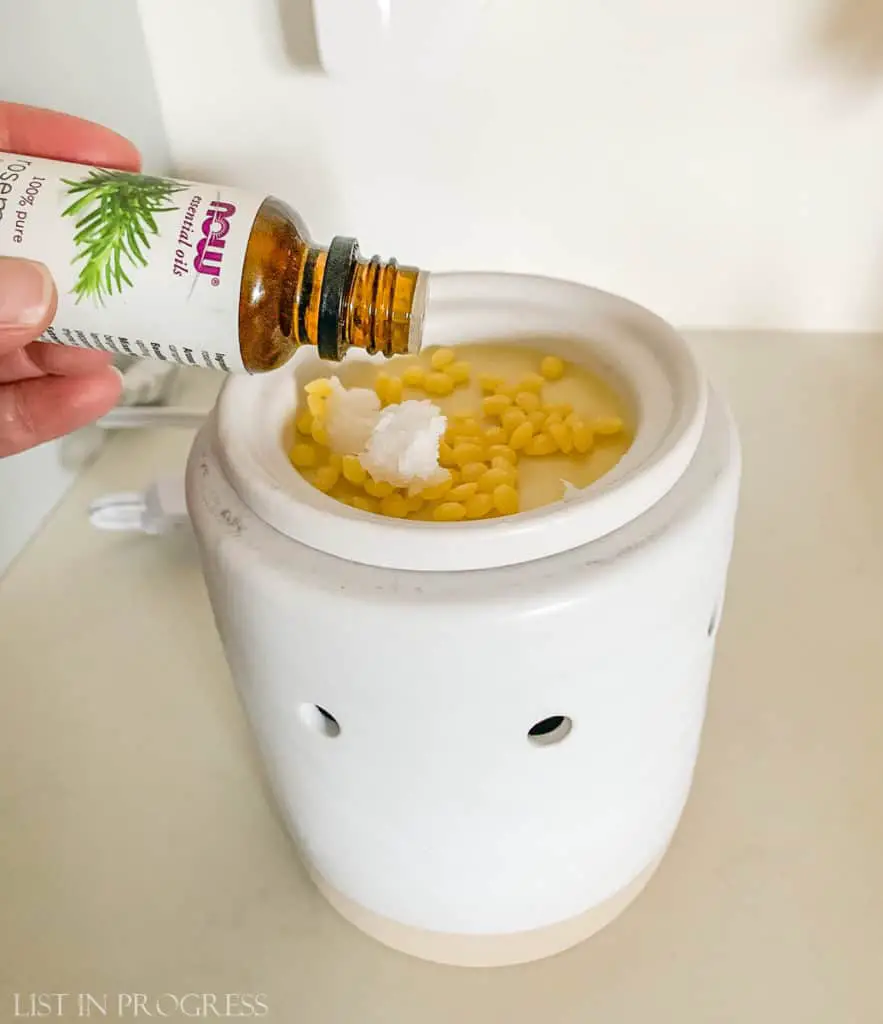
Step 1: Scoop beeswax and coconut oil into the warmer tray and turn on the warmer.
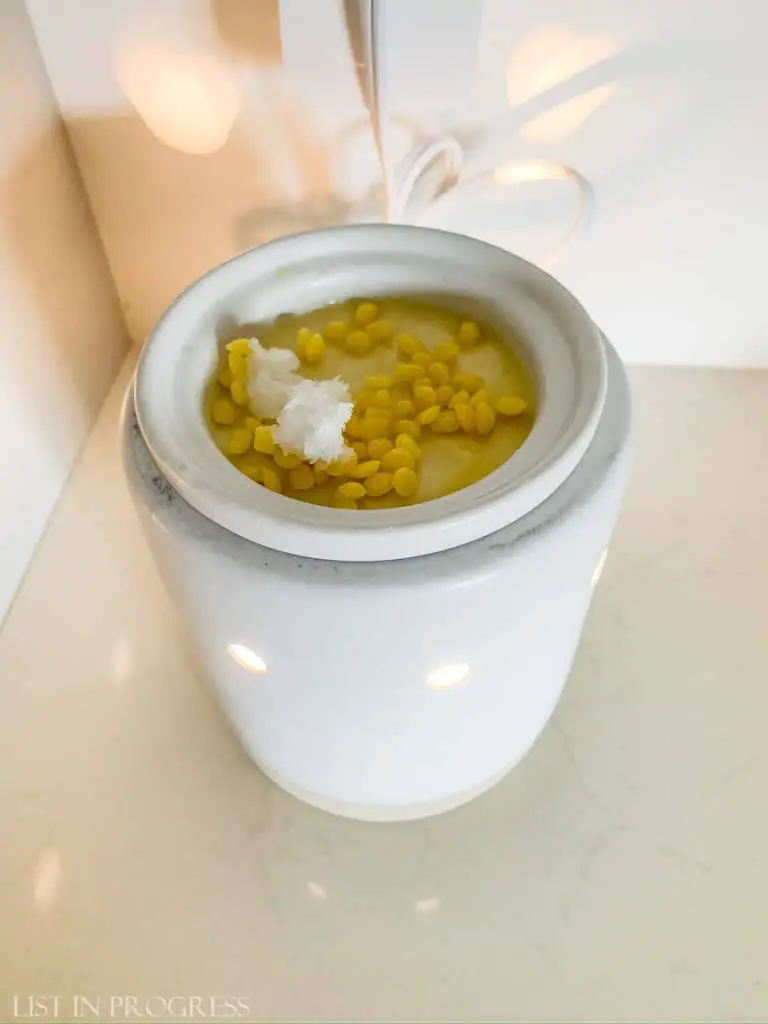
Step 2: Wait about 15 minutes until the wax has melted a bit and add the essential oils. There is no exact amount, but I usually add 10-20 drops for a new melt. Stir everything together with a popsicle stick or wooden skewer that you can toss.
Done! Seriously, it’s so easy. Once you notice that the melt no longer releases as much scent, just add a few more drops of essential oil. You can also boost each ingredient after a while to refresh the wax melt. That’s what you’re seeing in the shot below.
How to Change Out the Wax
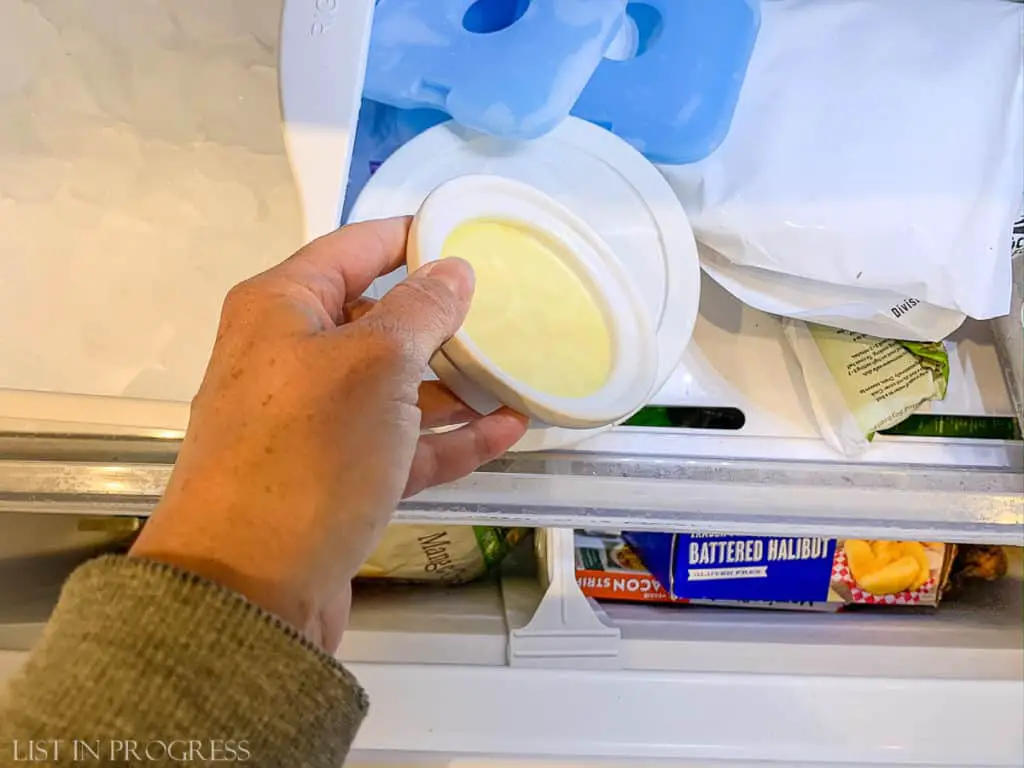
If you want to try making a new scent, you’ll need to pop the old wax out of the top of the warmer. Once the wax has cooled, put the tray in the freezer for 15-20 minutes. Then carefully pop the wax out of the tray with a plastic knife. (I used a metal knife and scratched my tray, so learn from my mistake.) Save the wax melt for future use.
Read More About Our DIY Home Updates
Favorite Behr White Paint Colors
Closet Door Ideas to Update Any Room
How to Apply Gold Leaf to Glass Decor
2022 Trends in Cabinet Hardware
Why Make DIY Wax Melts?
If you’re picky about scents, like I am, then making your own DIY wax melts is the way to go. I’ve bought some in the past and then hated the scents, so spending money on quality essential oils is a better investment for me. I also use EOs in some DIY cleaning mixes (lemon + baking soda = delicious smelling bathtub scrub) and sprinkle them on wool dryer balls.
DIY Natural Cleaners That Really Work
If you do prefer to buy wax melts, Poofy Organics is one of my favorite small businesses selling clean, high quality lotions and potions for self care. I’ve bought these melts in the past and loved them: Dynamite Day and Holiday Trees. They also sell essential oils. FYI, I do not earn commission on links to Poofy Organics – I just consistently love their products.
Recommended EO Scent Combos
If you’re new to essential oils, here are a few things to know first. They are super concentrated, so don’t put them directly on your skin! Buy a high-quality EO, not a watered-down version; you’ll only use a few drops at a time and they last a while. Do not ingest them! Once they are mixed with a carrier oil (like coconut oil), they are safer on your skin, so it’s fine to handle the wax melt when it’s cool.
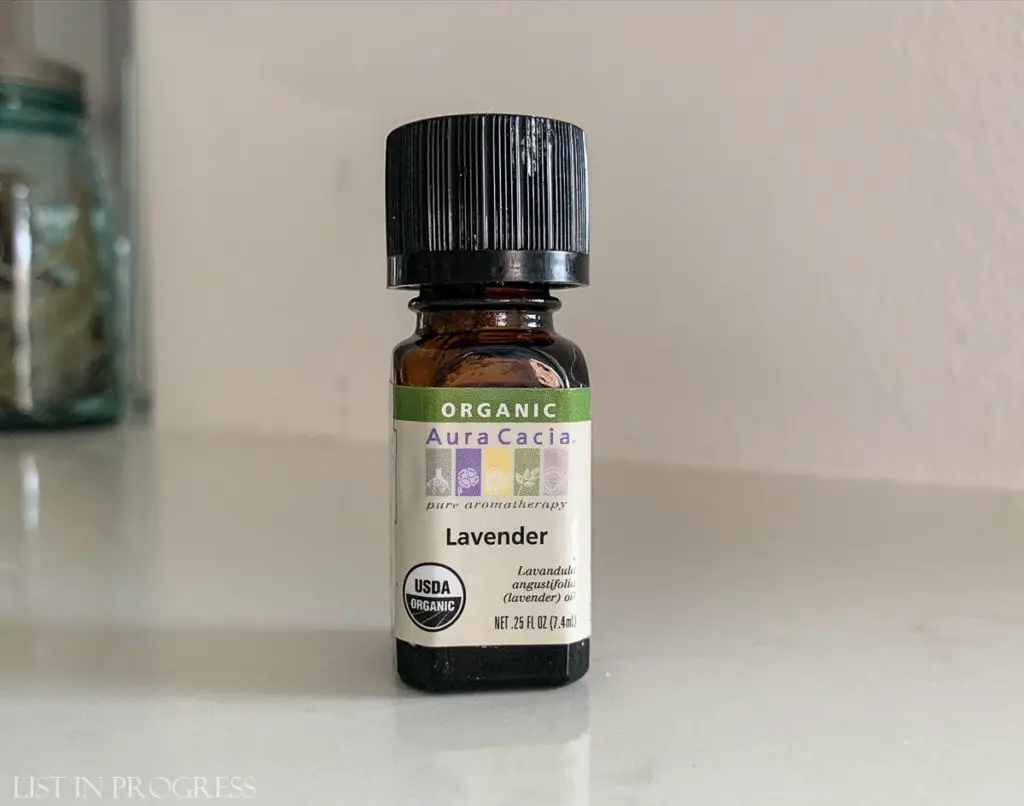
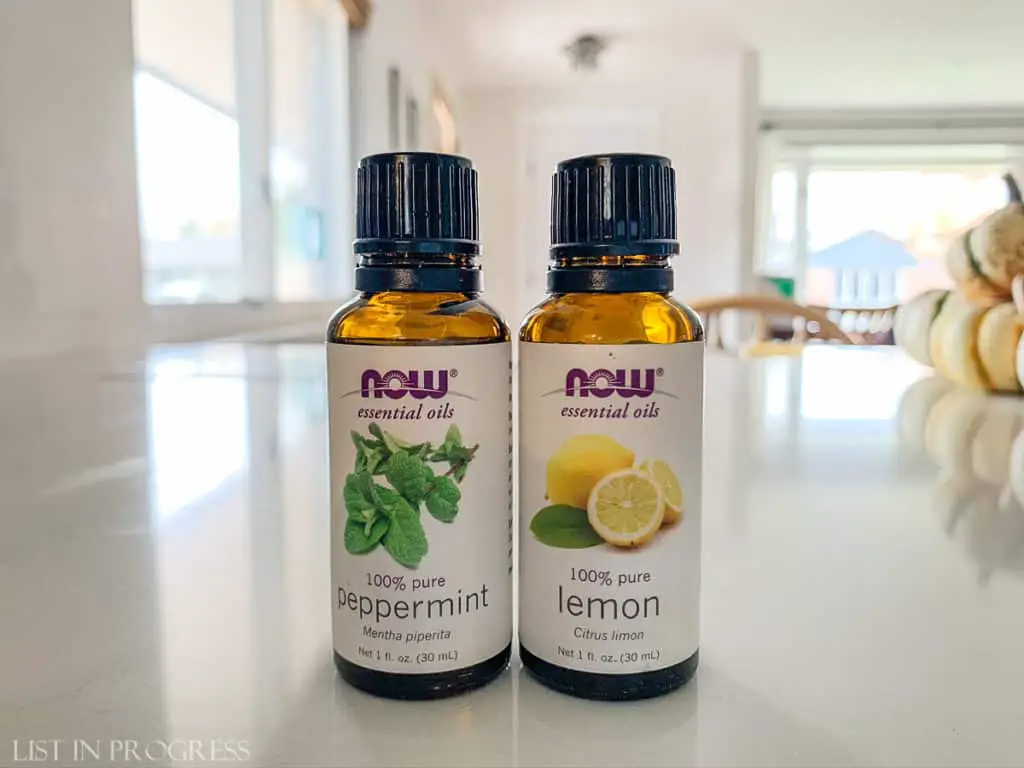
As for brands, I happen to like NOW Foods and Aura Cacia, but there are many other reputable lines. Also, a 1-ounce bottle is plenty as you get started. You might find better prices if you shop around, or in stores, but I’ve included links below for convenience. You can also buy pre-blended essential oils if you know what scents you’ll like.
Best Beginner Essential Oils:
Lavender – if you like this scent, lavender is the best newbie EO to buy. Use it for everything! I sprinkle it on wool dryer balls for fresh-smelling laundry.
Lemon or orange – also, very beginner-friendly and smell great in bathrooms and kitchens
Wax Melt COMBOS to Try:
These are all approximate ratios, just play around with it!
Lavender/Lemon – 8 drops lavender + 4 drops lemon
Fresh Citrus – 6 drops lemon + 6 drops orange + 2 drops rosemary
Citrus mint – mostly lemon + a few drops of peppermint
Warm & cozy – 6 drops orange + 4 drops cinnamon + 4 drops rosemary
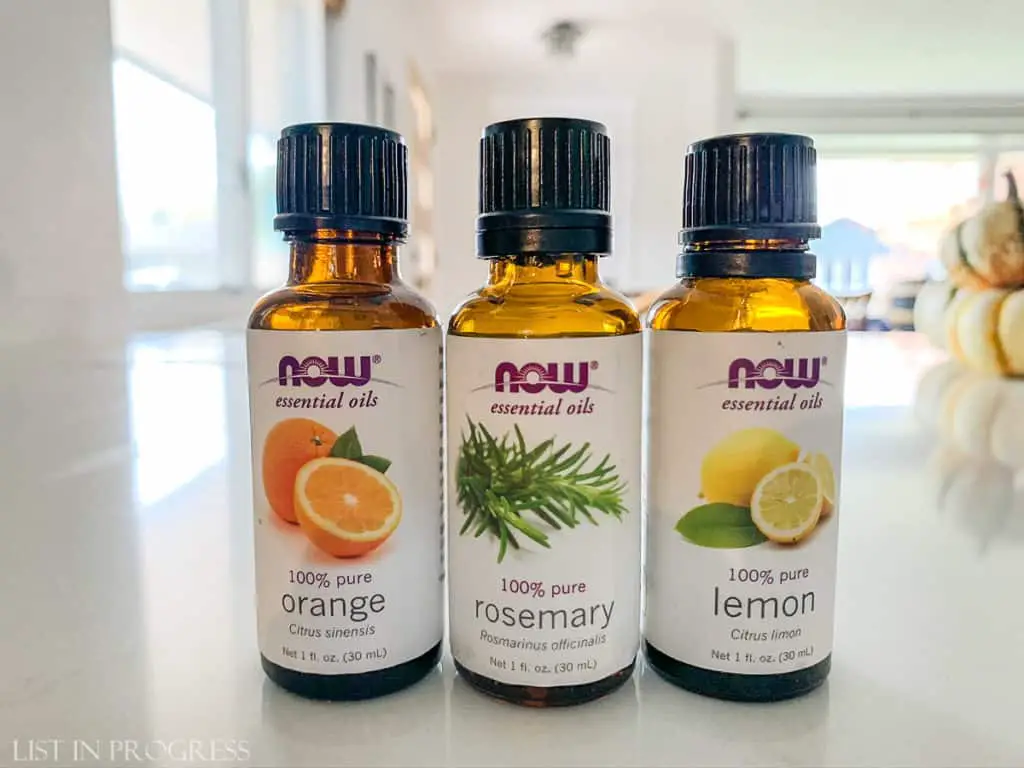
While looking up product links, I discovered that Amazon sells 3-packs of NOW brand essential oils that are a pretty good deal. These sound like great blends for a wax warmer:
- lemon, lime & bergamot
- orange, tangerine & lemon
- lavender, grapefruit & peppermint
- rosemary, peppermint & cinnamon
Love essential oils? Check out this post!
Make These Easy DIY Shower Steamers


Read More About Our DIY House Updates
Favorite Behr White Paint Colors
Closet Door Ideas to Update Any Room
How to Apply Gold Leaf to Glass Decor
Trends in Cabinet Hardware
Wax Warmers
Here’s a fun selection of warmers. Scroll right to see more. Mine is the first one, from Target.
Hope you feel inspired to bring some new scents into your space this fall. Might as well enjoy our time at home, right? Have fun and let me know if you discover a great scent combo!
More DIY Inspo From List in Progress

1 – 8 Upcycled DIY Craft Projects to Try
2 – Favorite Behr White Paint Colors
3 – Our New White Smart Thermostat
4 – How to Apply Gold Leaf to Glass Decor


