Advising the internet on how to childproof a house while remodeling makes me wonder if I might be opening a can of worms. Welp! Here we go! Today I’m sharing all the details on how we live in a construction zone with two young children. Hopefully, you’ll find some useful tips if you’re in a similar situation, and withhold judgement if you’re not. Please know that our children’s safety is our first priority. What works for us might not work for everyone, so I encourage you to make the choices that feel best for your family.
This post contains affiliate links. If you click through and purchase something, I may receive a small commission. Thanks for supporting my blog!
Why You Should Childproof a House While Remodeling
Gotcha! Did you really think I would explain this? Of course we want to keep our kids safe, and there are a range of ways to do it. I’ve got some personal advice and recommendations, but I’d also love to hear from you. If you have tips to add after reading this post, send them my way!
——————–
Have “The Talk” Before You Childproof Your House
Take the time to explain to kids why the grown-up tools are off-limits. (That was the talk you thought I meant, right?) Of course, in a perfect world, children would never stumble across a hammer and try it out on a freshly painted wall… or worse. However, the reality is, if you’re working on your house, your tools will probably be accessible to others at some point. Your children should hear directly from you which (if any) items they are allowed to touch and which are strictly off-limits.
In my opinion, teaching your kids why they should not touch adult tools is part of the childproofing checklist. Our kids have grown up around tools and remodeling, so they are very comfortable living in a house under construction. They are also used to hearing warnings about power tools and know to avoid them. Added to that, we teach tool safety by letting our kids use some hand tools with supervision, and “help” with projects when appropriate. Having some supervised experience with tools takes away the mystery and allure, and my kids now basically ignore our tools.
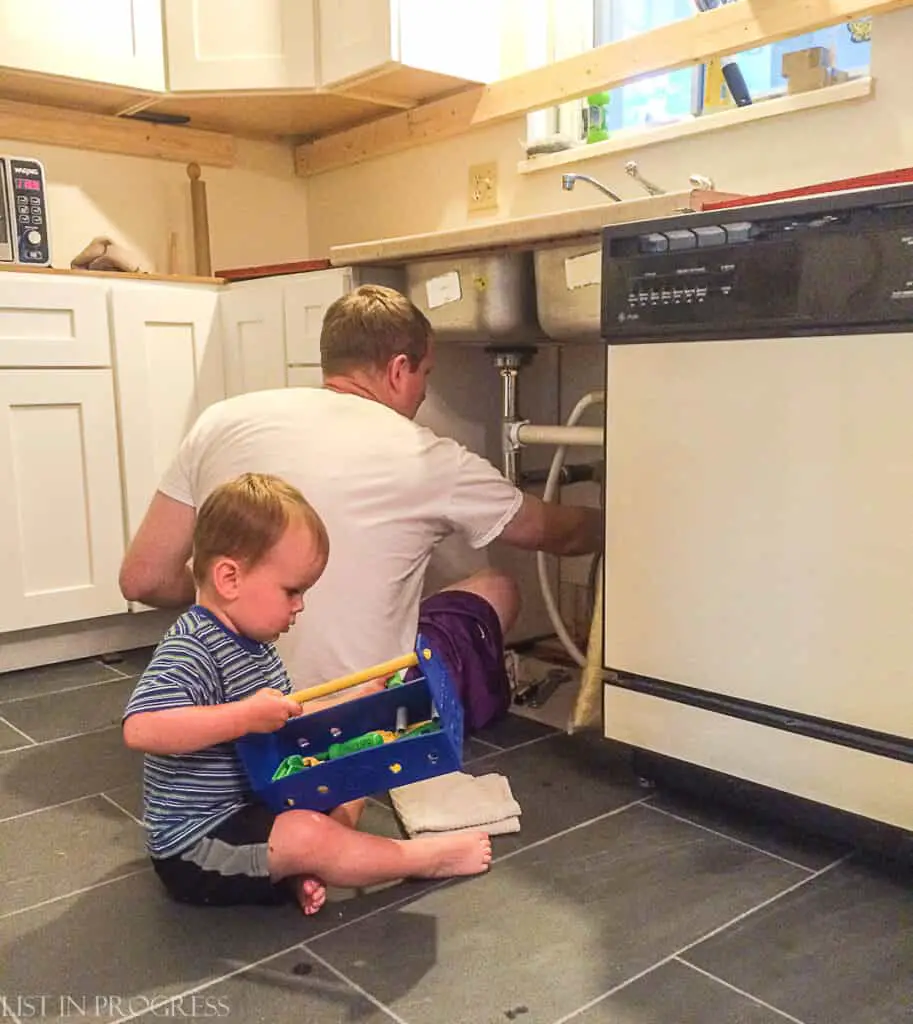
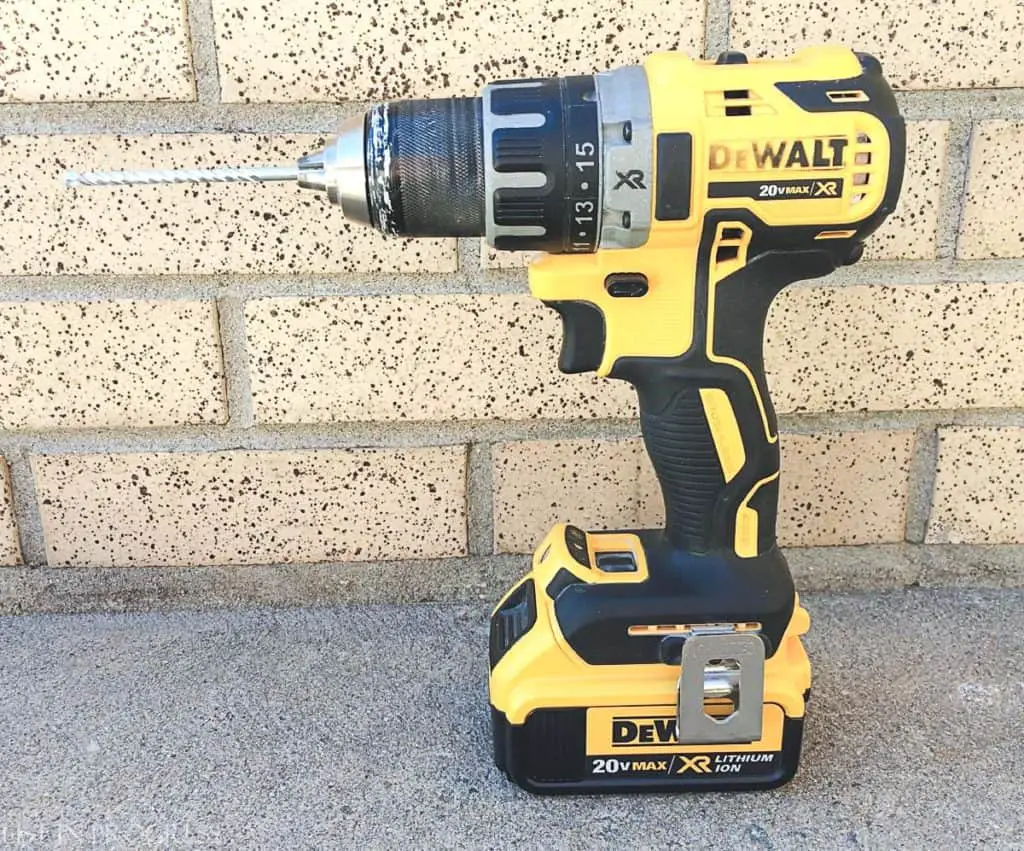
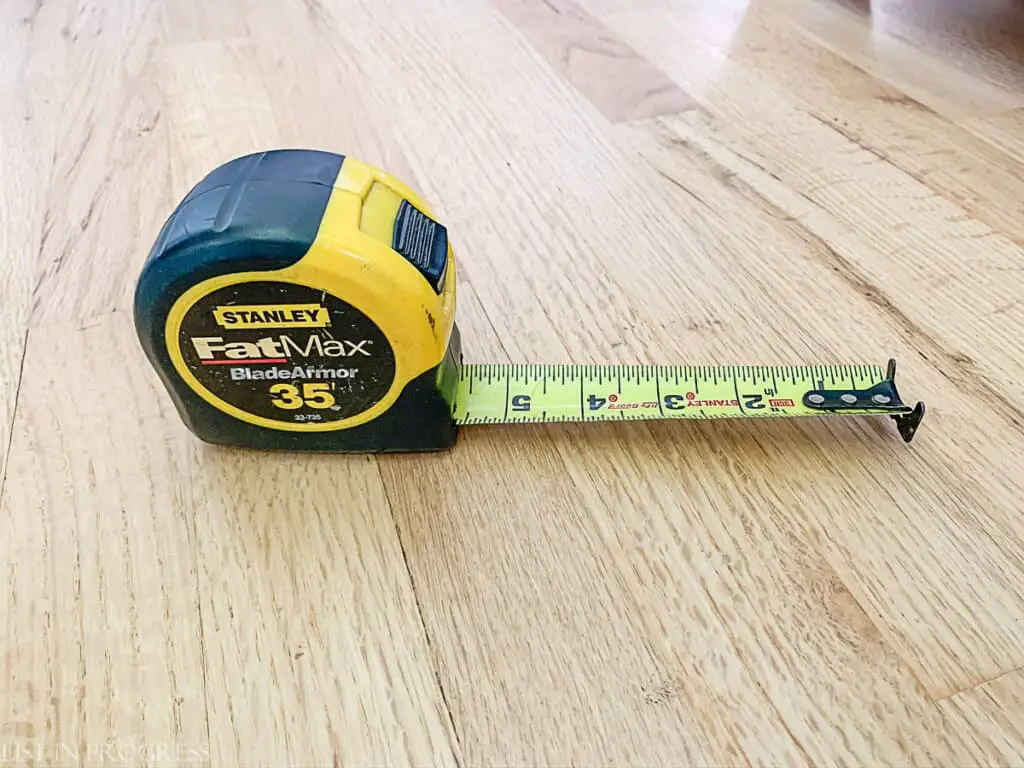
With all of that said, it’s a great idea to do a “tool sweep” at the end of each day during a project, collecting all of the tools and putting them in a safe spot. Make sure to remove batteries from/unplug and relocate power tools, as well as anything sharp, to ensure they are out of reach of children.
——————–
Test for Hazardous Materials Before Remodeling
One important way to ensure your family’s safety before starting a renovation is to know about potentially hazardous materials in your home. Two dangerous and common materials to check for are lead paint and asbestos. Here’s how we deal with each of these materials.
LEAD PAINT
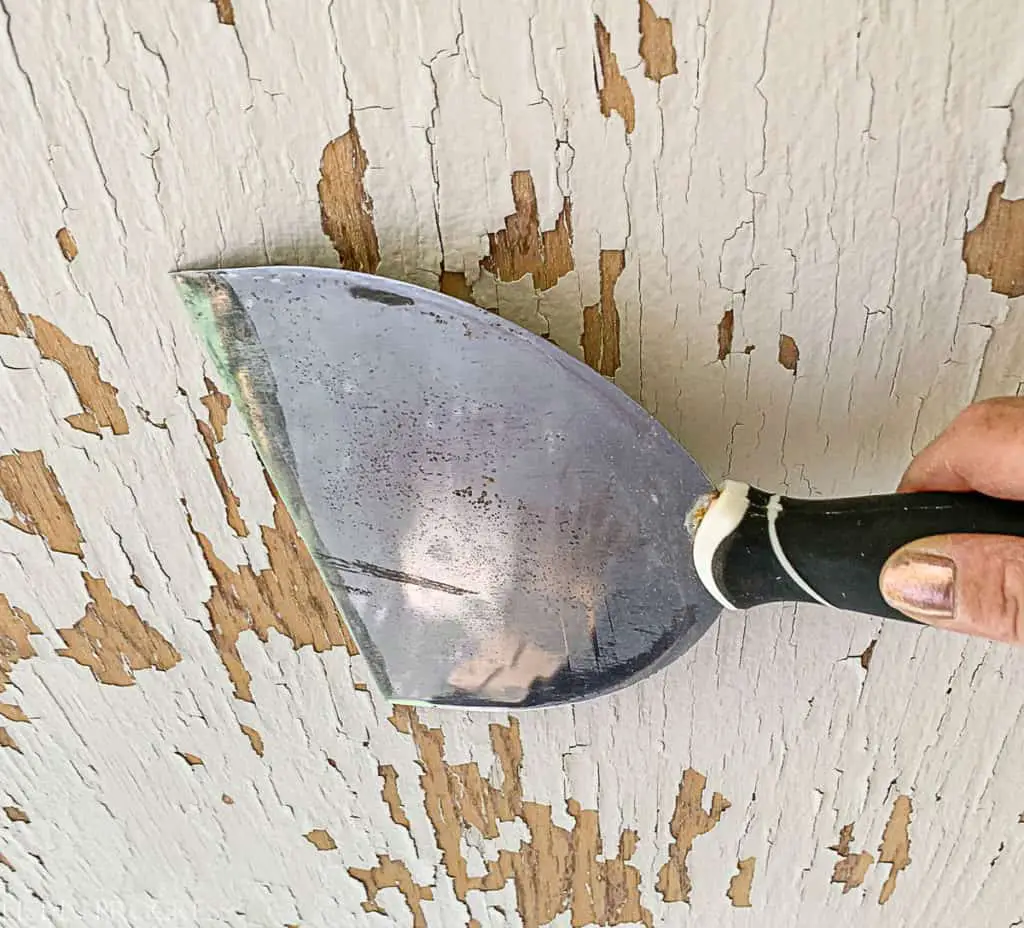
If your home was built before 1978, there is a chance that lead paint was used at some point. I keep these lead test kits on hand to swab surfaces before starting any work. The last thing I would want to do is release lead dust for anyone to breathe. Yikes.
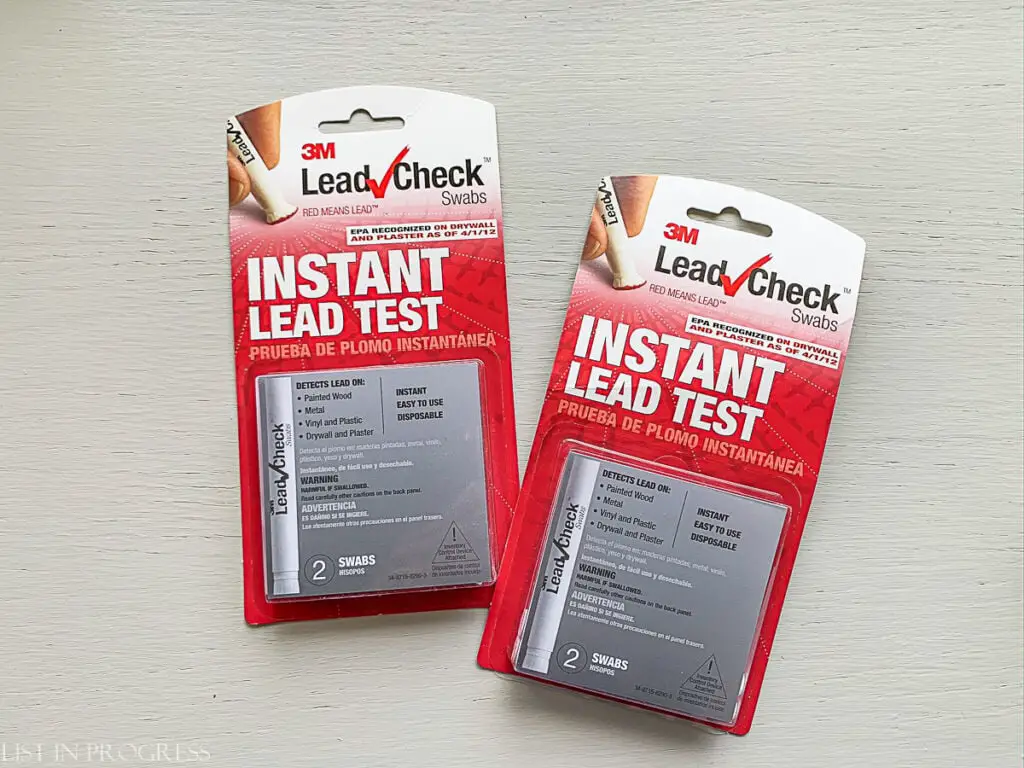
You can also send a sample to a lab for more official testing. If you do find lead paint, it’s often safer and easier to encapsulate it (cover it entirely) than to disturb it. This might require creative thinking, if you need to do more than paint over it. Disclaimer: you should refer to/hire professionals when dealing with lead paint.
ASBESTOS
Another toxic material is asbestos. Unfortunately, asbestos is a really effective insulator and fire-resistant material, so it was used in a wide variety of building materials for decades. You might have asbestos in old ceiling panels, floor tiles, mastic (glue), drywall texture (like popcorn ceilings), and other materials. We’ve used these test kits to remove small material samples for lab testing of various materials in our homes. Prepare for this to take about a week, although you can pay more for faster results.
If you need to remove a material that contains asbestos, you should have it professionally remediated, which is expensive. We hired a contractor to remove a 4 x 4 section of laminate flooring in our first house, and it cost about $2000. Just to prepare you. However, it’s better to play it safe than to get cancer.
——————–
Create Safe Zones During Remodeling
Another way to childproof a house while remodeling is to create safe zones for children (and pets). If you have a major renovation happening that will create dust, debris, or be otherwise dangerous, you should separate that area from the rest of your living space. Hang sheets of plastic to contain dust and demo materials, or require your contractor to create this separation from your living space. They will probably plan to do this anyway, but it’s smart to discuss before work starts. You’ll want to separate the construction from your safe zone for both health and safety.
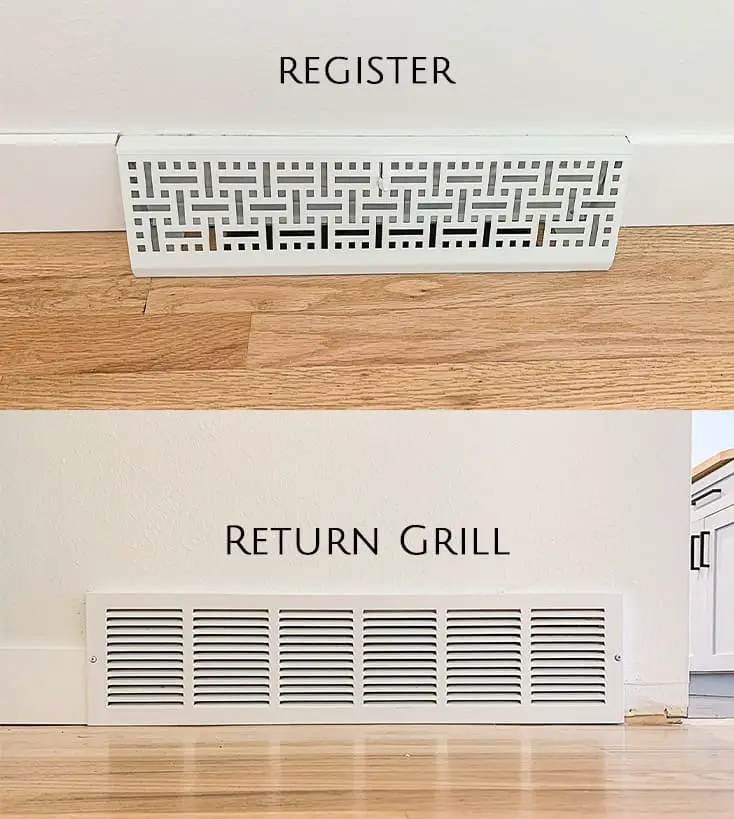
You might consider turning off your furnace and sealing off your ductwork registers and grills, to prevent dust from circulating. It’s also a good idea to vacuum frequently with HEPA-filtered vacuum.
When the remodeling is happening in a kitchen or bathroom, you’ll likely also need to designate an alternate “safe” area for those activities. Be sure to show your children which spaces are temporarily in use/off-limits and explain why.
——————–
Baby-Proofing is Easier than Childproofing a House
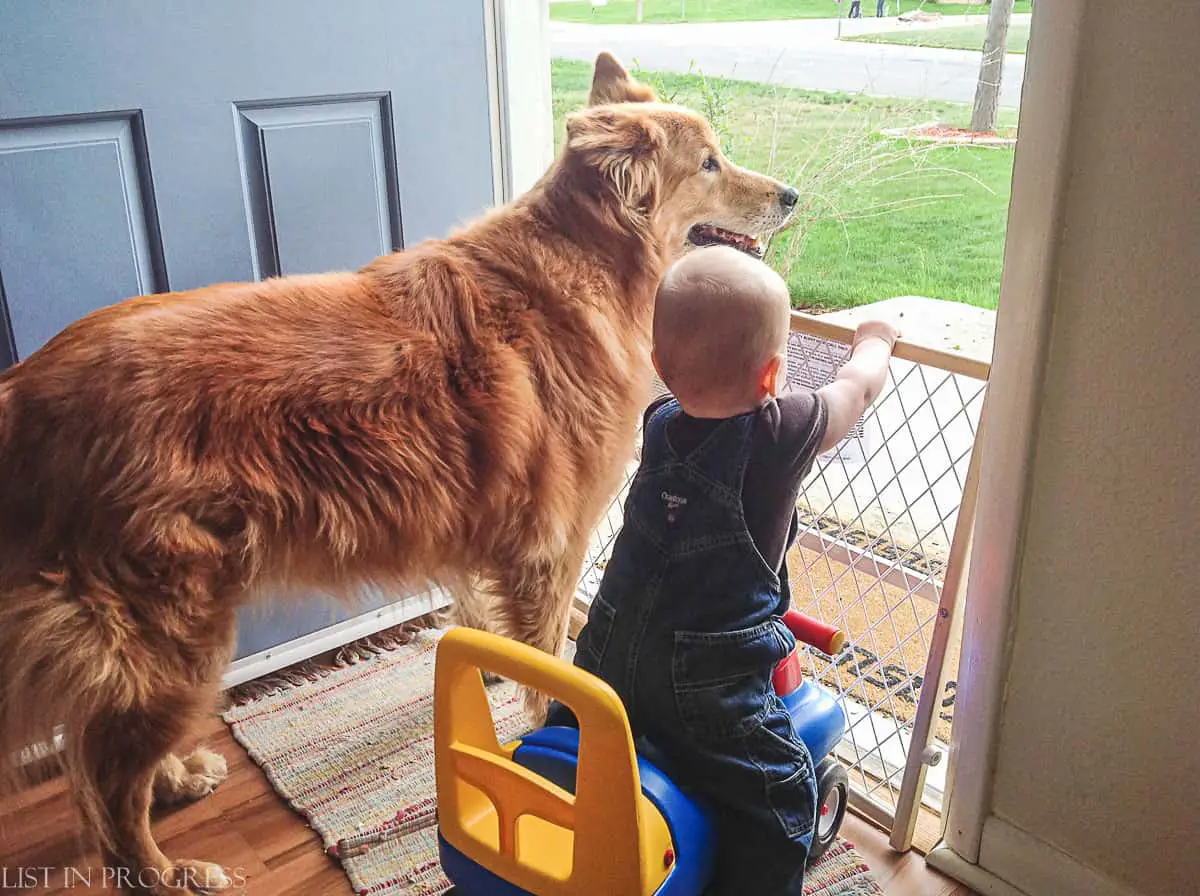
In my opinion, baby-proofing is easier than childproofing, because you can contain younger kids (and pets). If you have a designated area for your babies/kids to play while you’re remodeling, keep the little ones corralled with temporary gates. In addition to your regular baby-proofing strategies, this is the easiest way to manage safety during construction. The same goes for pets! I’ve used and like this flexible play yard, as well as basic model (similar), affordable gates, like in the photo below. (We actually still use the play yard fence to keep basketballs from rolling out of the driveway.)

Hot Spots to Watch Out For
Make sure to pay attention to these specific areas when you childproof a house:
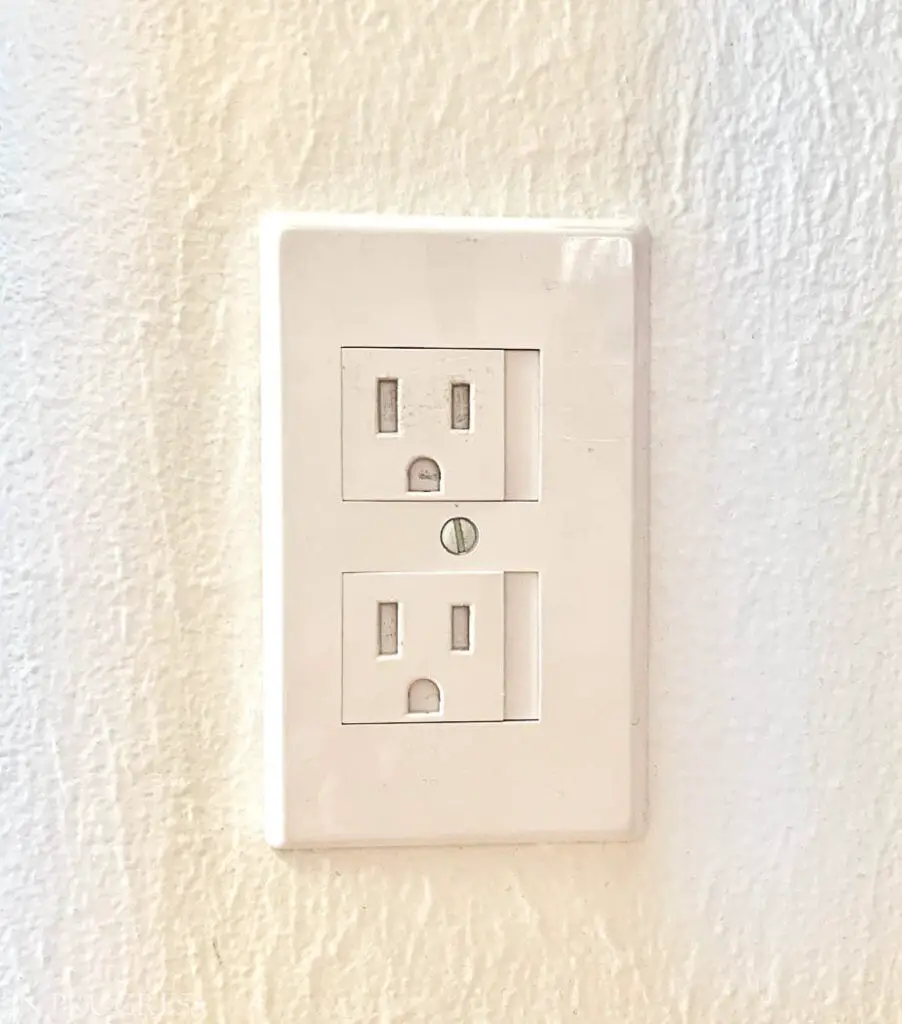
Electrical switches and outlets – always pop a cover on switches and outlets. Little fingers can poke in the sides and touch live wires if they are left uncovered. We install these sliding safety covers for outlets, rather than the plastic plugs.
Loose nails – carefully clean up any loose nails and metal so children don’t step on them. Use a magnetic floor sweeper if needed. (This is a fun job for kids to “help” with, once you’ve first swept the area for any real hazards.)
Remove batteries from power tools after use. Or unplug them. (Seems obvious, but double check!)
Keep all cleaners, paints, and chemicals out of reach, and dispose of used containers immediately. Some of these materials are highly dangerous and toxic; children should have zero access to them.
Keep indoor air as clean and fresh as possible, for everyone’s health. Use low-VOC paints and products when possible, and only on days when windows can be opened, so fresh air will circulate. Children should be out of the house when more potent products must be used.
Specific Products We Use and Recommend
childproof sliding outlet covers
childproof door latches (I’ve used similar latches, but I like that these stick on, rather than screw in.)
lead test lab kit (lab fees included)
asbestos test kit (lab fees included)
Behr paints are low-VOC (I usually buy Premium Plus)
Read More From List in Progress:
The Easiest Way to Paint Cabinets
How to Buy a New Front Door
12 Modern Black Door Hardware Ideas
Subscribe and never miss a post!
I will only email you 2-3 times per week, MAX. No junk!
[mc4wp_form id=”402″]


