I just learned how to make a daisy chain. No, not the flower kind – this hack is a great way to organize extension cords so they won’t get tangled up. I can’t believe I didn’t know about this trick of the trade sooner! #mindblown Let me teach you how to do it…
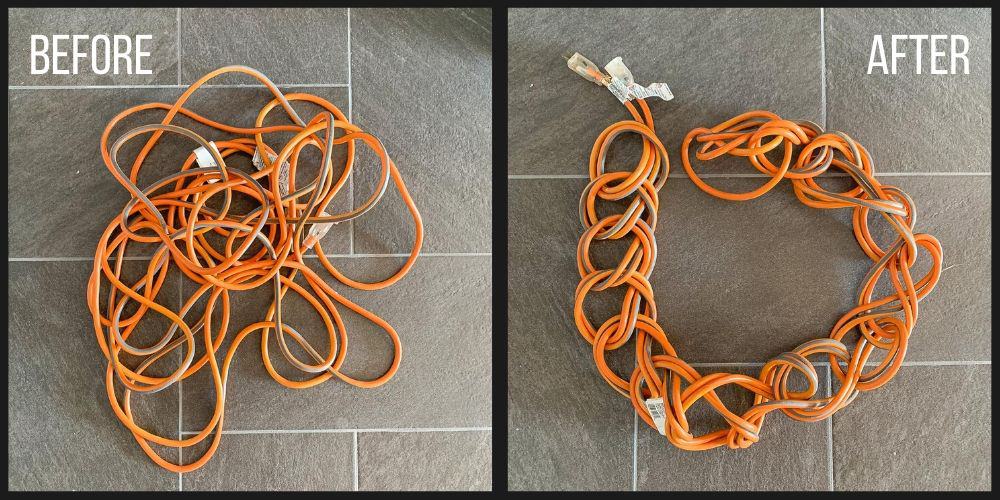
The photo above on the left is what our cords usually look like. Now that I’ve learned how to make a daisy chain to organize extension cords, I hope we never fall back into this habit. What a pain to unravel! I was planning to take a video of Wyatt wrapping a cord into a daisy chain, but why reinvent the wheel? These guys nailed it. Check it out their video to see the entire process. Here are some step-by-step shots.
Steps To Make a Daisy Chain
First, find the mid-point of your cord and fold it in half to make a loop.

Next, pull the doubled cord through the loop. This will make the first circle in the chain.
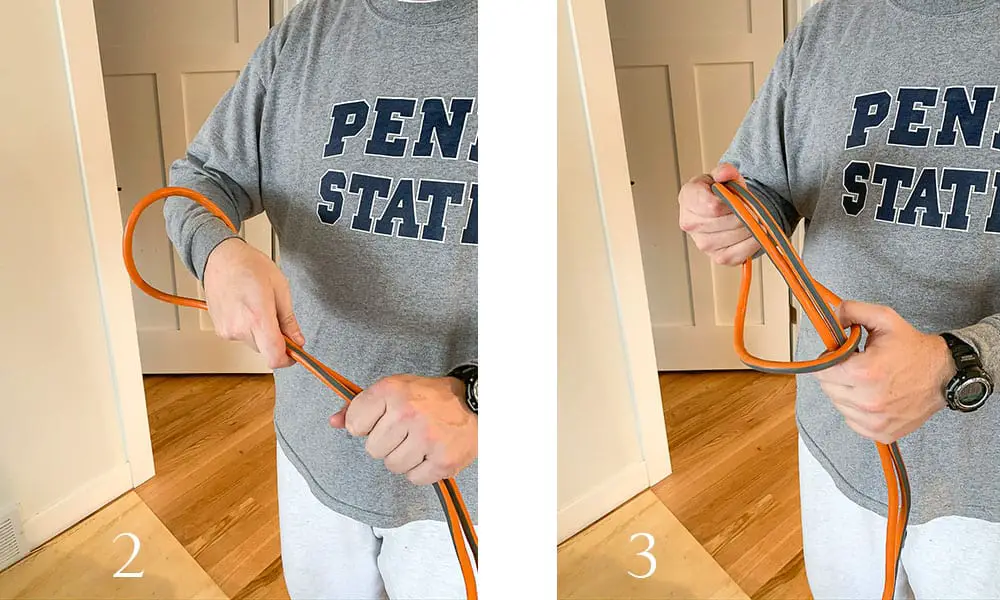
Then, put your hand through the circle, grab the doubled cord, and pull a small section back through the circle.
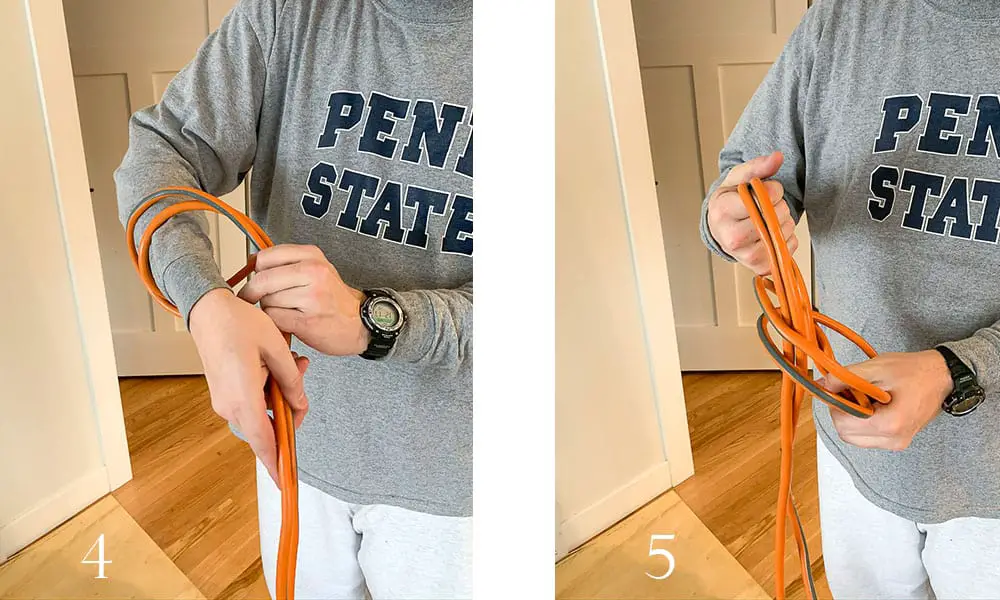
Repeat these steps for the entire length of the doubled cord. Voila!
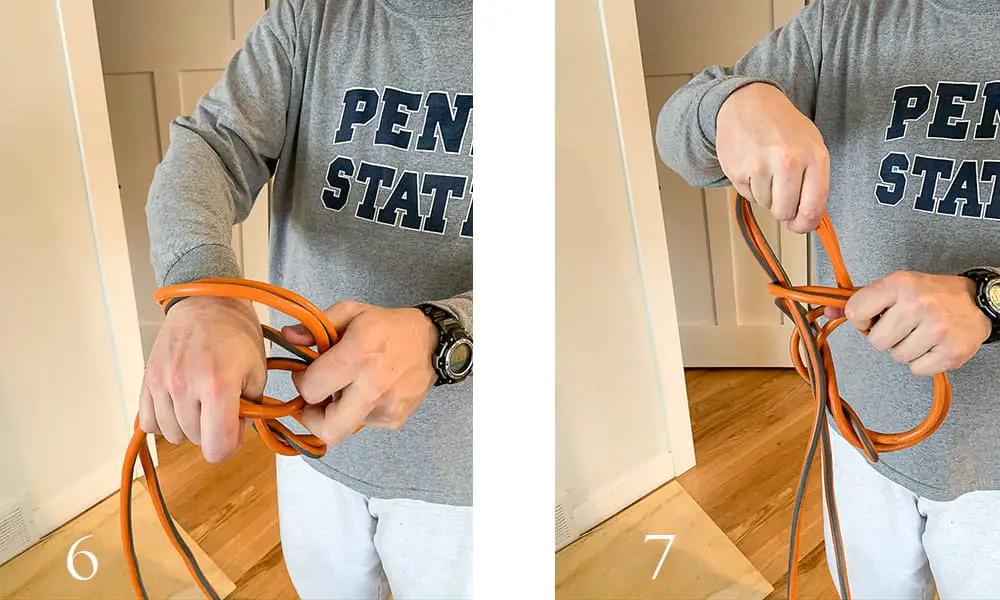
When you reach the end, you can pull the cords all the way through the last loop to “lock” the chain. If you’re storing the cord, this is the best choice. When you’re ready to use it, just pull those cords out of the “lock” and unravel the length of cord you need for your project. The rest will stay neatly braided. Now you can organize extension cords AND you’ve learned a party trick. Ha!
This is the type of extension cord we use with power tools: Home Depot | Amazon
What do you think? Want to learn more tips and tricks of the trade? I’m always fascinated by this stuff, and I’d be happy to share more. Let me know!
Want to Read More?
Here are some other tips and tricks from DIY projects at our house:
Paint Like a Pro – Painting Tools + Tips
How to Create a Basket Wall
Using a Laser Level to Easily Hang Anything
Subscribe and never miss a post!
I will only email you 1-2 times per week, MAX. No junk!
[mc4wp_form id=”402″]


Thank you for this! I’ve seen these before, but never knew how to do it!
Thanks, Tracy! Glad someone else out there found this useful!