

Painting is one of my favorite ways to revamp my home. It’s easy, cheap, and breathes new life into any room or piece of furniture. I come by this honestly; my mom has repainted the house I grew up in so many times, I’ve lost track of all the colors. She’s actually still at it! Like any skill, there is a learning curve, but the right supplies can make any painting project easier (and probably better). Here are some of my favorite painting tools – and tips for using them.
This post contains affiliate links. If you click through and purchase something, I may receive a small commission. Thanks for supporting this blog!
Best Painting Tools for Interiors
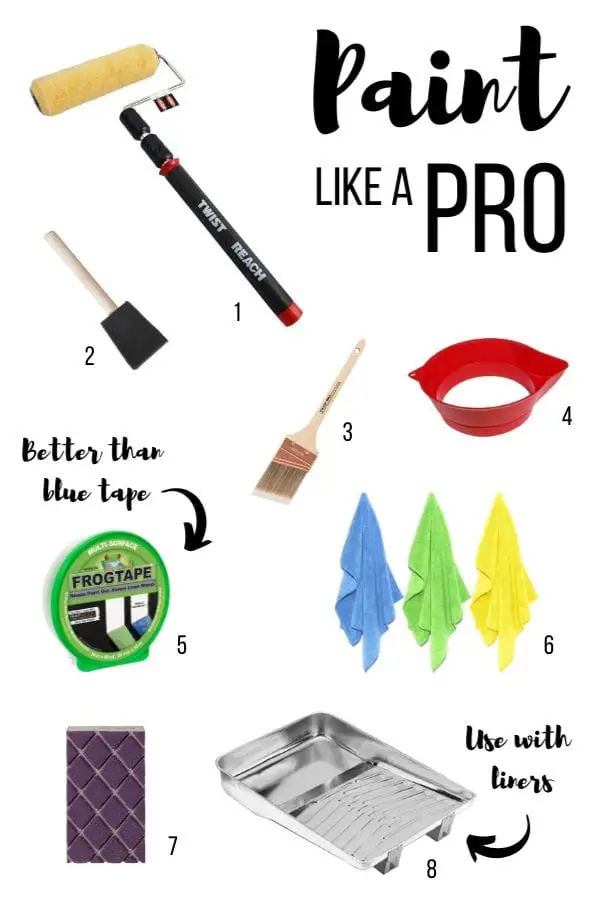
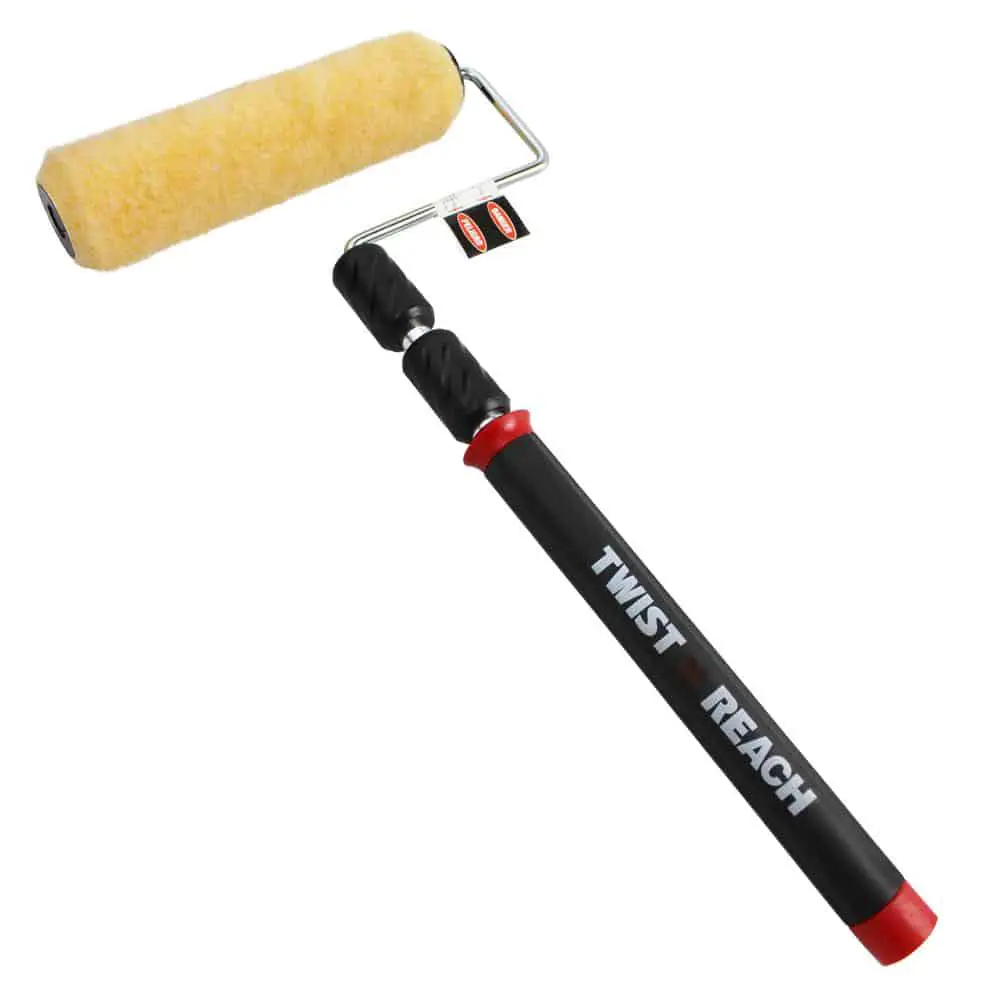
1 – Extension roller frame
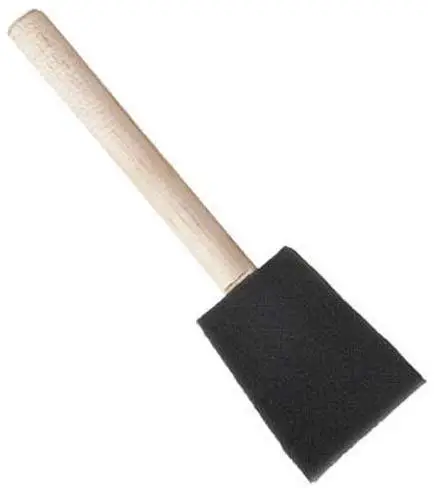
2 – Jen Mfg foam brush
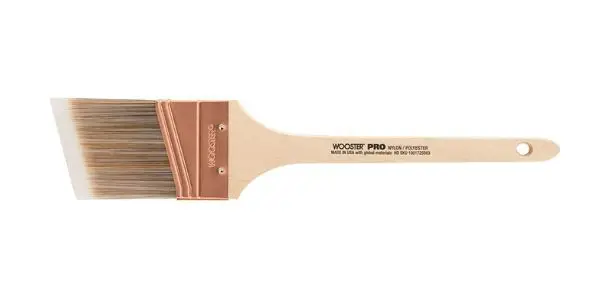
3 – Angled sash brush
4 – Paint can pourer
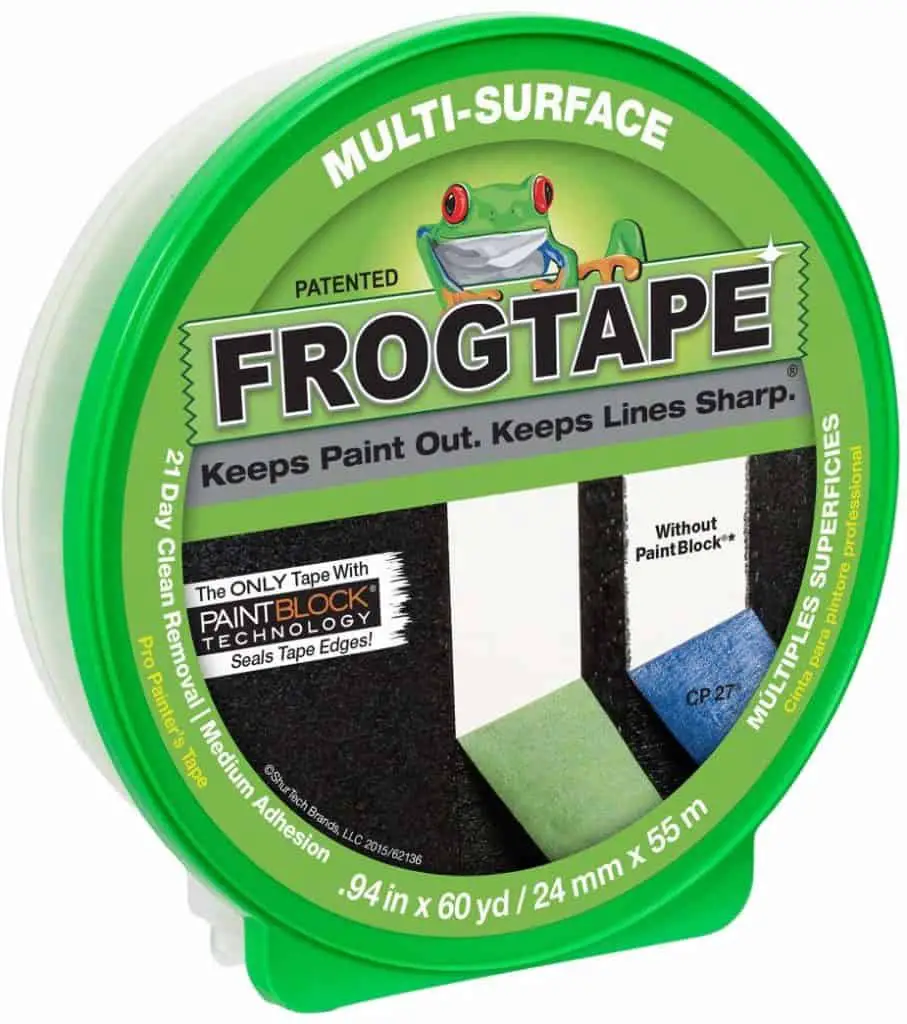
5 – Green FrogTape
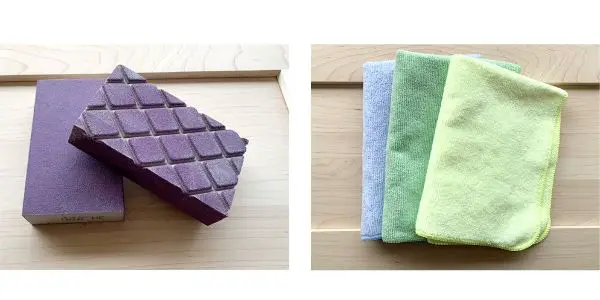
6 – Microfiber cloths
7 – 3M sanding block
8 – Metal paint tray
To Tape or Not To Tape
I used to tape off everything when painting a room. I taped the trim, the ceiling, light switches, everything. Peeling the tape off and seeing a crisp line is SO satisfying! Except… when the paint bleeds through the tape, which happens to me more often than not. All that taping is enough to suck the life right out of any project (and me), so I tweaked a few things and now I skip most of the tape.
My biggest tip is to learn to “cut in” paint with an angled sash brush. This is enormously time-saving and you’ll feel pretty proud of yourself, too. It takes some practice, but then GOODBYE TAPE. Here’s a quick video that shows you how to do it. (I’m definitely going to try his tip of getting the brush wet BEFORE painting. And how cool is that spinny thing to dry it off?!) These are the 3″ sash brushes I usually use because they are high quality and the bristles don’t fall out. I’ve also been meaning to try this little brush since I end up holding regular brushes close to the bristles anyway.
Side note, if you do want tape for a crisp line, I would recommend trying the green FrogTape brand. I still use tape for general spots that need to be covered, and the green tape adheres really well AND is easily removed. I’ve had pretty good luck with it.
Roller Tips
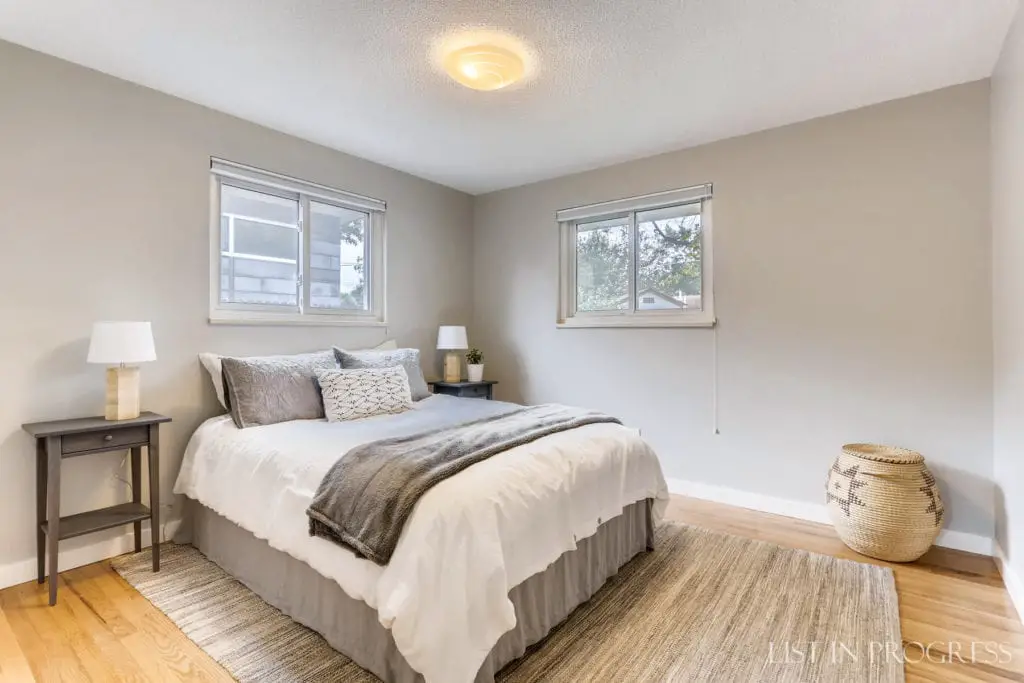
If possible, it’s easiest to paint a room as a team. One person does the brush work and the other rolls out the paint. Wyatt is better at cutting in along the ceiling, so he’s usually on brush duty and I follow with the roller. He paints where the wall meets the ceiling, corners, and along the trim on one wall first, and I fill in with the roller. We just pick a starting point and then move around the room together. Since we live in a dry climate, we have to work quickly to try to roll out and blend paint while the borders are still wet. (My dad and I actually painted this room, below, before we sold our first house – thanks Dad!)
If you’re short, like me, I highly recommend an extension roller for your walls. Just a little more reach helps me easily roll out paint to the ceiling without moving a ladder around. Really helpful. I would also recommend buying the highest quality roller covers for your project. You’ll get a better looking result with a better cover.
Normally, I’m all for environmentally-friendly choices in life. Painting is where I splurge for some disposable items, but mainly because it’s hard to reuse some tools without getting specks of dust or dried paint in fresh new paint. I like to use disposable paint tray liners (like these) set inside of a sturdy paint tray. You can certainly attempt to wash and reuse them, but I find that I can never wash mine well enough and end up with specks of dried paint in my next batch. Ugh. I also love these durable foam brushes for quick touch ups. You can wash them and reuse again or just toss.
Painting Tools for a Smooth Finish
What’s more annoying than messing up fresh paint? Not much, to a DIYer! That’s why I’ve invested in a few items that help keep things smooth in my projects. I’ve mentioned disposable paint tray liners to avoid dried paint flakes. This handy pouring tool helps keep the dried paint out of a new pour from a previously opened paint can. It also makes pouring MUCH easier, without dripping all over the can. Plus, it’s less than $3!
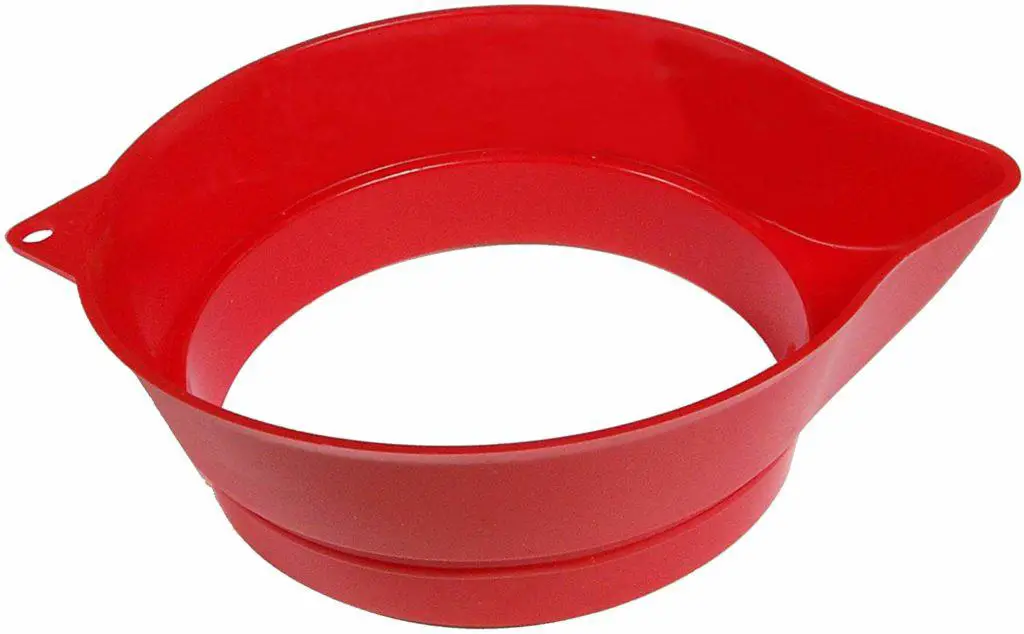
Another tip is to pour small batches of paint into reusable plastic tubs, like these. This will make it easy to carry around small batches of paint for trim or similar jobs. Then you can save the paint for a day or two and not have to pour from the can and deal with that clean up.
If you need to fill and sand any spots, I would recommend these sanding blocks and microfiber cloths for cleaning the dust. The sanding blocks are easy to grip and get into corners and the microfiber seems to suck up every speck of dust. I’ve been painting our kitchen cabinets and these are both super helpful to prep the doors for a smooth painting surface.
Hopefully, some of these tips will help your next painting project go more smoothly. I’d love to know about any other great tools or tips, if you want to share below.
It doesn’t get much smoother than using a paint sprayer for a perfect finish. Here is my post on 12 Tips for Using a HomeRight Paint Sprayer.
To read more about our DIY kitchen cabinet repainting project, read more in these posts: The Best Paint for Kitchen Cabinets and Sanding Supplies for a Smooth Finish.


