

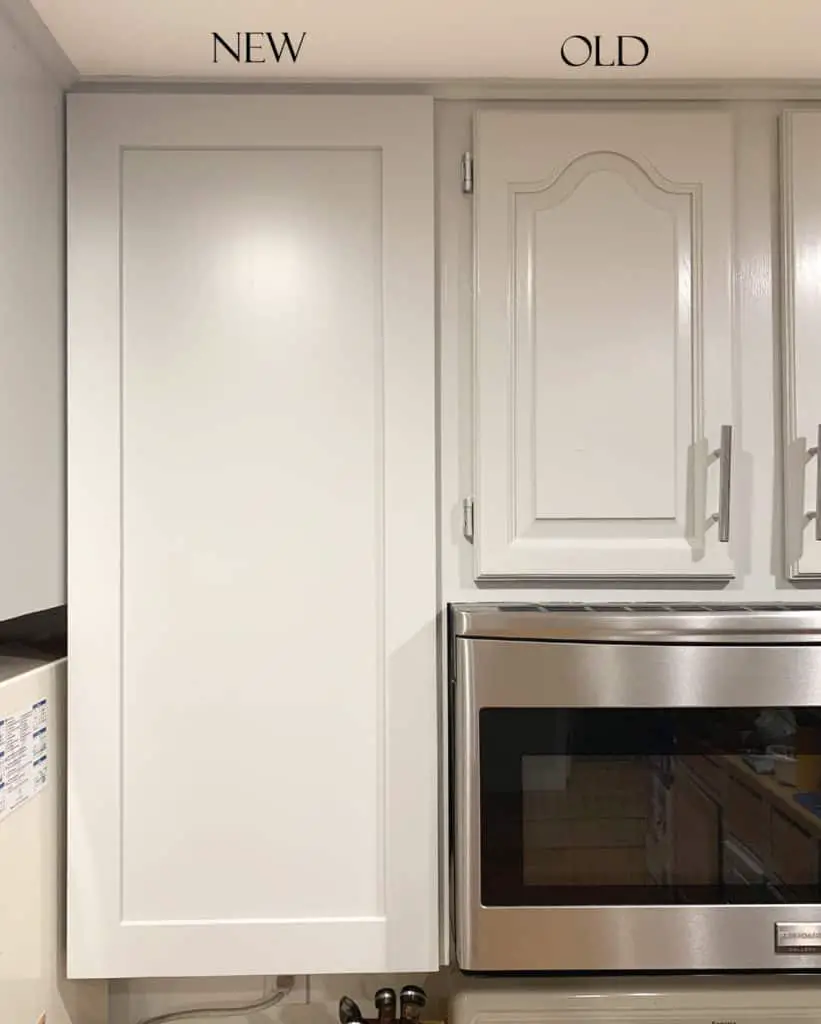
Sanding might not spark joy in my heart, but you know what does? This smooth, glossy finish on our new cabinet doors! Here’s the scoop on how to sand efficiently and tips for sanding supplies that make the job easier.
Is Sanding Really Necessary?
The answer to that question depends on the project. I usually sand before I paint any type of wood project. However, the condition of wood (painted, stained, raw, old, new, rough, etc…) really determines how heavily you’ll need to sand. There are a few specialized paints that can sometimes be used without sanding (like General Finishes Milk Paint), but I am honestly not sure how they hold up over time. I prefer to spend a little time sanding before painting. Just to make sure the paint will really adhere to the surface and justify whatever time I’m investing in a project.
Since I’m aiming for a “factory finish” on my new cabinet doors, which just means super smooth, I’m paying extra attention to sanding. I’ve lightly sanded each door at least three times: first the raw wood before painting primer, then after primer, and again after the first coat of paint. Whew! On a few doors, I’ve also sanded out a few flaws in the paint and repainted. The good news is that they look awesome. It’s worth it, I promise.
When to use an Orbital or Palm Sander
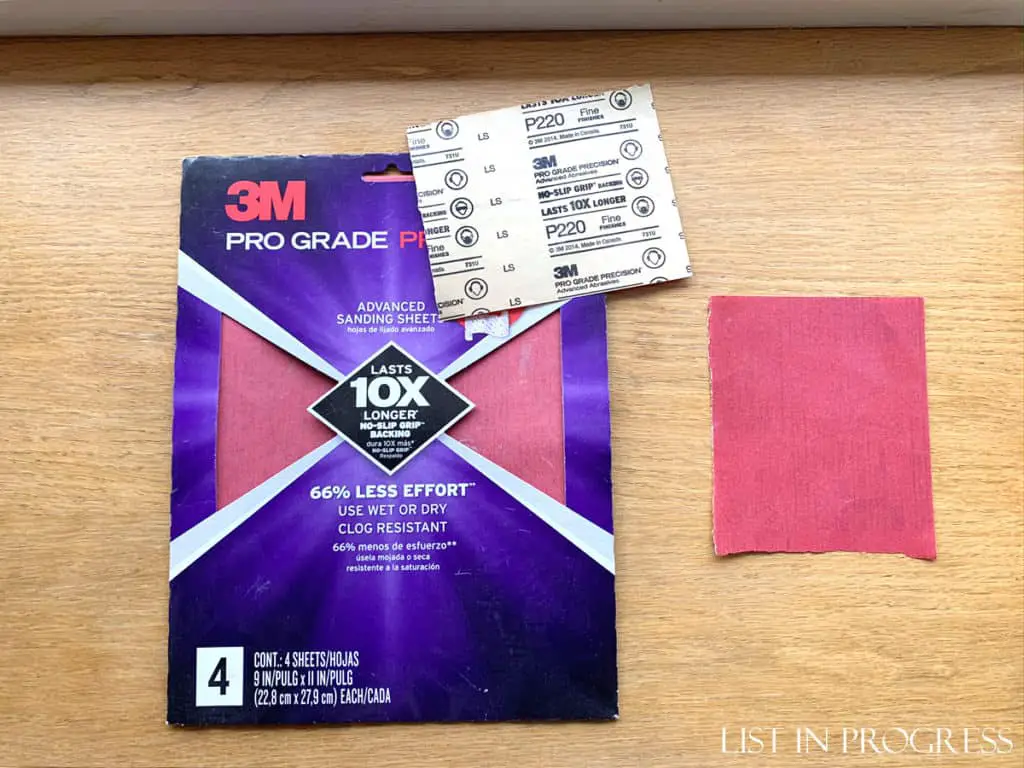
If you’re tackling a big project, like repainting kitchen cabinets, then it’s worth investing in a palm sander or orbital sander. You’ll still need to sand the details by hand, but an electric sander will make this project go SO MUCH faster. Also, you don’t need to sand down to bare wood. My rule of thumb is to sand until the finish is no longer shiny, so the new paint will adhere to the old surface. When I first painted our original, stained kitchen cabinets, my sanding supplies included a DeWalt palm sander and 220 grit sandpaper to tackle the flat panels and frames of the doors. I then used sanding blocks, or squares of leftover 220 grit paper to sand the inside details of each panel.

One palm sander tip: sandpaper comes in large, rectangular sheets, which can be cut to exactly fit the sander. If you carefully tear it into quarters, each part will fit on the palm sander pad and you won’t have any wasted paper. This is a good sandpaper.
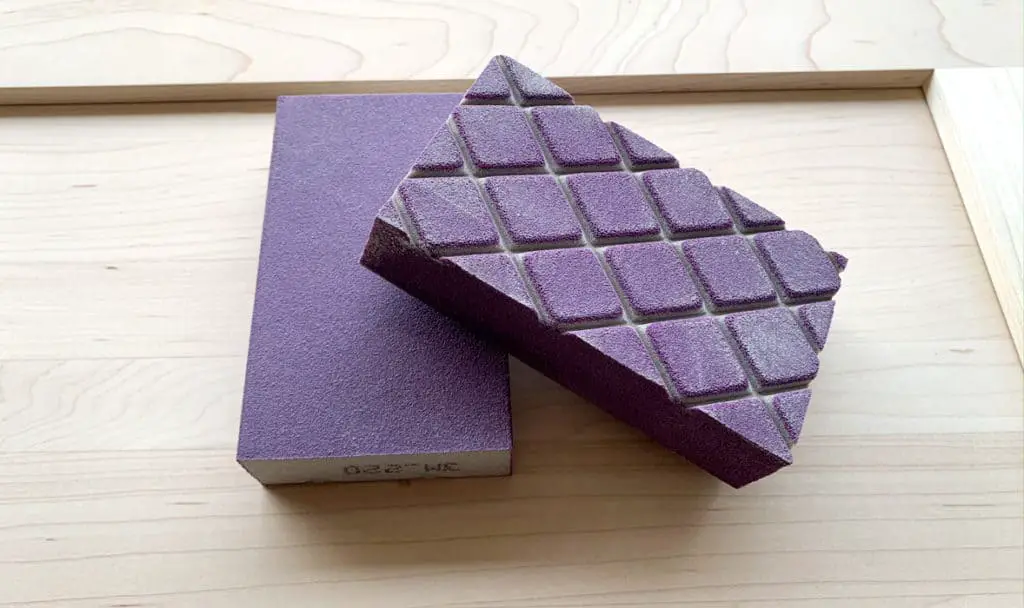
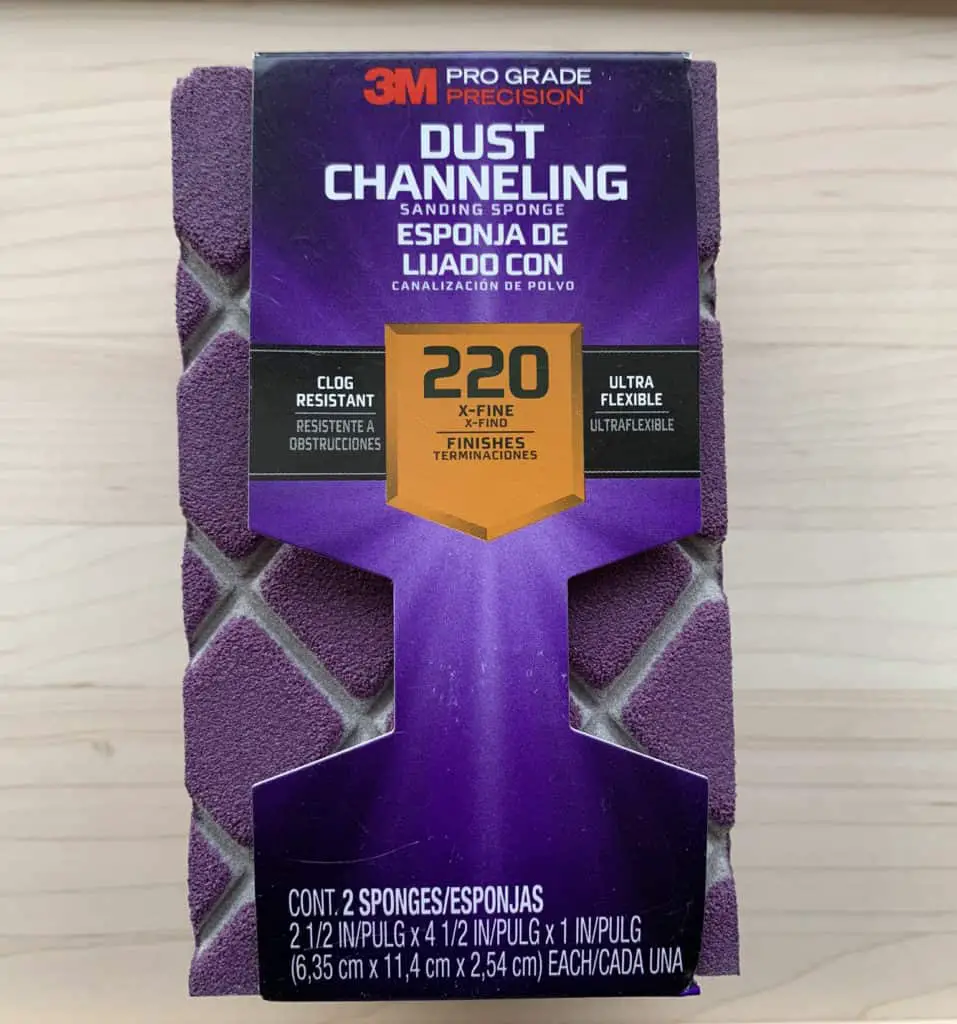
Invest in Sanding Blocks
Sanding blocks are my favorite tool for almost any sanding project. Whether you’re mainly using an electric sander for a big project, or just need to do a light sand on a small piece, you’ll probably need to sand something by hand. This is where sanding blocks come in handy. (Ha!)
Blocks are so much easier to handle and grip than sheets of sandpaper. They can sand both large, flat panels and small detailed grooves. I recommend investing in brand name blocks because will hold their shape and last longer. Also, you’ll need a bunch if you’re sanding off paint – it gums up sand paper pretty quickly. This is my favorite sanding block.
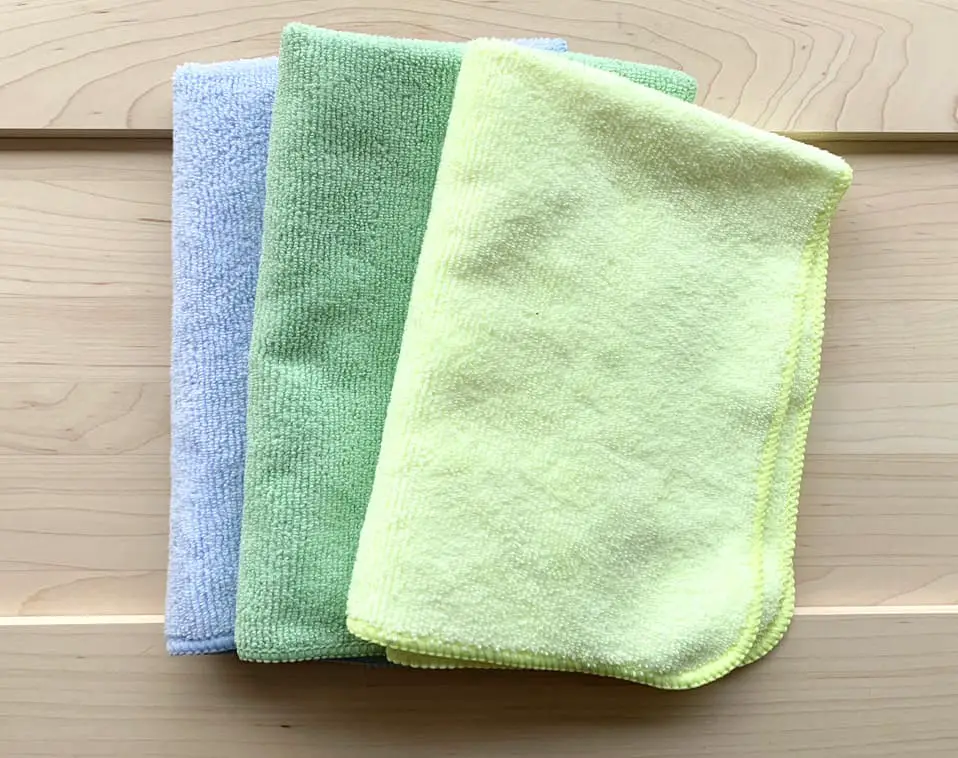
More Sanding Supplies: Cleaning Cloths
Obviously, you’ll need to clean the dust off your project before painting. To do this effectively, you’ll need a cloth that leaves NO fibers behind, like tack cloth. Previously, I’ve used clean flour sack tea towels, but I wanted something absolutely lint-free for my latest project. I started researching tack cloth, which is slightly sticky and often recommended to remove sanding dust before painting. However, it’s not washable and I decided to try microfiber instead. I bought this pack of cloths for my new cabinet painting project and they are working out great. I wash, air dry, and reuse them with no lint!
So there you go! These are some of my favorite tried and tested sanding supplies. While it’s not my favorite task, sanding is definitely easier when you have the right tools. Let me know if you have suggestions of other great sanding supplies!
To read more about my current painting project, check out these posts:
The Best Paint for Kitchen Cabinets
12 Tips for Using a HomeRight Paint Sprayer
Paint Like a Pro – Painting Tools and Tips


