

Bring on the DIY fall wreath tutorials – it’s finally fall! Is fall everyone’s favorite season, or just those of us with autumn birthdays? Ha. To celebrate, I took a crack at crafting two easy DIY fall wreaths and they only cost about $5 (total!) because I sourced materials from my yard. I have one winner and one runner-up to share with you – because I learned a few tricks along the way with this project. First, here’s how to make your own foolproof grass wreath.
Topics in This Post:
Easy DIY Fall Wreath Materials
Where to Find Free Ornamental Grass
DIY #1: How to Make This Simple Grass Wreath
DIY Fail: Fall Wreath Using Leafy Branches
How to Preserve Fresh Leaves
DIY #2: How to Make a Fresh Leaf Wreath
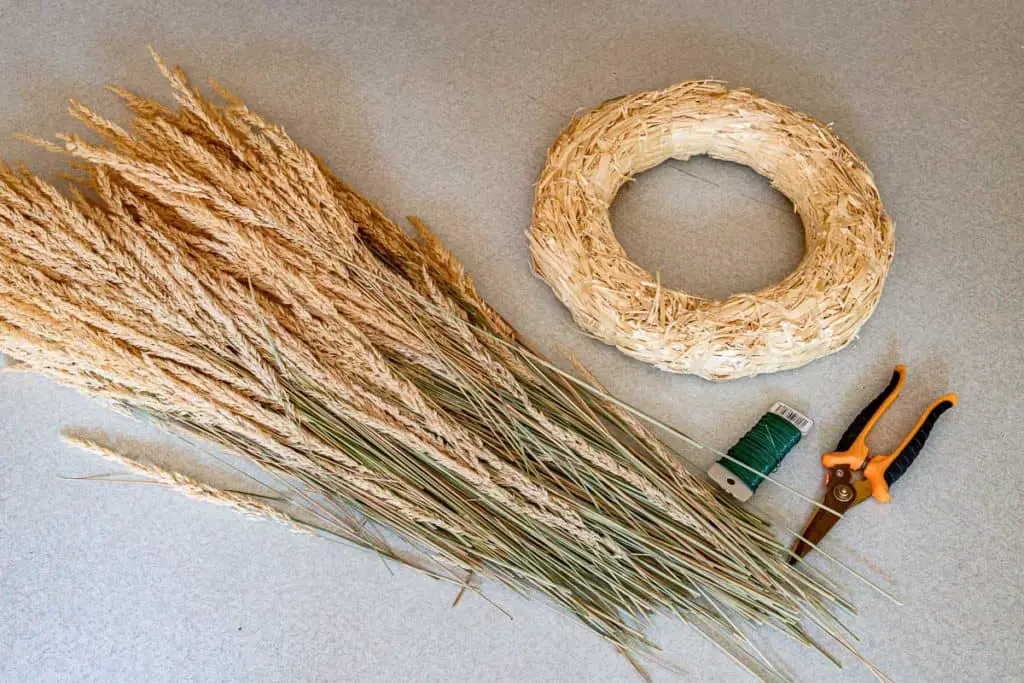
Easy DIY Fall Wreath Materials
This is a very flexible formula for a DIY wreath, but you’ll need these basics:
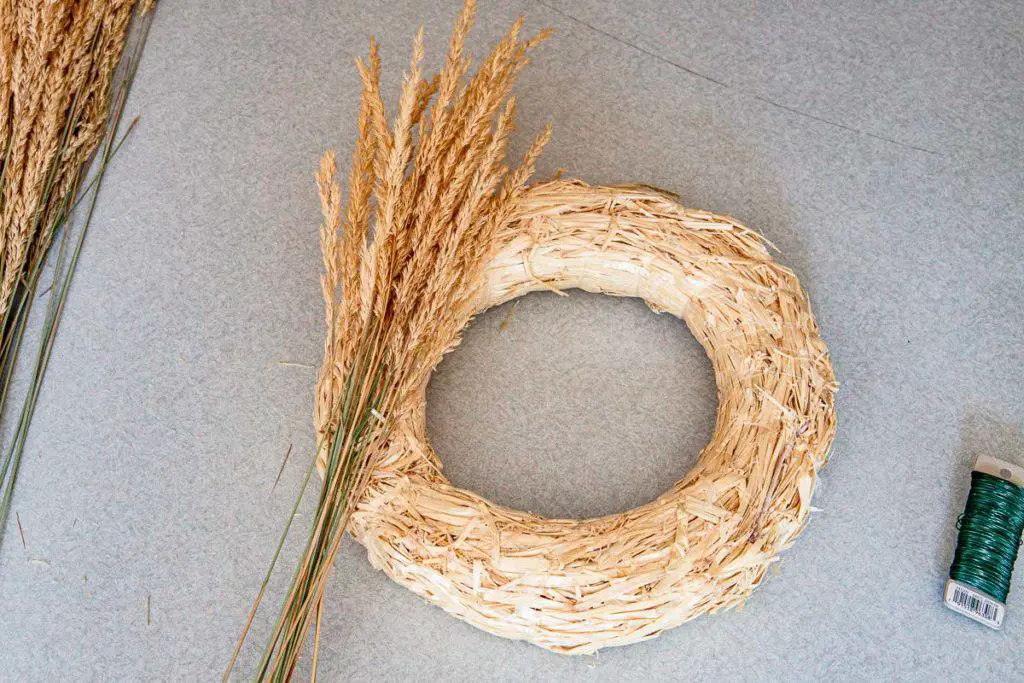
- Wreath base (I used 12″ straw)
- Floral wire (22 or 24 gauge)
- Dried decorative grass or branches
- Heavy duty scissors or floral shears
You can also use a wire ring or floral hoop instead of a straw form.
** Please make sure you are not allergic to any ornamental grass you choose for this project. **
Where to Find Ornamental Grass for Free
For my grass wreath, I used an ornamental feather reed grass that I planted at our Denver house. I love this grass because it looks beautiful in landscaping, and after cutting it back each fall, the dried stems hold their shape for years. Technically, it’s called Karl Foerster feather reed grass, and you’ve probably seen it in your grocery store parking lot. It’s everywhere.

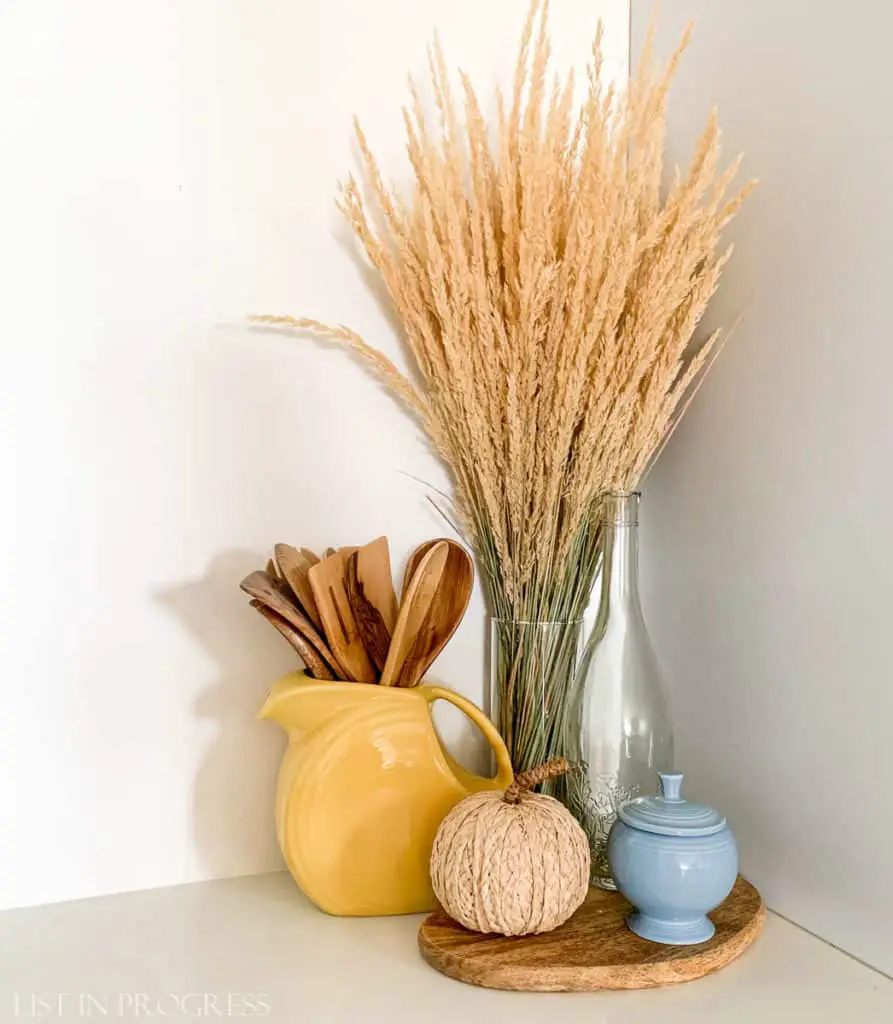
You’ll need an armful. I can’t quantify it, but more is better. I cut about 10% of the plant you see above and added that to the larger bunch I’ve kept in a vase in our kitchen for years. The dried stems hold up beautifully and now I’m repurposing them into a wreath. This gift keeps on giving.
Affordable and Free Festive Fall Decor
If you don’t have ornamental grass, you could take a nature walk and look for options growing wild. Or ask a neighbor if you could snip a bit from their yard. Just make sure your pick won’t trigger a sneeze when you open the door! You could also use simple, dried branches to craft this, but in that case, choose a metal ring, not a straw form.

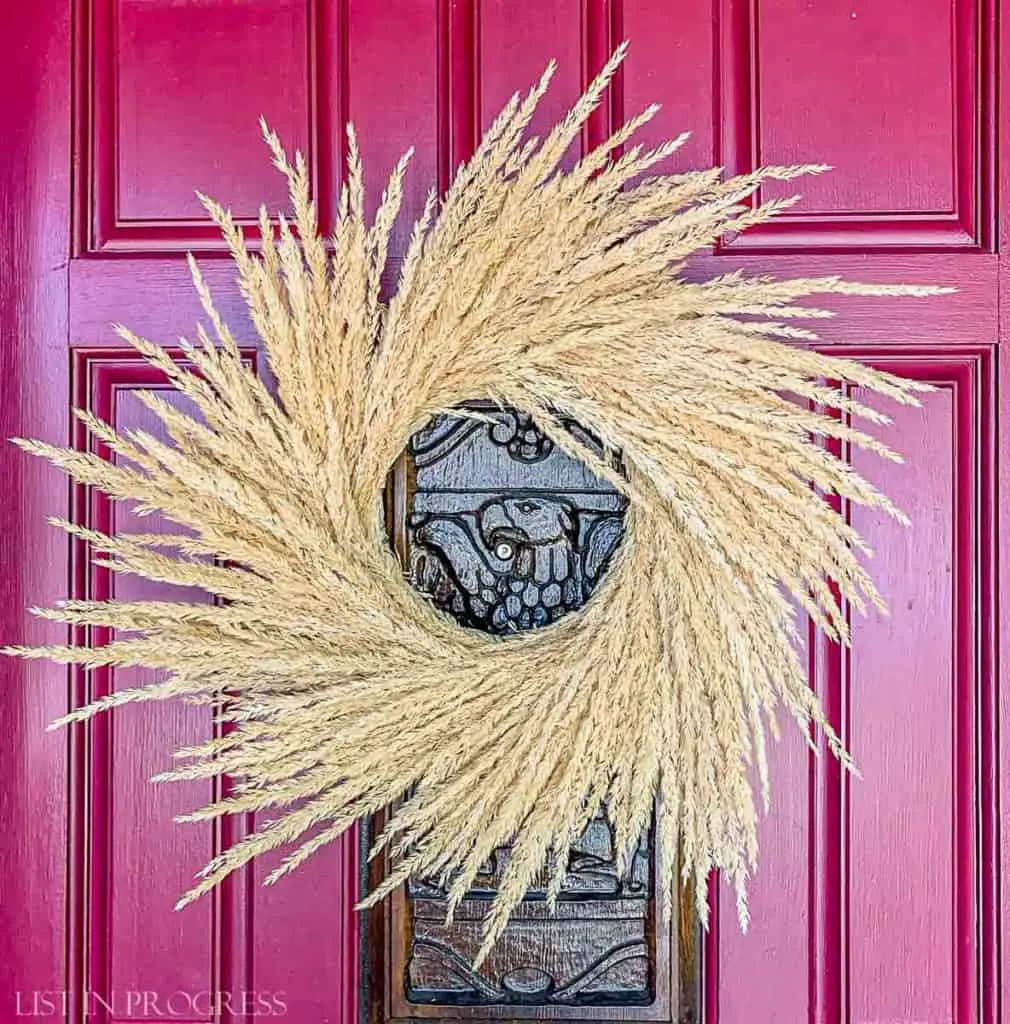
How to Make This Simple Grass Wreath
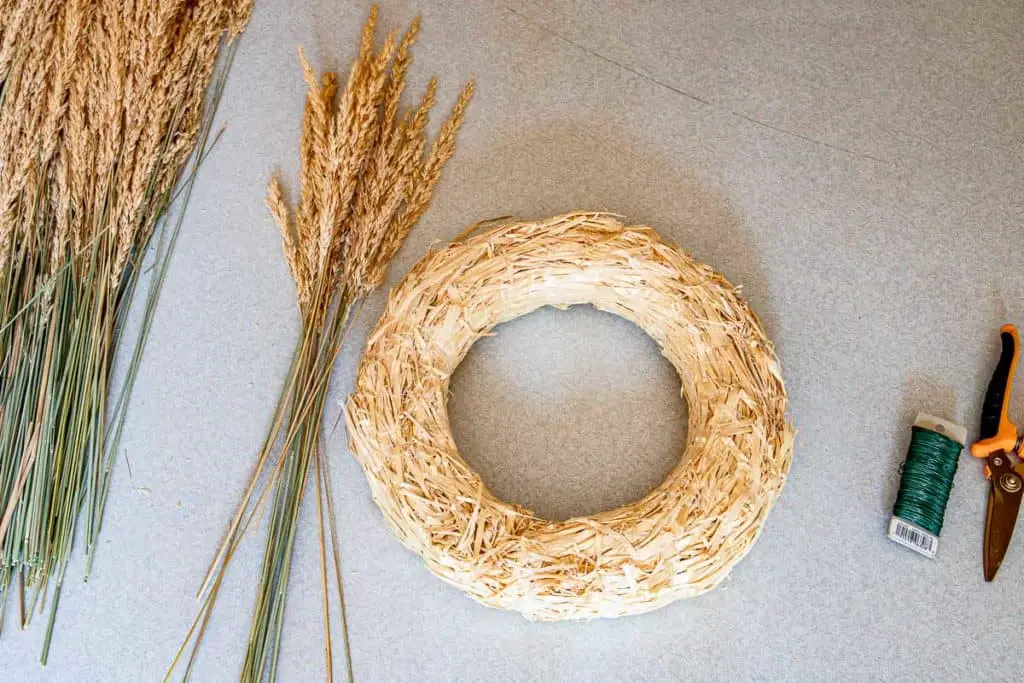
Prep
1. Gather your supplies: wreath form, floral wire, floral shears, and grass or branches for the wreath.
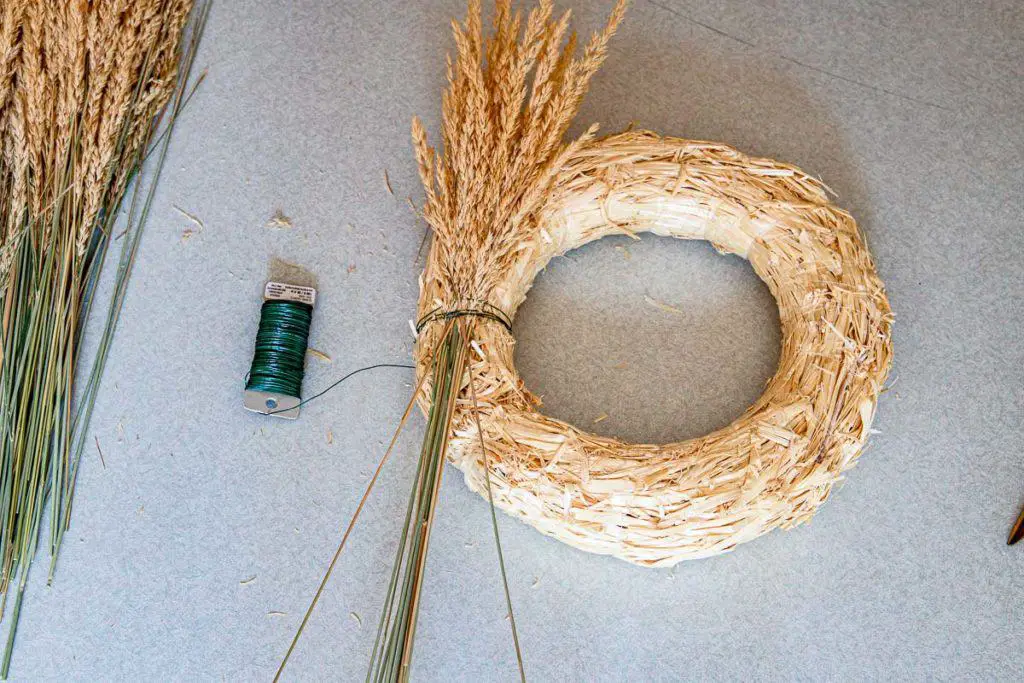
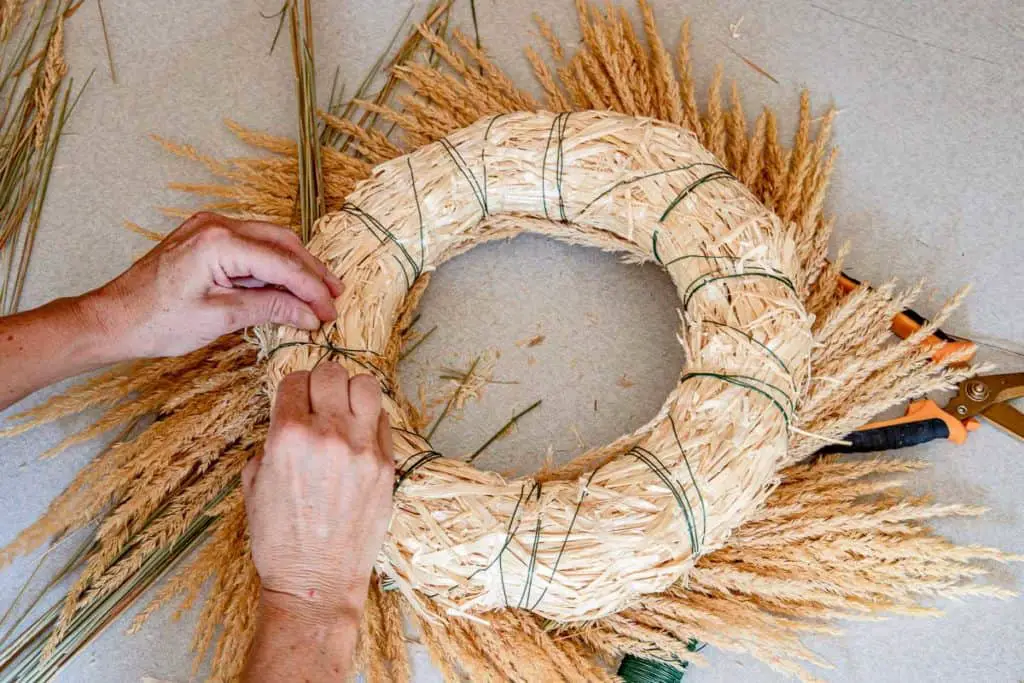
2. Wrap one end of the floral wire around the wreath and twist to secure it in place.
Create
3. Collect a small bundle of grasses together with the fluffy heads roughly aligned. I used between 15-20 stems per bundle.
4. Arrange the bundle on the straw wreath form so the tops are angled off to one side.
5. Wrap the floral wire tightly around the bundle 3-4 times, close to where the fluffy grass heads end and become bare stem.
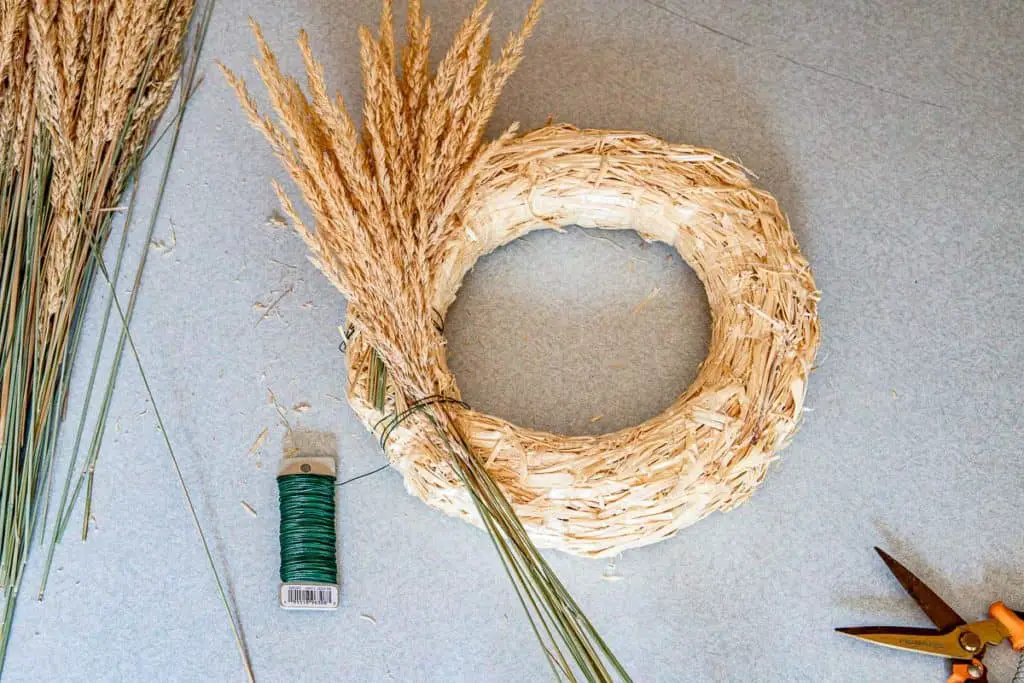
6. Trim the stems at an angle close to the straw form.

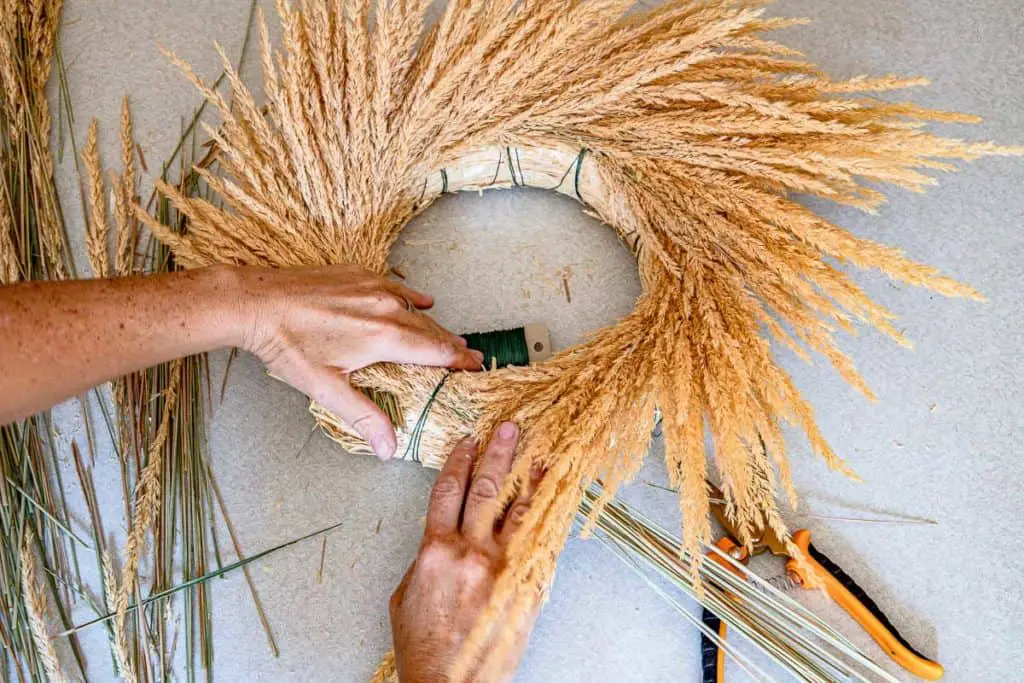
7. Continue to bundle, wrap, and trim as you work your way around the form.

8. When you reach the last 1-2 bundles, carefully wrap the wire under the first grass bunches.
9. Twist the floral wire to secure it in the back of the wreath. If you can, create a loop to hang the wreath before you snip off the wire. If you forget, just add a wire loop afterward.
Style
10. Fluff the grass to more evenly arrange the stems and better cover the wreath form.
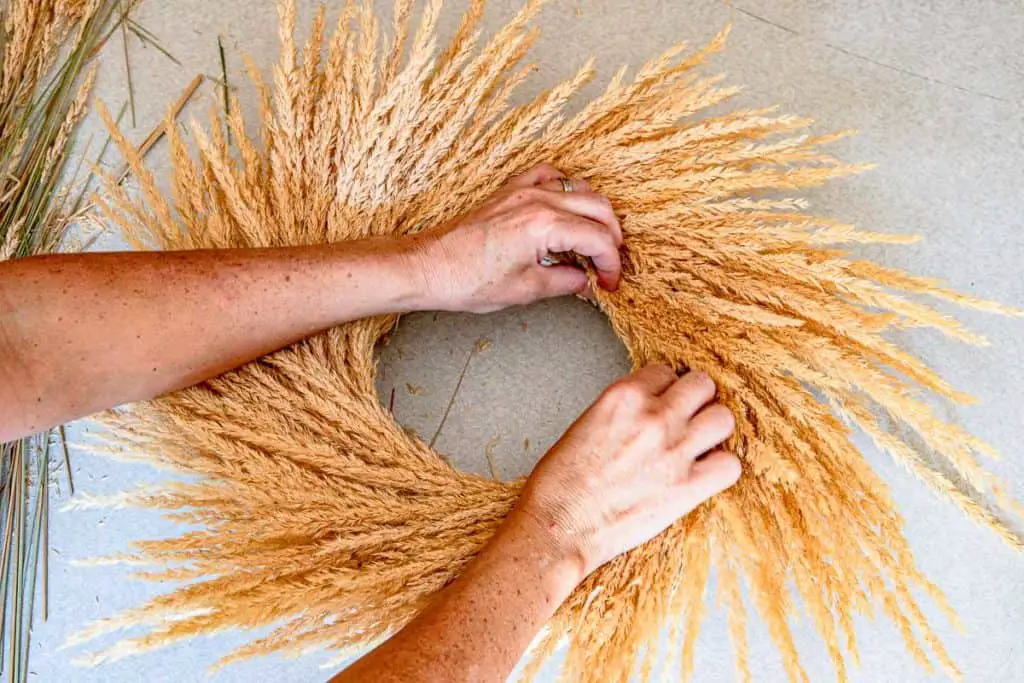
11. Fill any holes or gaps by gently poking extra grass stems into the wreath. You can also remove any odd pieces at this point and rearrange them in the wreath.
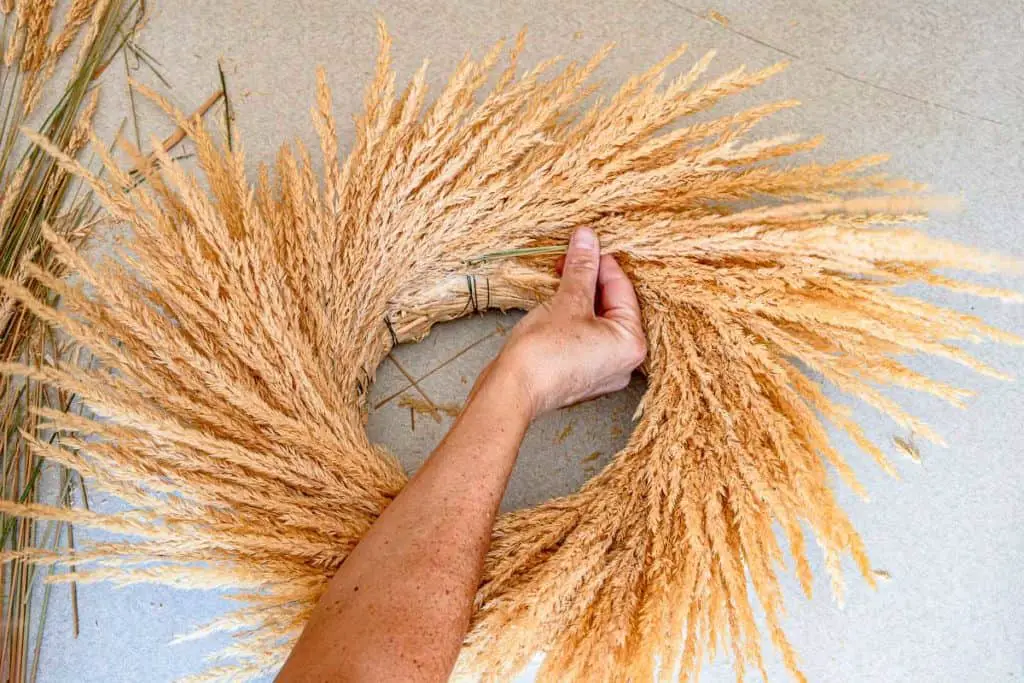
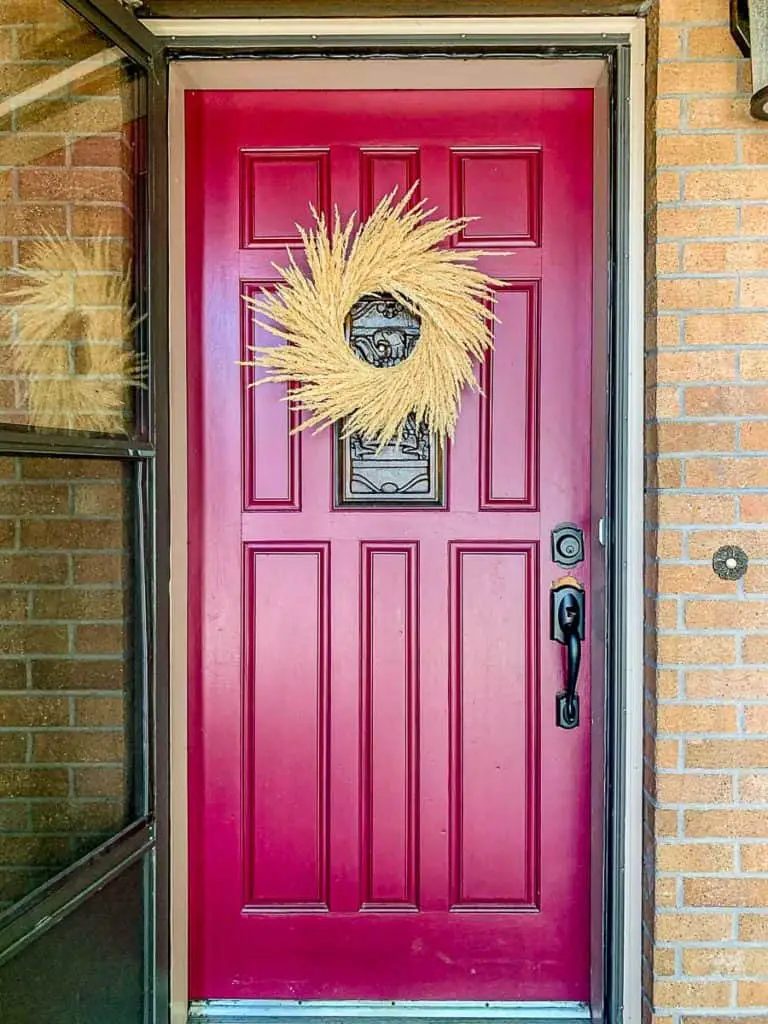
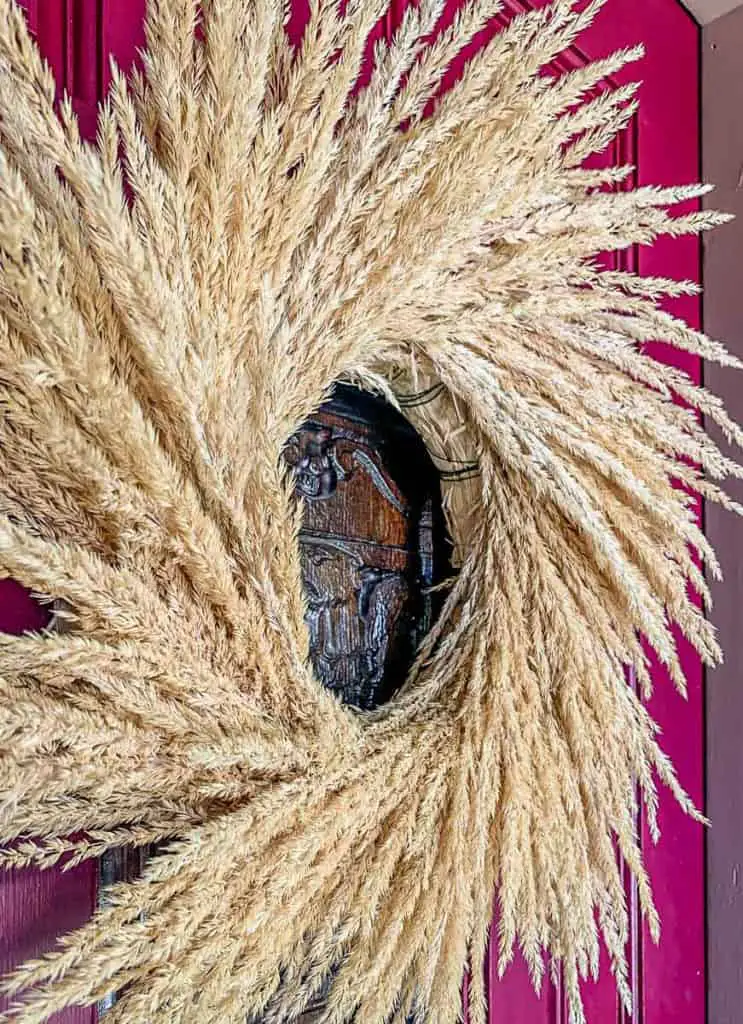
12. Hang your DIY fall wreath and admire your handiwork!
Affordable and Free Festive Fall Decor
Take Two: DIY Fall Wreath Using Leafy Branches
Do you love a fresh, green, leafy wreath? I sure do. Since Williams & Sonoma sells live wreaths for $70+, I wondered if I could just create my own cheap, DIY version. Here’s how to do it, and a trick to keep your leaves looking fresh(er). But first, what NOT to do…
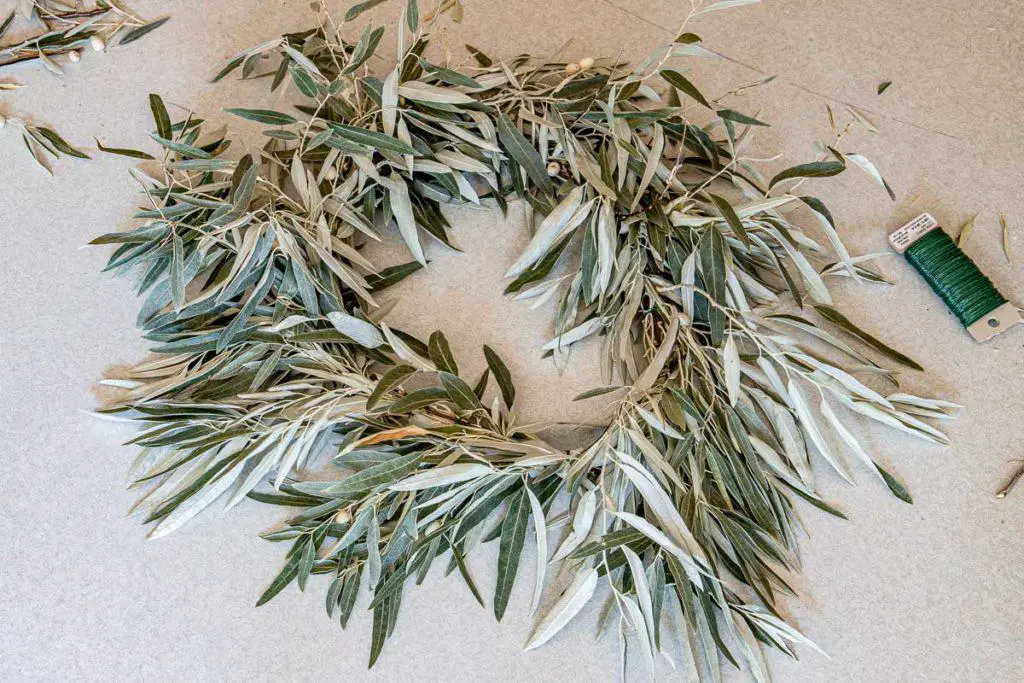
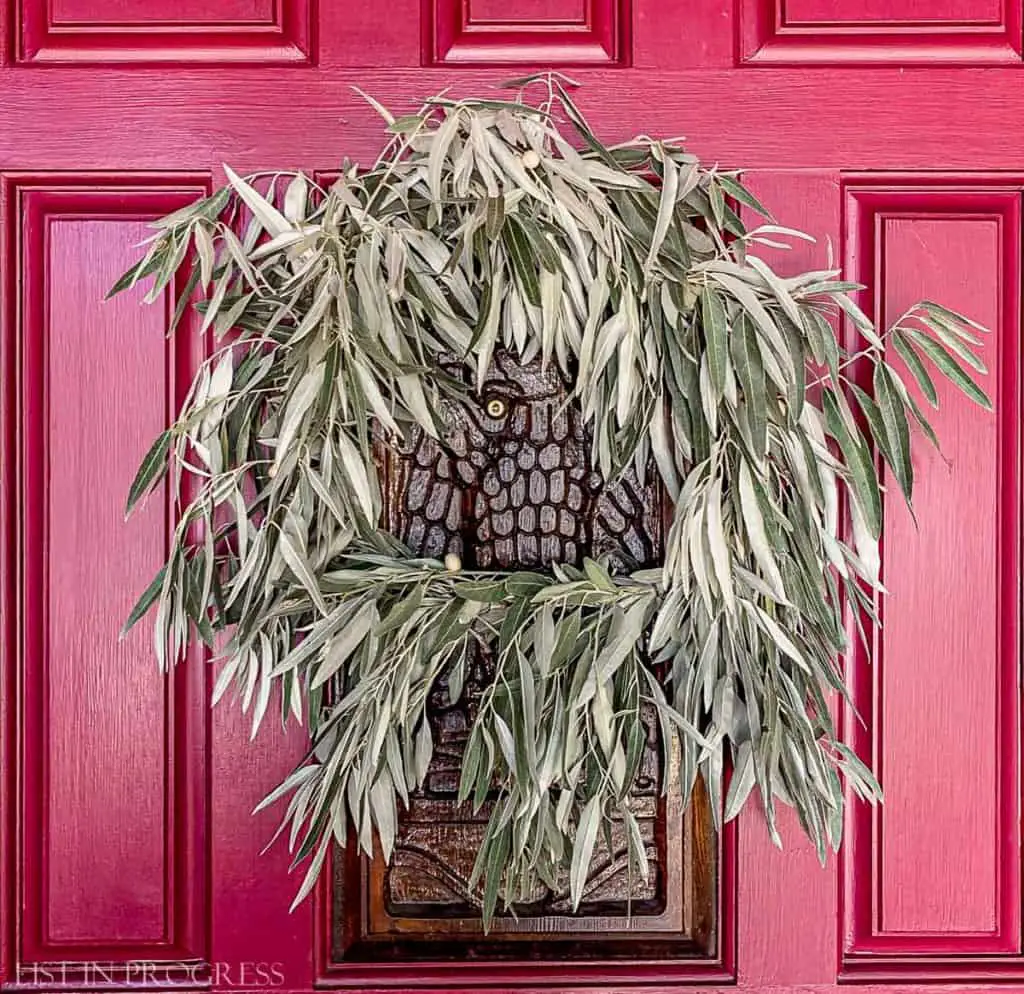
Here’s my second wreath, using fresh olive branches from the yard. Has potential, right?
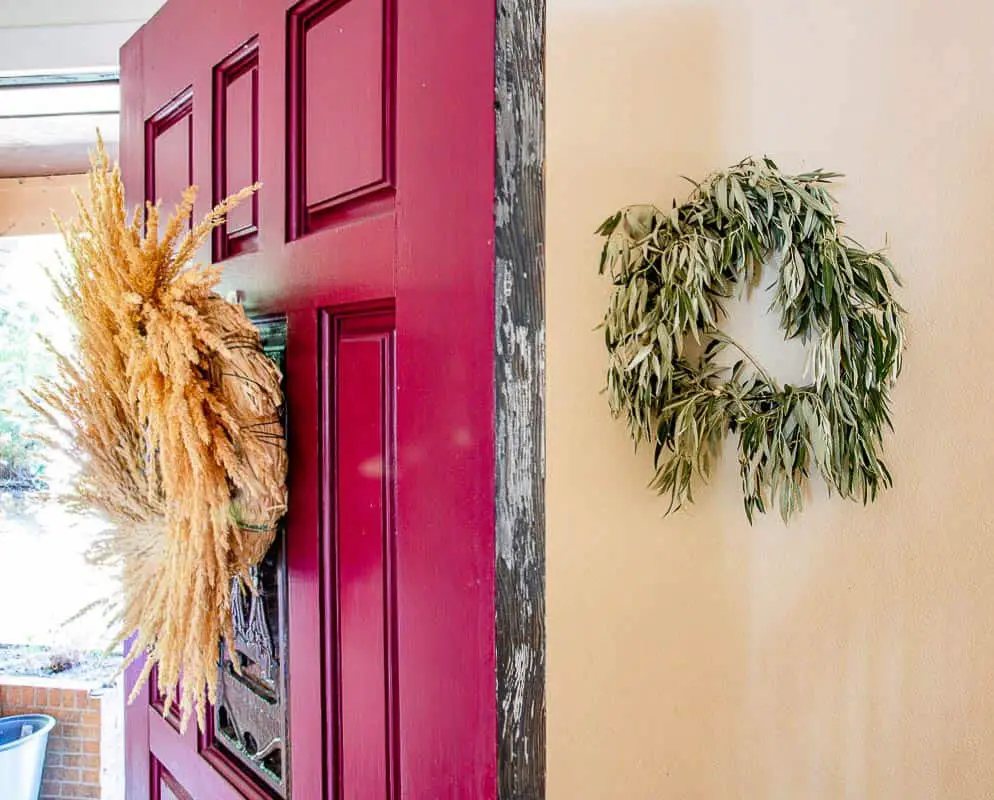
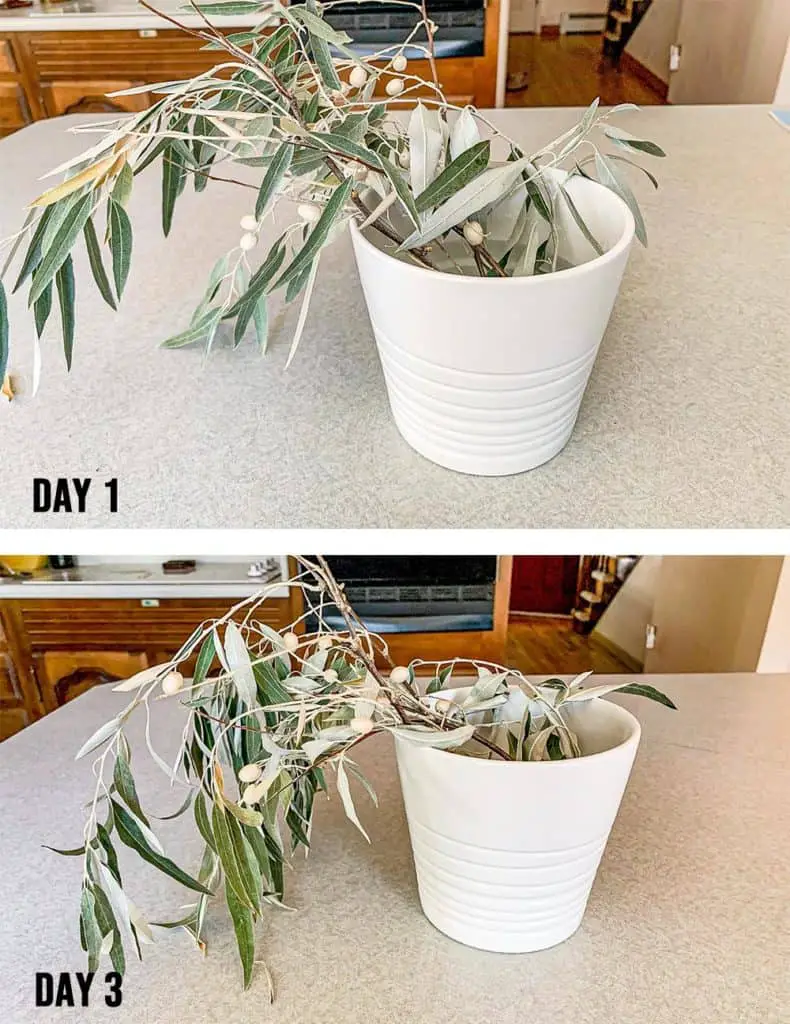
Well, you might have already guessed where I went wrong with this wreath – dead leaves. I tried misting it daily with water, as W&S recommends in their leaf care guidance, but that didn’t do much. My kids even commented that it just looks sad. Here it is, in comparison with the grass wreath, and it has shriveled a lot since this Day 1 photo.
Hmmm, how does Williams & Sonoma do it? They must preserve the leaves in some way…
How to Preserve Fresh Leaves
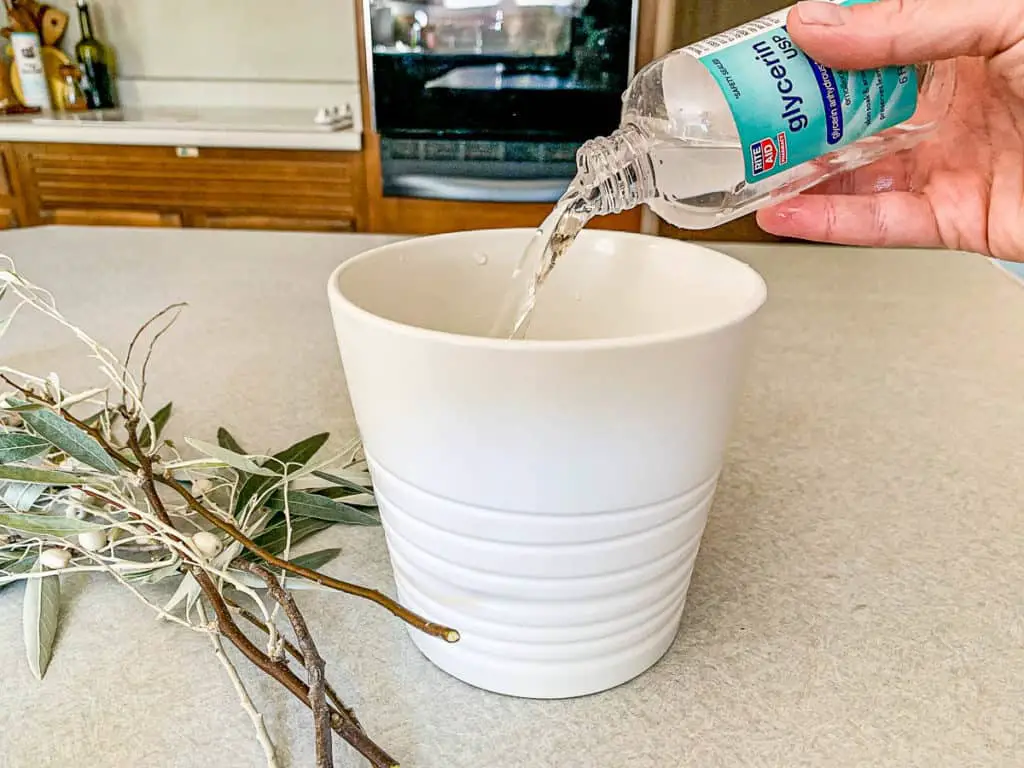
I did a little research and found an elaborate recipe from Martha Stewart to preserve leaves. OK, not elaborate, but I don’t want to buy anything to fall further down this rabbit hole. Since I had a little glycerin on hand from a misguided attempt to make bubbles, I gave this a shot.
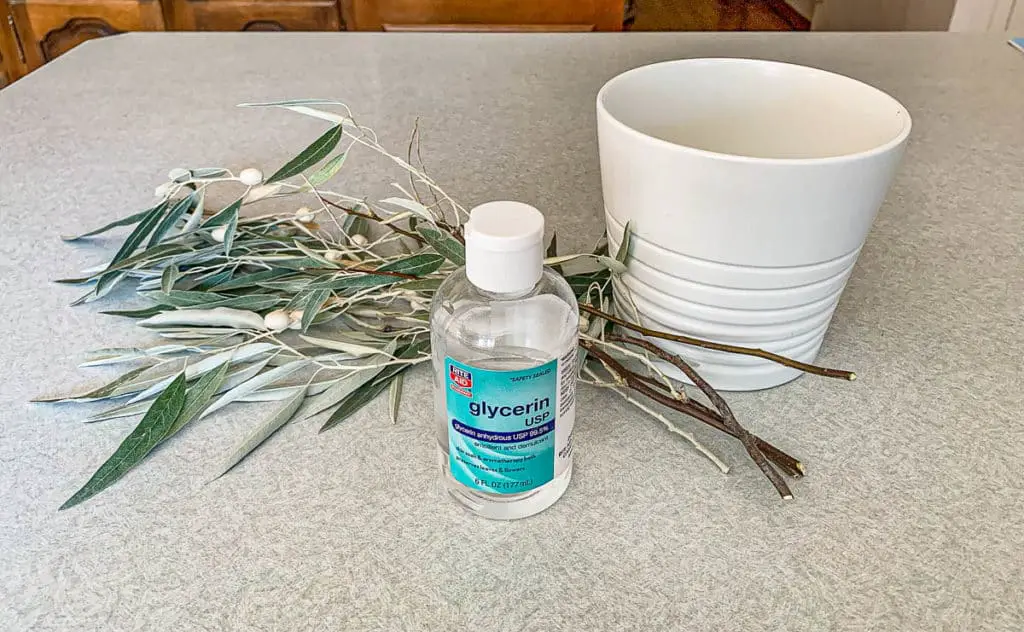
My recipe is a simplified version of Martha’s. I just mixed 1 part glycerin to 2 parts hot water. Literally, I poured the glycerin into a flower pot and refilled the bottle twice with hot water. Otherwise, I didn’t measure a thing.
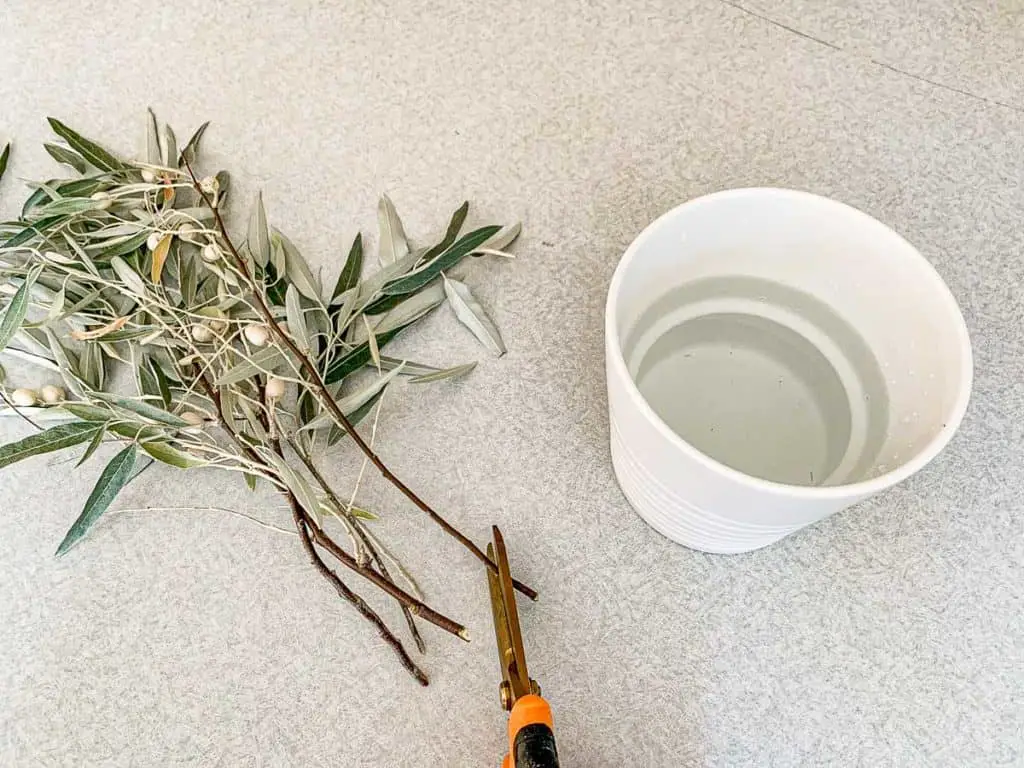
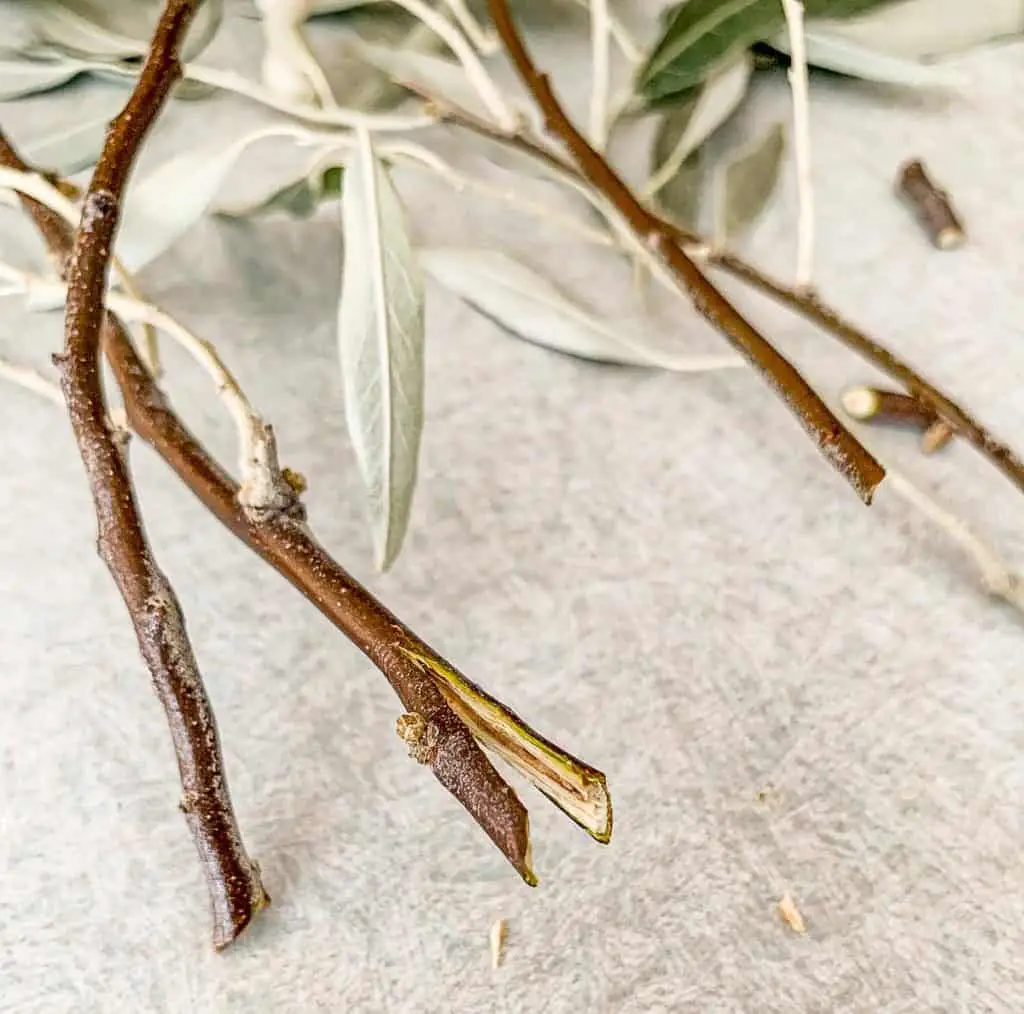
Then, I snipped the ends of a few new olive branches and stuck them in the glycerin water for 4-5 hours. Woody stems absorb more water when you slice into them. This works for lilacs, too.
Here’s what the dry branches looked like when I started vs. two days later. After I dumped out the water, I let them sit in the pot to dry and they barely changed. My first round of branches had curled up by Day 3. I’d call this progress!
I’m planning to attempt this wreath again using preserved leaves, and I’ll update this blog post with those photos ASAP. In the meantime, here’s how to make the wreath, even if you use faux branches.
How to Make a Wreath With Fresh Leaves
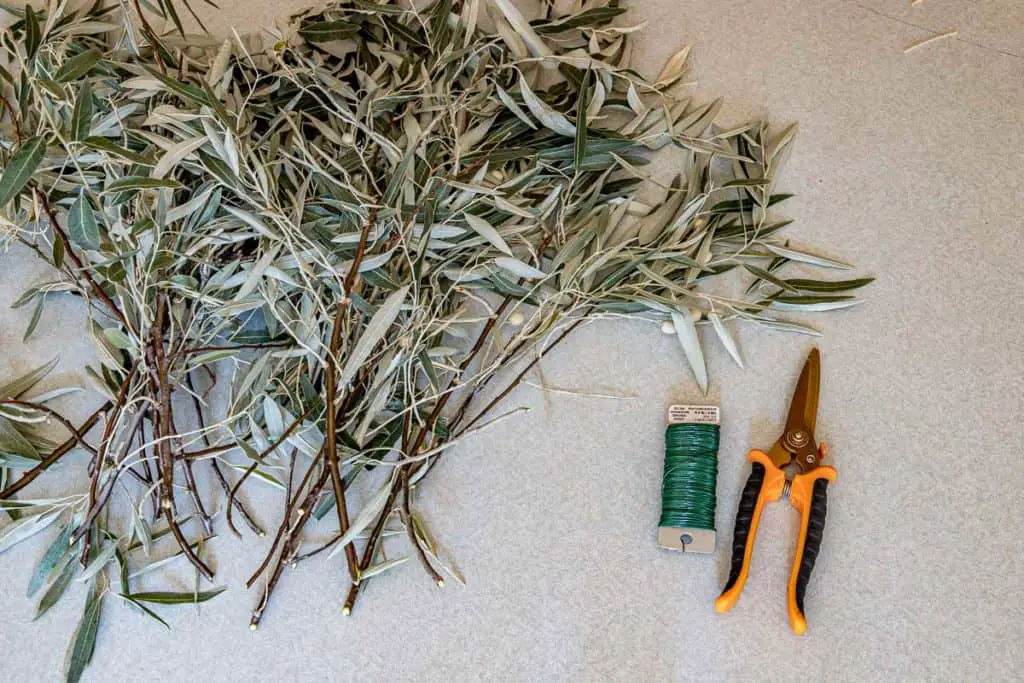
Materials: floral wire, heavy duty scissors or floral shears, glycerin, fresh or faux branches
- Gather fresh branches
- Snip the ends and preserve in glycerin
- Let branches dry
- Make small bundles and wrap with floral wire
- Bind the bundles together in a circle with wire
- Add a ribbon, etc., if desired
- Hang and admire your new DIY fall wreath
Prep
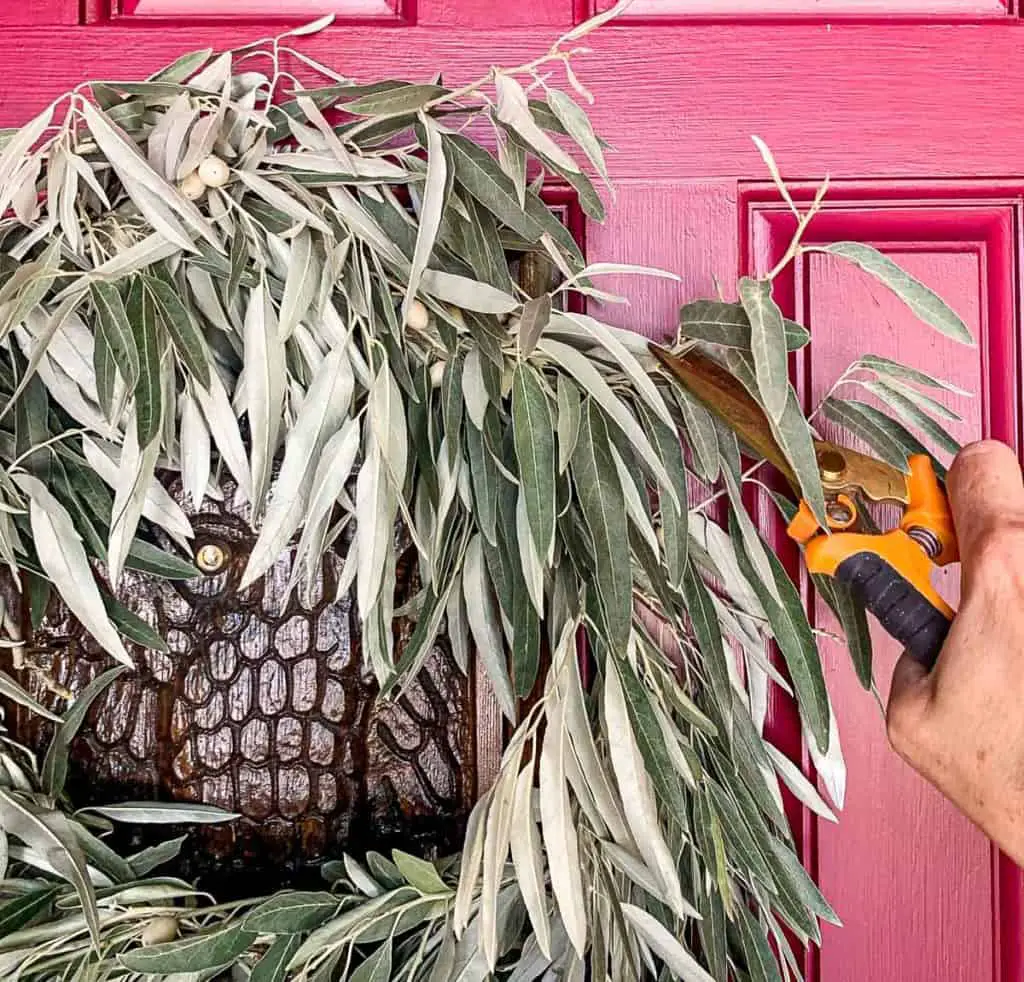
1. First, gather your freshly cut branches. I snipped a few branches from an ornamental olive tree, making sure to get a variety of leafy ends and a few with olives.
2. Place branches in glycerin water mixture for 4-5 hours. Let them dry completely. Details here.
Create
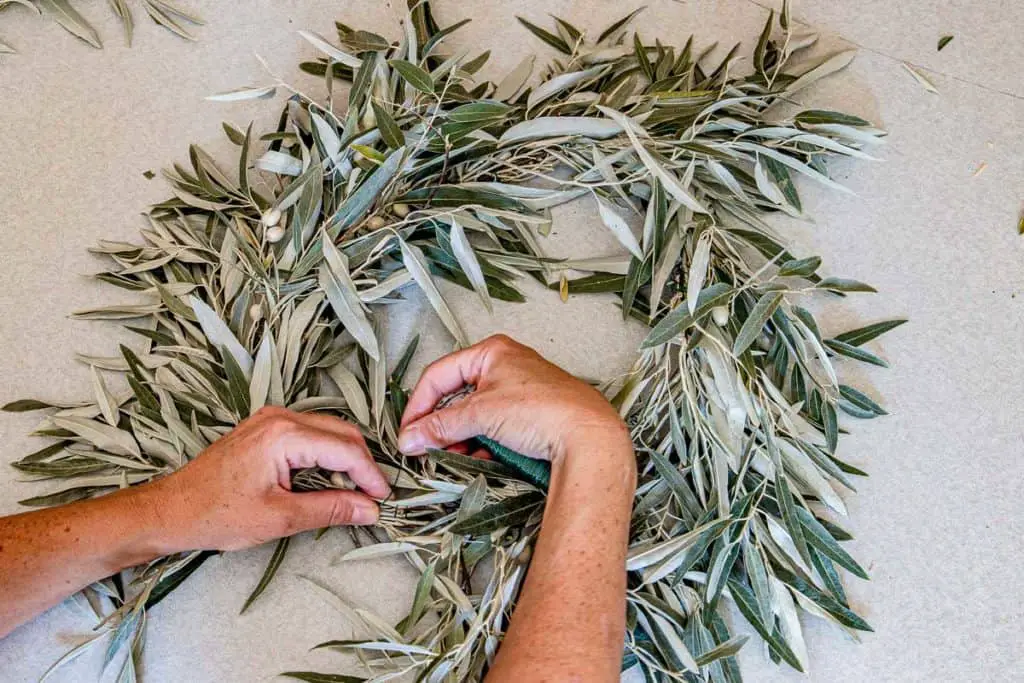
3. Gather small bundles of branches and wrap them with floral wire.

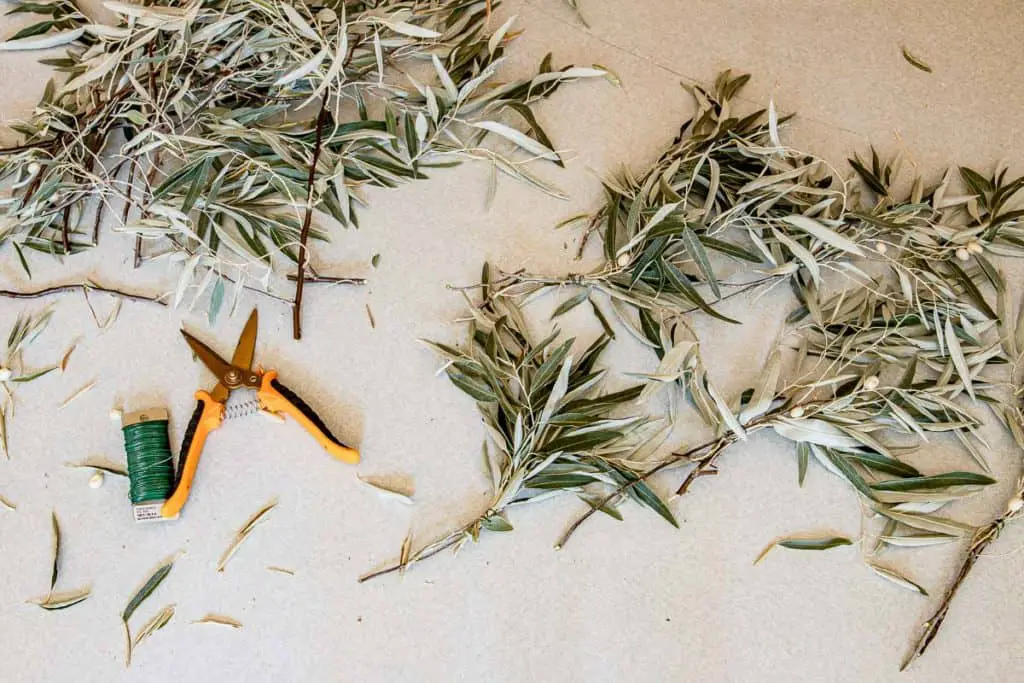
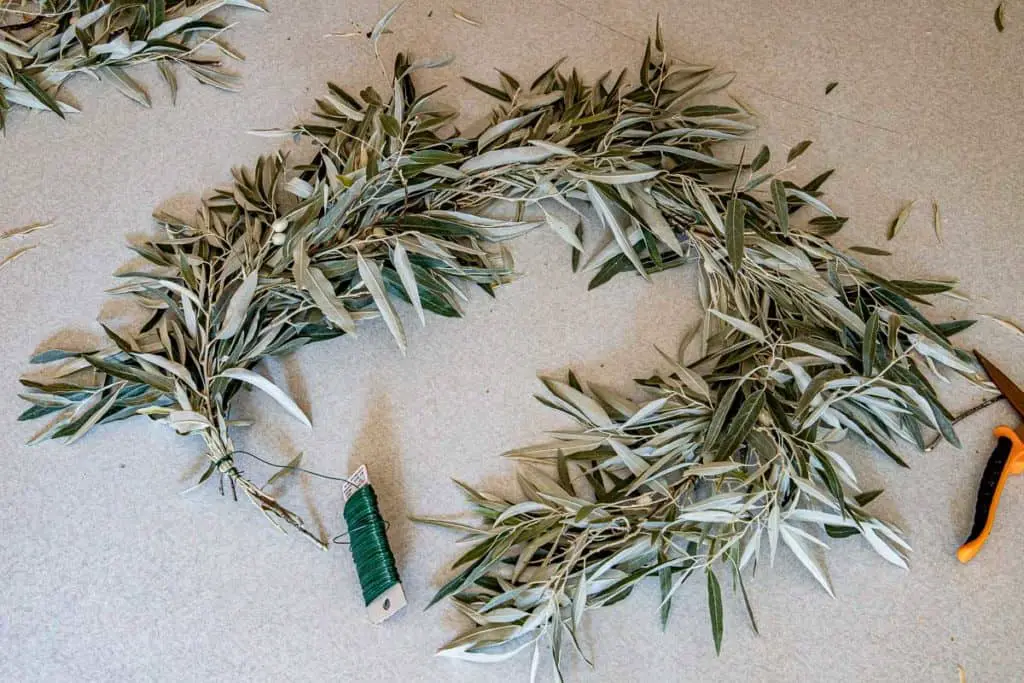
4. Wrap the bundles together to form a rough circle and use wire to secure everything along the way.
(I tried this wreath on the straw form, but it looks odd showing through the leaves. A dark twig wreath base or floral ring would be better, if you prefer to use a guide.)
5. Use extra wire to secure loose branches as needed.
6. Add a wire loop to hang the wreath
7. Add a ribbon or burlap fabric bow, hang brass bells, or add another decorative touch, if that’s your style.
*You can adjust, snip long branches, and tie up wayward stems once you hang this wreath. Mine was pretty rustic.
$5 DIY Fall Wreath for the Win
Of the two, the grass DIY fall wreath is one of my favorites to date! I might even splurge on a wreath case to keep it in shape for next year. As I type that, I realize I’m just kidding myself; that would defeat the purpose of a $5 DIY wreath… Time to look for freebies on Facebook.
Have a great week, everyone. I hope fall has arrived in all its glory in your neighborhood – crisp mornings, lattes, and turning leaves. Enjoy and I’ll see you here next Tuesday!
More Decor + DIY Inspo From List in Progress

1 – Easy DIY Wax Melts to Make Your Home Smell Great
2 – Affordable (and Free!) Ideas for Fall Decor
3 – My Favorite Affordable Turkish Towels
4 – A “Work in Progress” Home Tour


