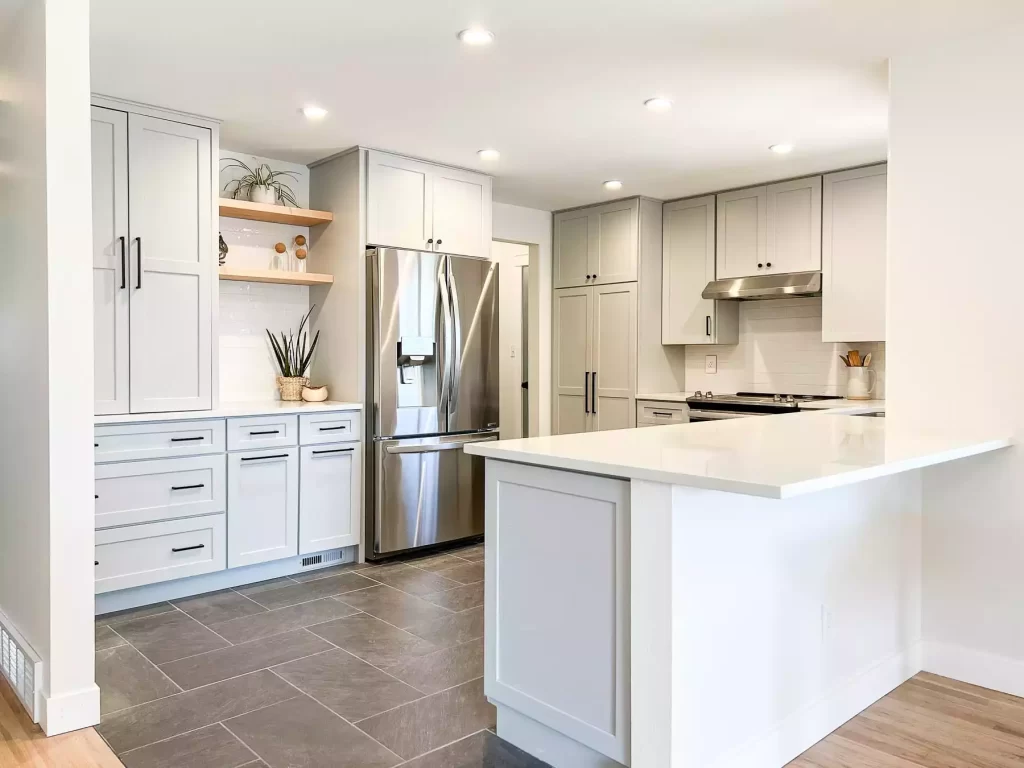
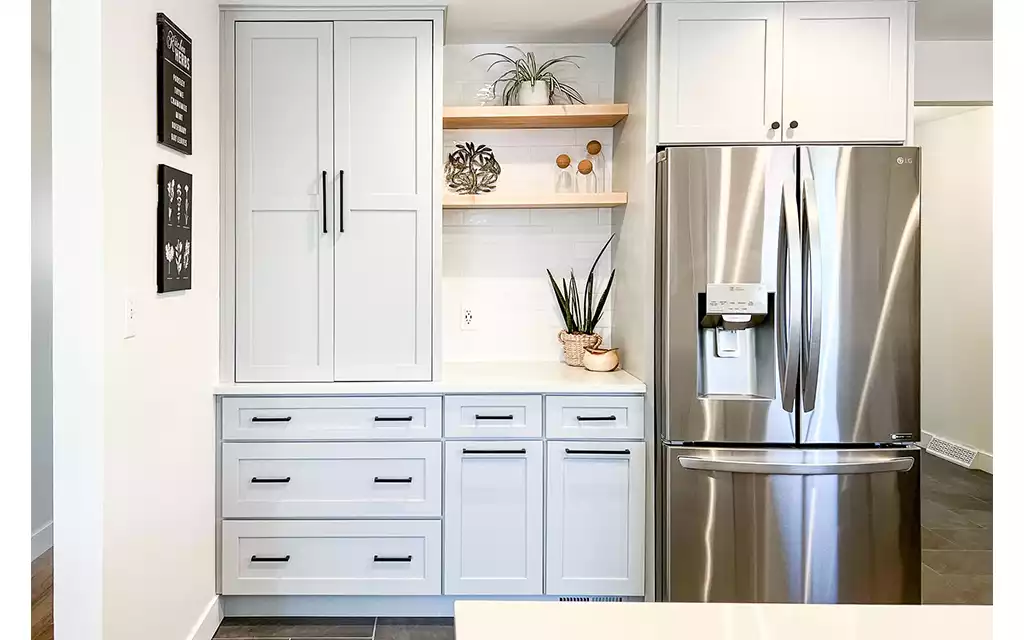
Wondering how to repair kitchen cabinets but don’t want to invest a bundle in this project? I’ve got a roundup of quick and easy solutions that might solve your particular door and drawer problems. If none of these work for you, please comment below and I’ll look into adding another idea to this post.
Overview: How to Repair Kitchen Cabinets
I’ve googled solutions for how to repair kitchen cabinets fairly often over the years. New or old, many cabinets often need a little tweaking to operate properly.
My first tip is to investigate the cabinet problem before you buy anything to fix it. I don’t always follow my own advice, as you’ll read below, but it’s worth mentioning. You might discover that what you thought was the problem is not actually the root cause.
Once you’ve done your homework, one of these solutions will hopefully help.
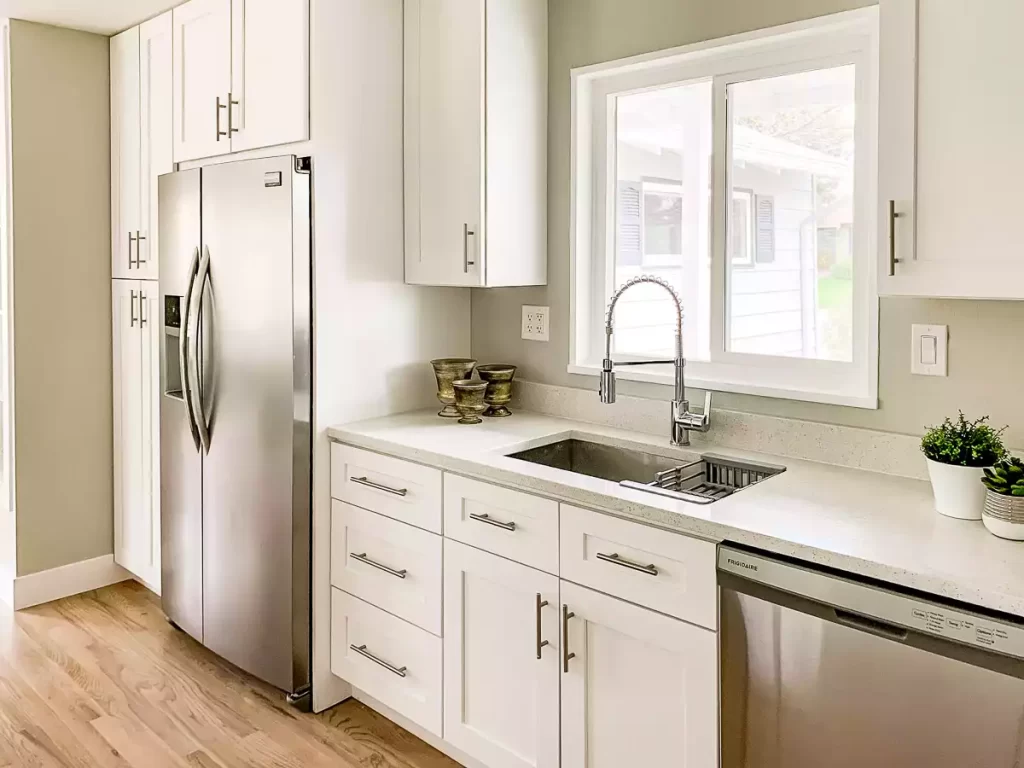
Doors Won’t Close Correctly
Most newer cabinet door closing problems are related to hinges, now that soft-close hinges have become the standard. If you already know you have wonky hinges, jump to this section.
Older cabinet doors might stop closing correctly due to myriad issues. Here are three common problems to check.
Problem 1: Magnet Latches No Longer Work
Some cabinet doors close with a magnetic latch installed along the cabinet frame. I’ve run into this problem with our 40-year-old cabinets; many of the doors keep popping open.
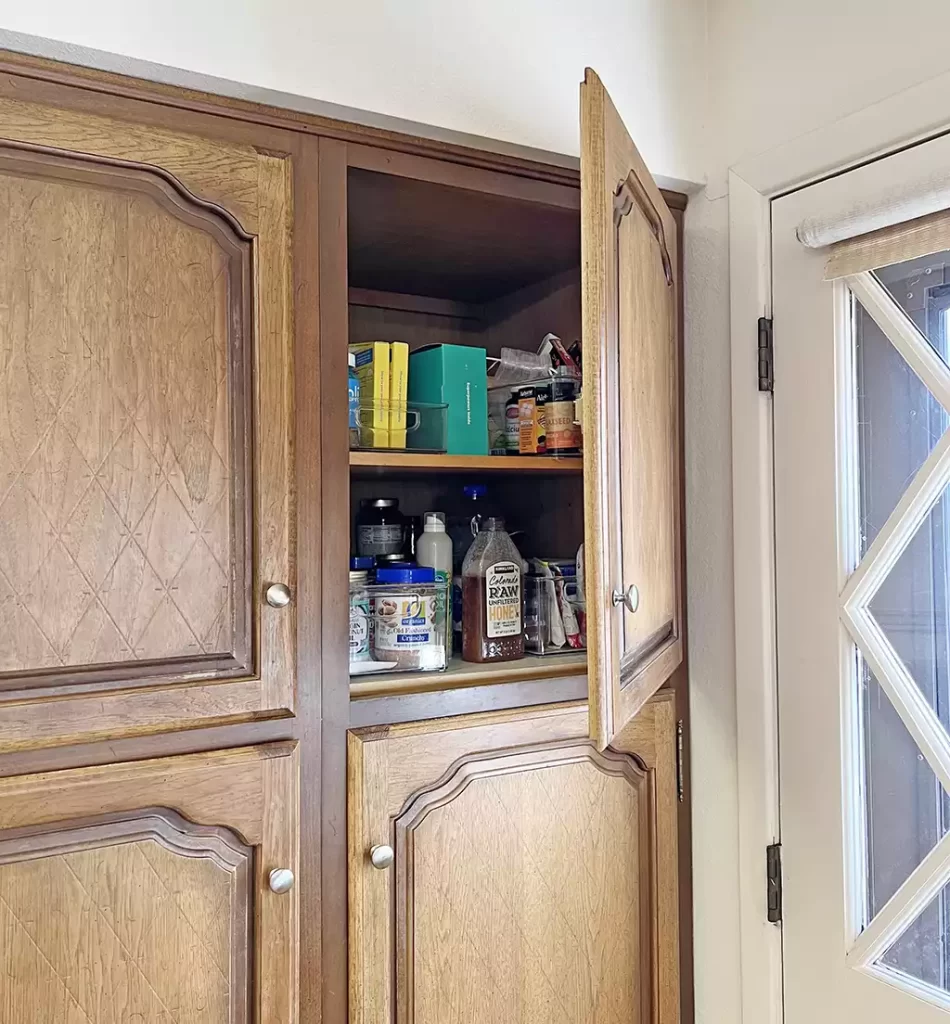
Solution: Replace or Add New Magnetic Latches
Sometimes you can move or adjust the magnetic catch and that will fix your issue. You could also add a second latch to the door. I ordered these magnet latches to try and they are super simple to install on overlay-style doors.
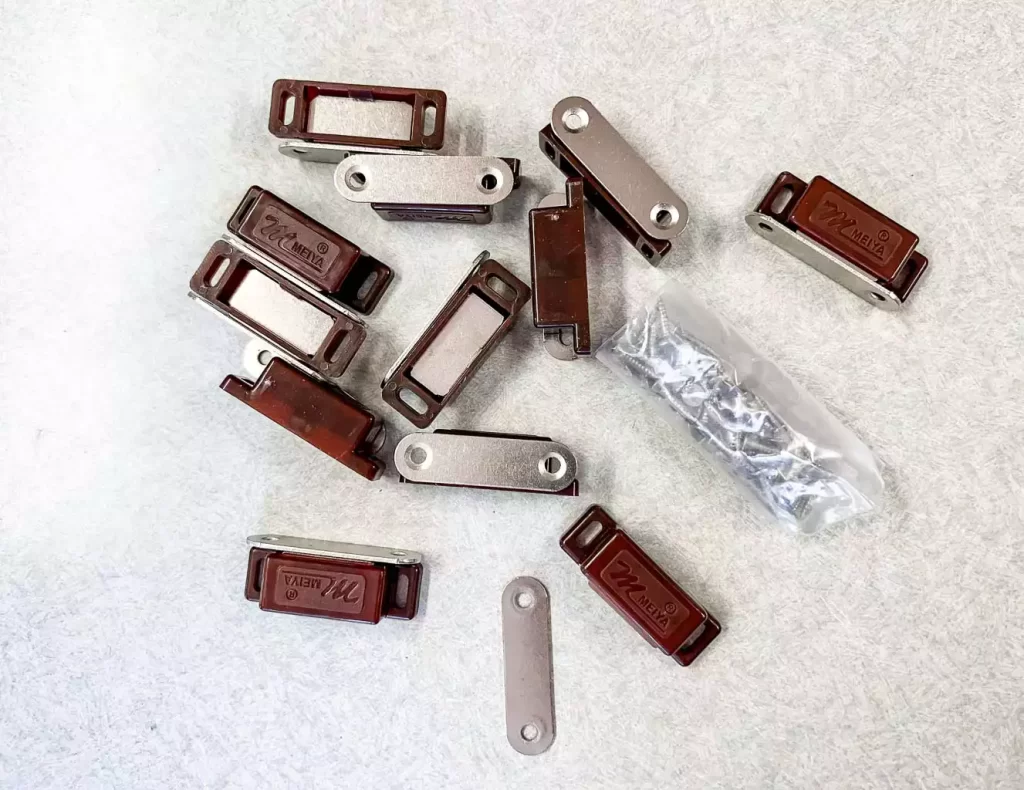
Unfortunately, I didn’t pay attention to our cabinet design – and oops! We don’t have the proper overlay doors for these. Although the plastic component feels cheap, the magnet is powerful and I think it would work pretty well on the correct door design. #usererror
You might need to experiment with moving the placement of the magnetic latch to get the best result.
A few styles that might work for you…
Cheap but effective: affordable magnet latches (shown above) in black, brown, and white.

These magnet latches are for the same door style but are much prettier. The price point is higher, too.

This style is the magnet latch I should have ordered…

If a new magnet latch doesn’t work…
…maybe it’s not the magnet after all.
I *thought* the reason this door kept popping open was due to a weak magnet… Turns out I should have taken my own advice and investigated first.
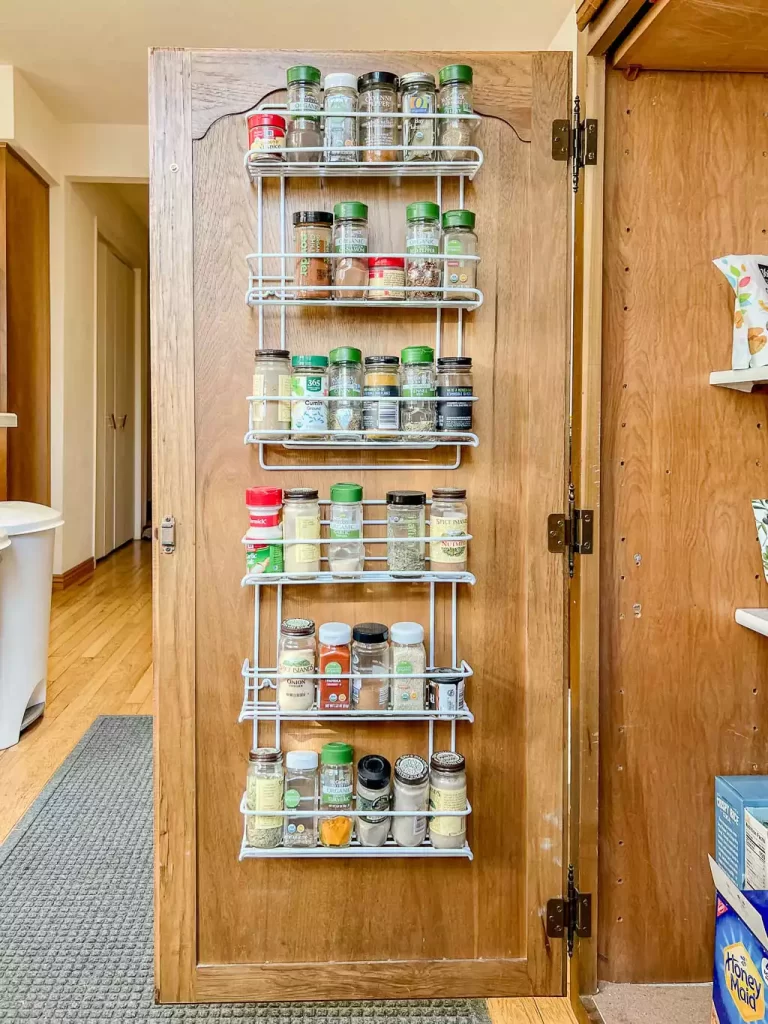
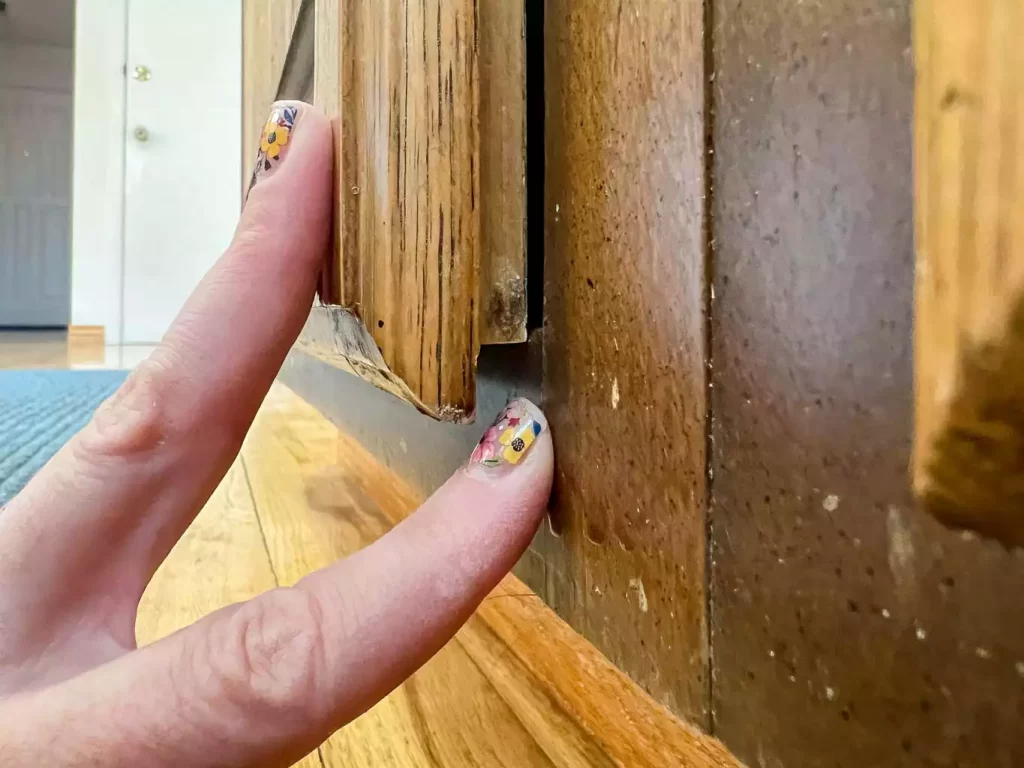
The heavy spice racks on the inside of one door put stress on the hinges. After finally taking the time to look closely at the door, I realized that it was catching at the bottom. That’s why it doesn’t close. Oops.
Problem 2: Roller Catch No Longer Works
If you have problems with a roller catch style of latches, those can also be replaced. Maybe the catch mechanism doesn’t hold any longer or is bent out of shape.
Solution: Replace Roller Catches
Here are a variety of catches in the roller latch style. These latches are old-school and affordable:

These streamlined catches from Amerock have a minimal profile.

These silver latches come in other finishes and offer a nice style upgrade.

Problem 3: Slamming Cabinet Doors
While not technically a problem with closing, slamming doors drive me nuts. You too? Are slamming doors waking up your sleeping toddler and destroying your precious minutes of alone time? Or just chipping away at your patience?
Solution 1: Bumpers
First, the easiest solution is to add these sticky bumpers to the corners. They will last longer if you follow the directions to properly clean the cabinet surface before adhering. Swipe some rubbing alcohol on the cabinet door first to remove any trace of grease or oil.
After reading reviews of plastic bumpers, I’m impressed so many people (!) took the time to review this item. With that said, these made-in-USA bumpers rise to the top:

Felt bumpers are another simple choice:

I find that those bumpers eventually fall off or shift out of place. If you’ve already tried the little bumpers or foam pads and need a new idea, check this out.
Solution 2: Door Dampers
If you have self-closing, overlay doors, these cheap door dampers will add a soft-close effect. Upgrade without replacing any of the hinges! Genius. And super affordable, too, at about $3 each.

The key here is starting with self-closing doors. I ordered one of these dampers to check out in person and installed it on a bathroom cabinet door.
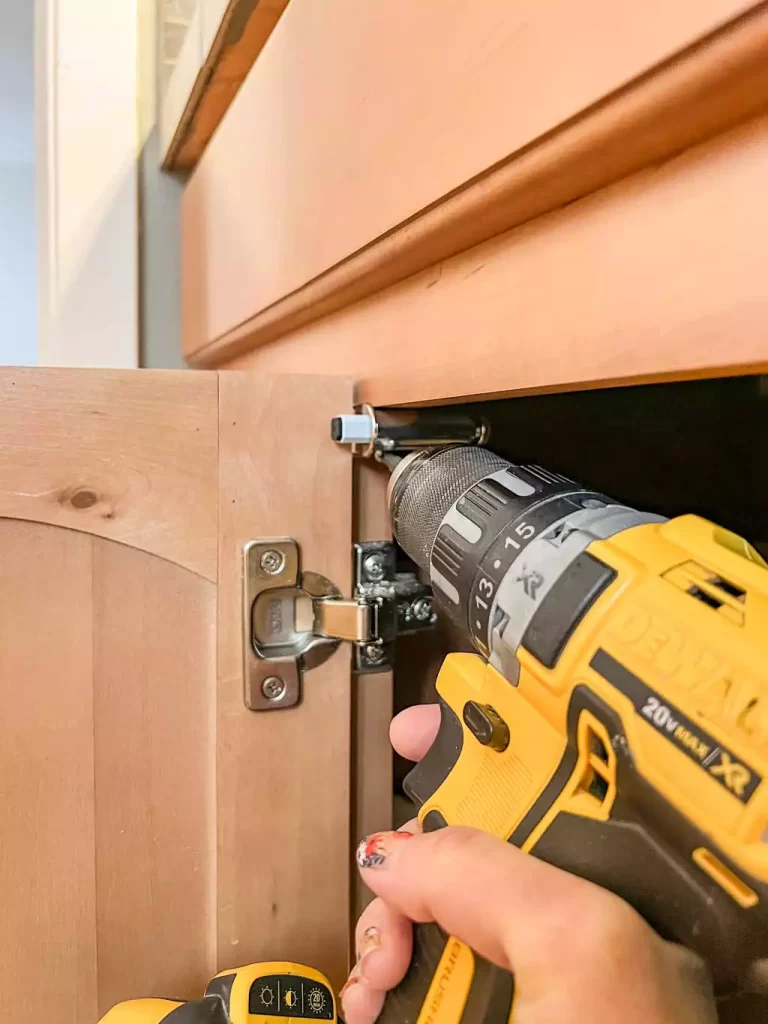
It’s pretty cheap and not actually metal, just painted plastic. So far, it seems to work, and I’ll update this post if/when it breaks. Here’s a little video to show the damper in action:
If you’re interested in this product, I highly suggest only buying one to try it out first. If it does work with your cabinet style, then you’ll find a 10-pack or 25-pack on Amazon.
After writing this, I found higher-quality dampers from Franklin Brass. Check these out for a more durable, nickel-plated option. If you have the budget for this item, I believe it might be a better damper than the plastic doodad.
How to Fix Wonky Hinges
Often, cabinet doors won’t close because something has gone wrong with the hinges. Here are a few common problems and how to adjust or replace cabinet door hinges.
I found a variety of helpful videos on how to repair kitchen cabinets, specifically hinges, at Woodworker Express on YouTube. Check out his tutorials if you don’t see a solution in this blog post. This is a good overview of styles of cabinet hinges.
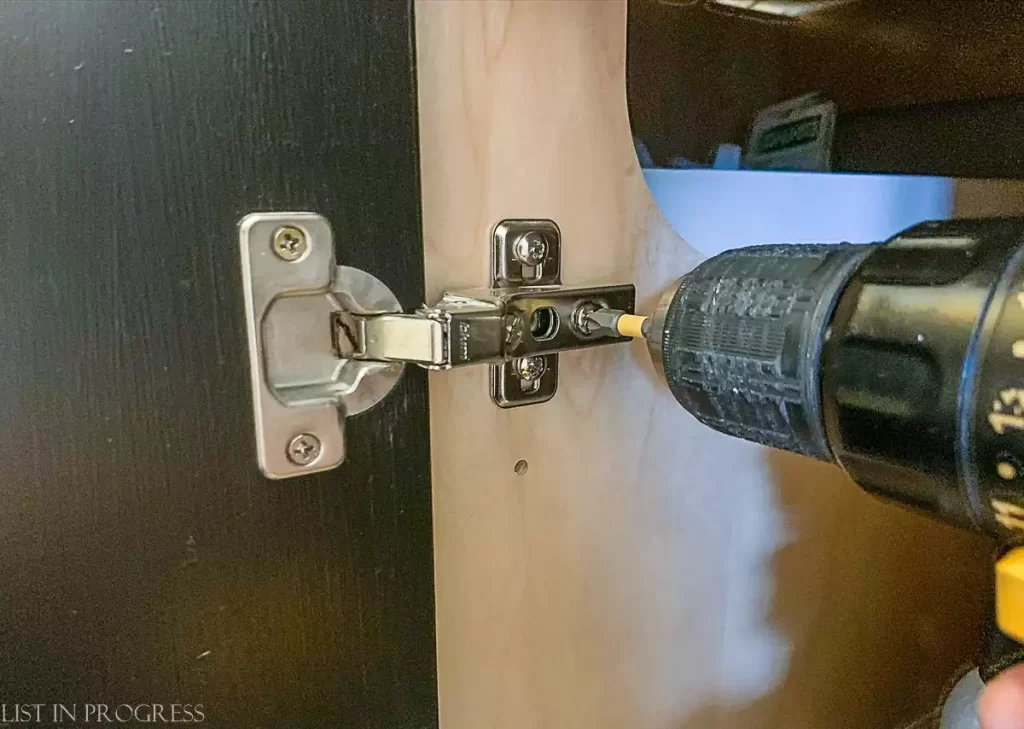
Problem 1: Doors are Misaligned
Sometimes one of your cabinet doors becomes misaligned and drives Type A people nuts. *ahem*
This might be solved with a simple screwdriver!
Solution: Adjust Hinge Screws
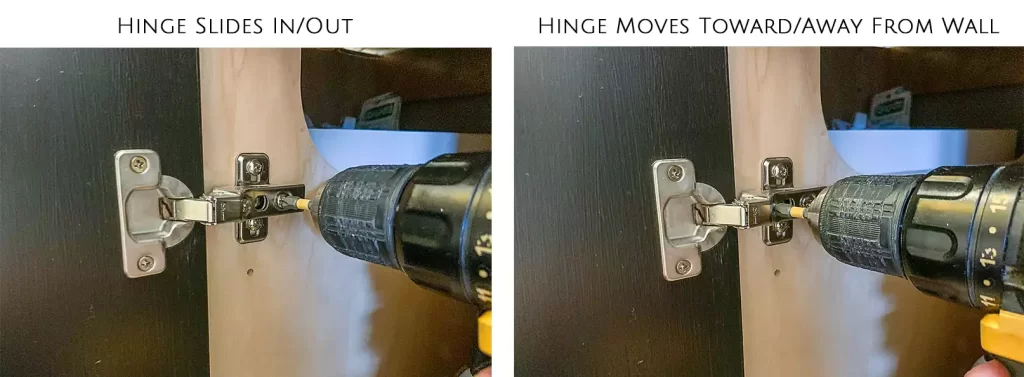
If you have newer hinges, they’ll have little screws that allow you to adjust the alignment. Very cool! Just takes a little patience and a drill or screwdriver to adjust infinite variations of alignment position.
You might need to play around with the adjustment to change the door depth, side-to-side placement, or door angle. You can experiment or watch this video for a demonstration of how to adjust hinges. If you don’t have straight-arm hinges, here’s an overview on compact hinges.
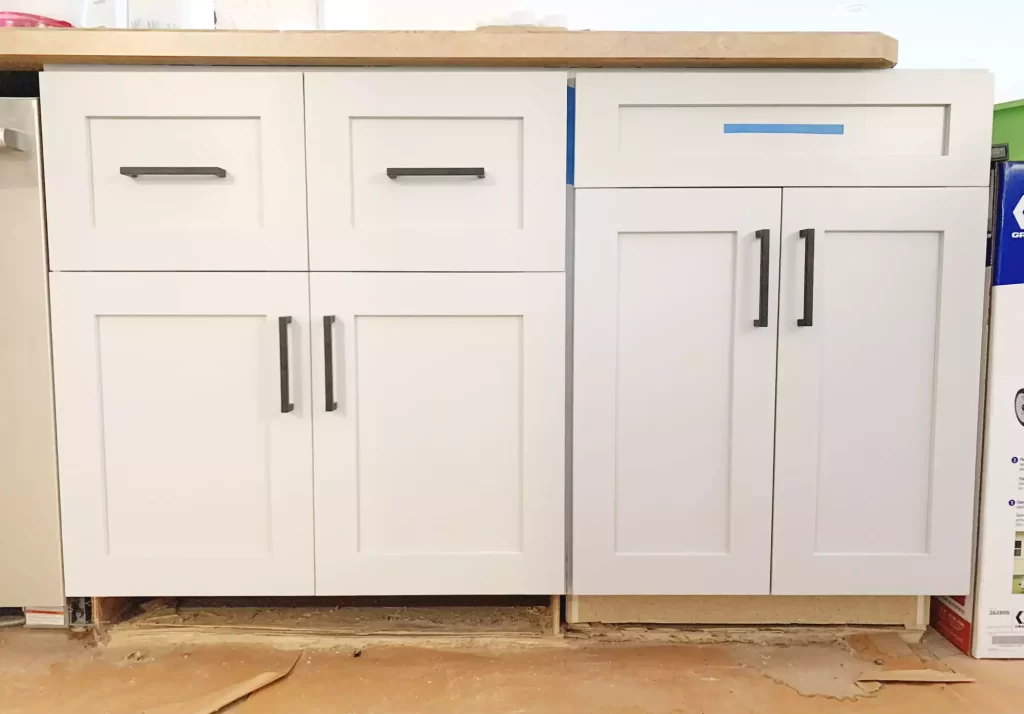
Ideally, you *should* be able to adjust your hinges so the doors and drawers are in proper alignment. Check out the photo below. When we remodeled our last kitchen, we replaced the doors and drawers on existing cabinets. This alignment didn’t happen by accident; Wyatt worked on the doors for quite awhile to get them as close to perfect as possible.
Problem 2: Doors Won’t Stay Closed
Here’s a bathroom cabinet door that drove me crazy with this problem. It just stayed open a tiny bit. Something had gone awry in the hinge itself and the soft-close function stopped working correctly. Can you spot it?
Check out this cabinet makeover here: The Easiest Way to Paint Cabinets
Solution: Adjust or Replace the Hinges
Start by trying to adjust the hinges. See the solution above for directions on adjusting hidden hinges for door closure.
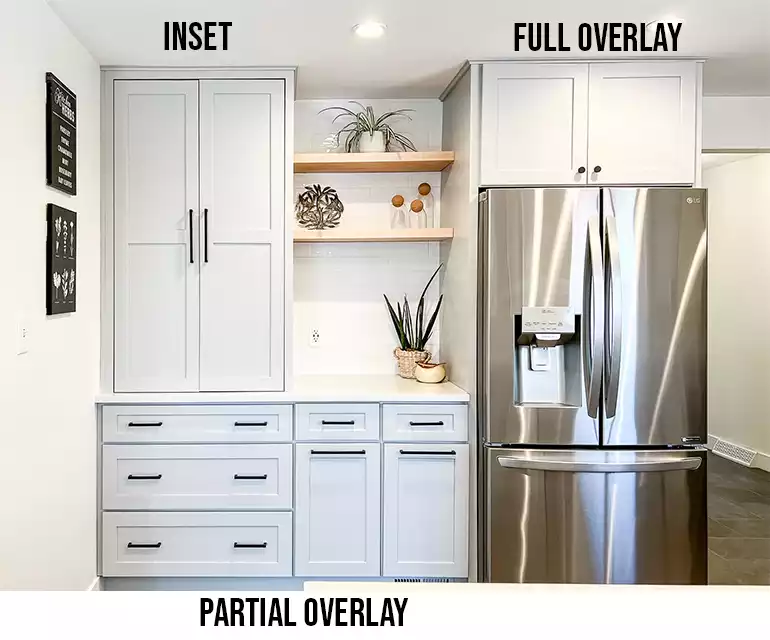
In order to replace your door hinges, you’ll need to do some investigating. It’s easiest to replace hinges like-for-like. Look at the hinges and determine the size and style – frame or frameless, full or partial overlay. You might watch this video for a general overview of hinge styles if you’re a newbie.
To measure overlay hinges, you need to find the measurement between the outside of the closed door and the inside of the cabinet frame. Watch this video for an easy demo using a post-it note.
To replace frameless cabinet hinges, watch this video to decide which style of hinges will work best.
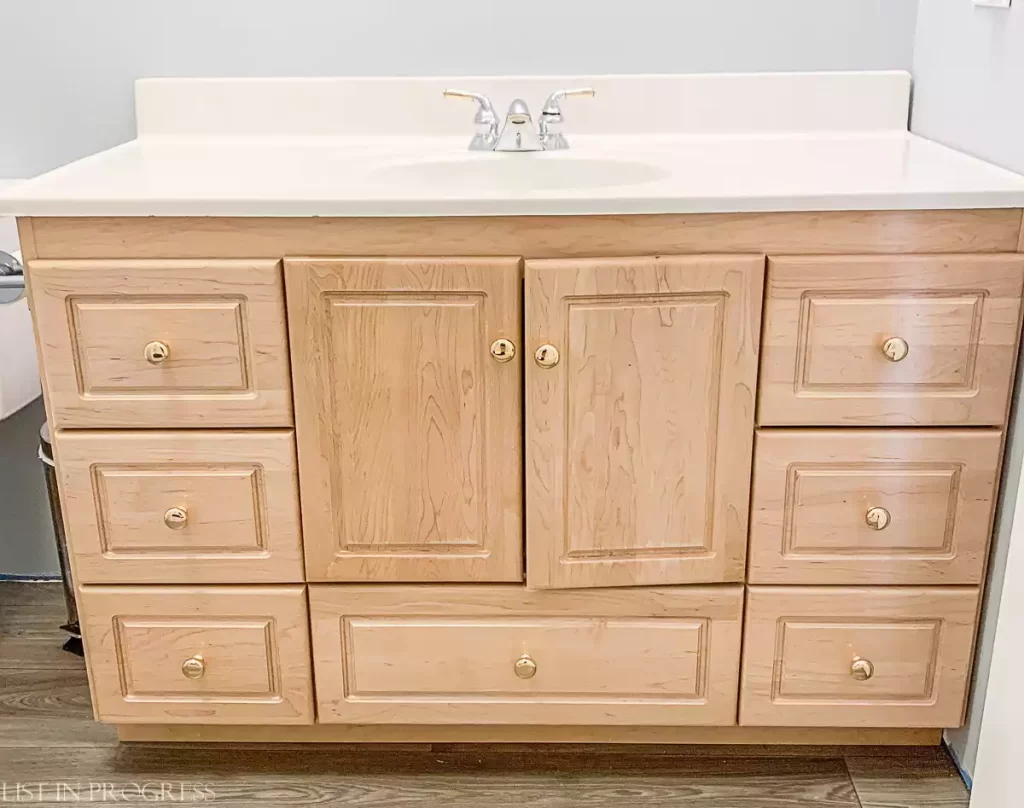
You can see all three door styles in this photo of our old kitchen. Ideally, all of your cabinets would have the same door style, but we mixed and matched for various reasons.
Here’s Our DIY Kitchen Remodel
Cabinet Drawers Won’t Open Smoothly
Do your cabinet drawers feel sticky or no longer open smoothly? Here are some easy and cheap solutions. Plus a long-term fix in case you feel inspired to replace the glides/slides.
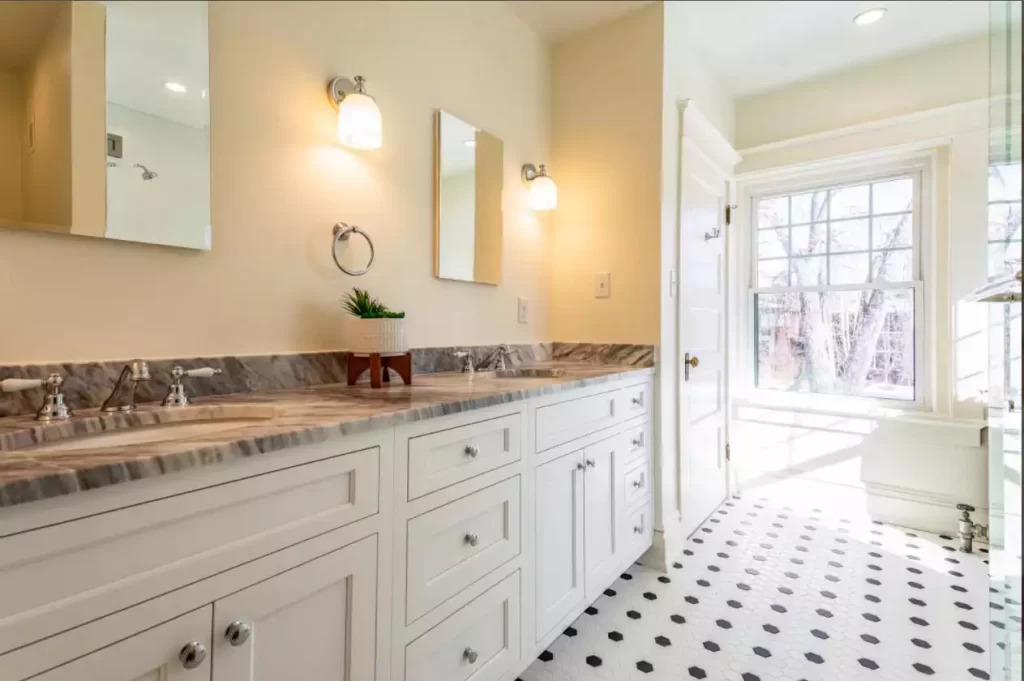
(I realize this is a bathroom, but those inset cabinets are so pretty!)
Problem 1: Drawer Glides Stick
Have the drawer tracks become sticky or won’t open easily? There could be a few different culprits.
First, figure out what the issue might be. Take all items out of the drawer and check how it opens and closes. It sounds silly, but if it’s overloaded, that could be a simple fix. If your drawer is just crooked, check out the tracks on the sides to see if they are level and straight.
Next, look at the glides to determine if the metal is bent anywhere, which would cause them to catch. If you notice the glides are loose, that could also cause your drawer to stick.
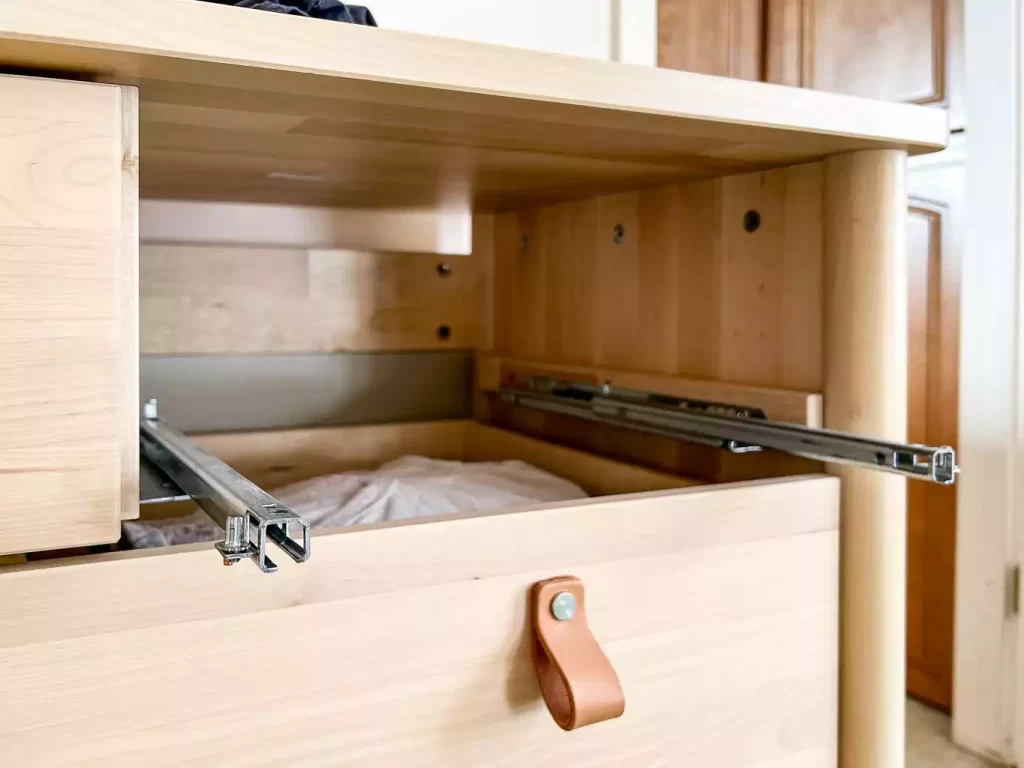
Metal slides installed along the sides of drawers tend to pick up dust and dirt over time, which mixes with the oil and becomes sticky. That’s one reason newer drawers have glides underneath – less likely to catch dust. The problem could simply be wear and tear.
Solution: How to Fix Sticky Metal Glides
Once you’ve determined the cause, you can probably fix the tracks.
Fix #1: If your glides are bent, can you nudge them back into the correct shape with pliers?
Fix #2: If they are loose, try to tighten the screws along the cabinet and drawer locations. This will especially help a drawer packed with heavier items.
Fix #3: You can also clean your drawer glides so they will function better. Be careful not to strip away all of the oil, or you’ll create a new problem. Wipe down the glides gently with a simple household cleaner, nothing crazy is needed here.
Here’s a great hack: rub the metal glides with a bar of soap!
You could also use a candle, but a bar of soap is probably more readily available for most of us. This should provide long-lasting glide for the metal to function smoothly.
Problem 2: Drawer Slide is Broken
If you discover a broken drawer slide, you’ve got a bigger problem on your hands. They can be replaced and here’s how to do it.
Solution: Replace Drawer Slides
Consider whether you want to replace the hardware with a newer version, or if it might be possible to upgrade it. This is a good opportunity to buy a better slide for your drawer.
There are a few different types of drawer slides: epoxy side slides, full-extension side slides, and undermount slides. Here is a good overview video on replacing these 3 common styles.
For a kitchen cabinet, these common epoxy slides might not be cut out for carrying the drawer weight. Still very common in bathroom cabinets and on cheaper drawers:

If you buy replacements online, aim for a reputable company (these are from Liberty Hardware) for longest wear and best functionality of your hardware. Replacing glides is a tedious task, so you might as well avoid repeating it in a few years. Here are side-mount, ball-bearing glides:

Blum is one of the best brands in the industry. Here is a 21″ undermount glide set for about $40. You’ll have to order the right length for your cabinet, but most lower kitchen cabinets are 24″ deep.

Adjusting Cabinet Drawer Height
If your drawer is crooked or the gap above is too large or too small, you might be able to adjust it. A crooked drawer might eventually cause the glide to stick, so it’s worth fixing for that reason, too.
Problem: Drawer is Crooked, Too High, or Too Low
Is a drawer sitting crooked, too high, or too low, making the gaps between vertical drawers look uneven? There’s a possible fix for this.
Solution: Adjust the Glide Pins
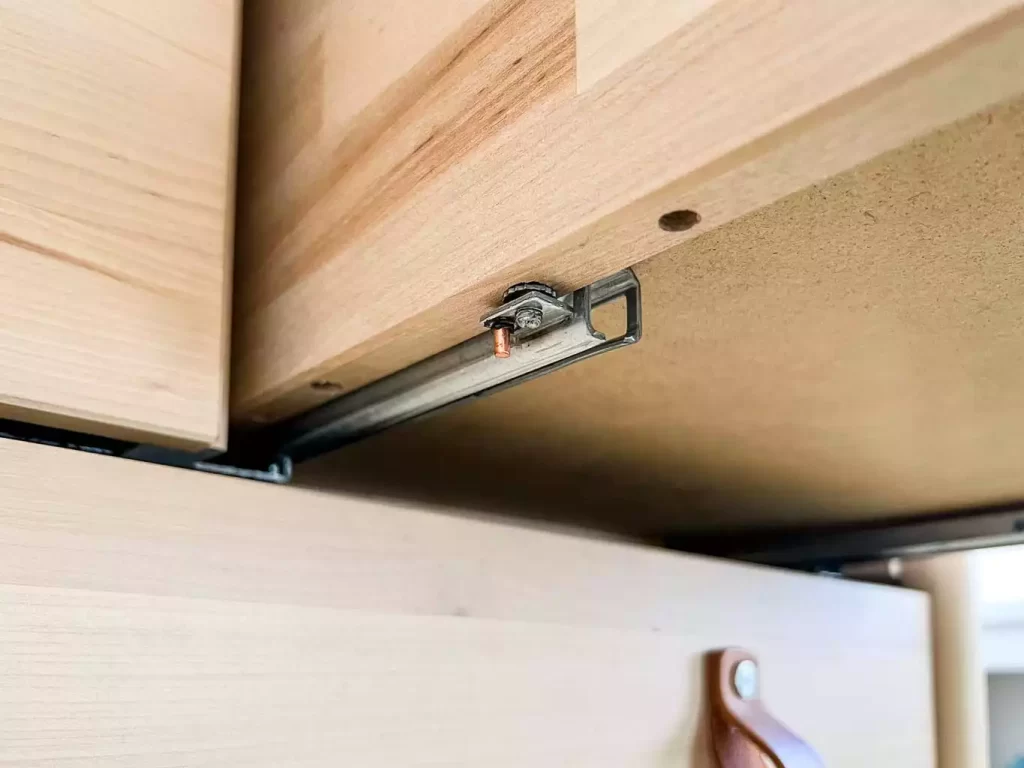
It’s possible to adjust the height of your drawer if the glides run underneath. There are little pins in the track that can be loosened and tightened to adjust the height.
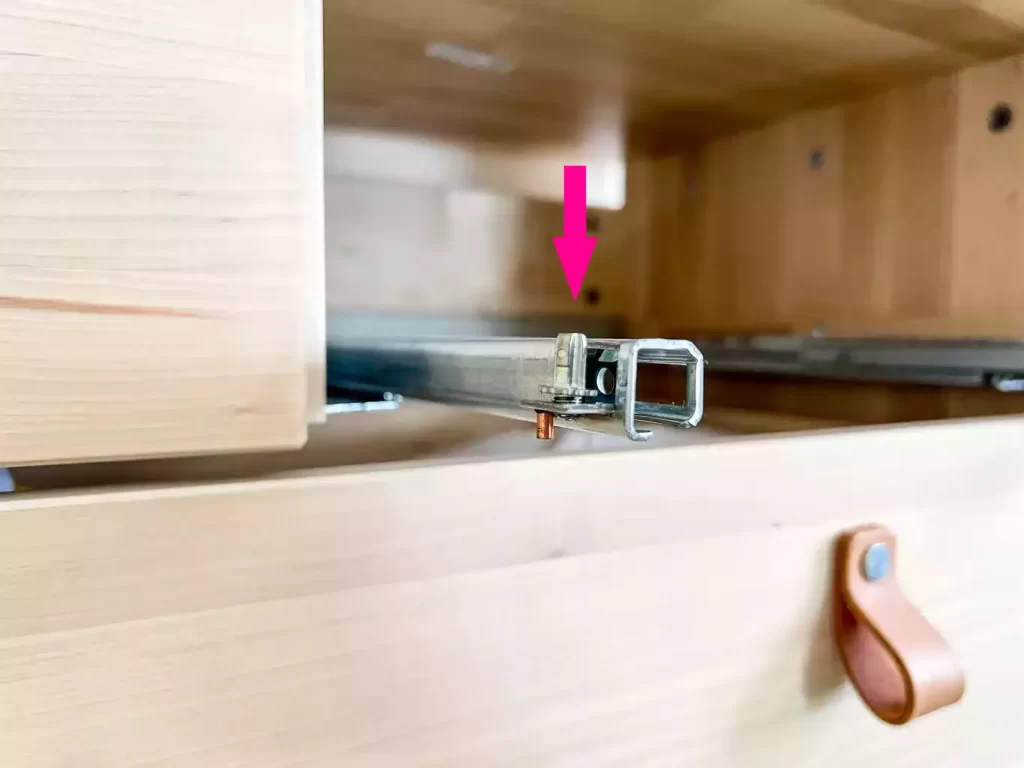
Empty the drawer and take it off the glides. Depending on the slide style, there might be a little release mechanism to unclip the drawer from the track. You’ll probably unclip it, lift up the drawer at the front and then pull it out of the cabinet to release it from the teeth in the back.
Locate these little pins on the slides and see if you can twist them to raise or lower according to your adjustment.
Reinstall the drawer on the glide and push it back into place. Did the adjustment work?
Dents, Dings, and Aesthetic Problems
Are you here because your cabinets look worse for the wear? You can spruce them up with a few relatively inexpensive fixes, rather than dive into a full remodel.
However, if you’re debating painting your cabinets and/or remodeling, definitely read my blog posts on this topic. I’ve got a lot of advice and tips to share since I’ve painted a lot of cabinetry! A sampling:
The Easiest Way to Paint Cabinets
The Best Paint for Kitchen Cabinets
2023 Cabinet Hardware Trends
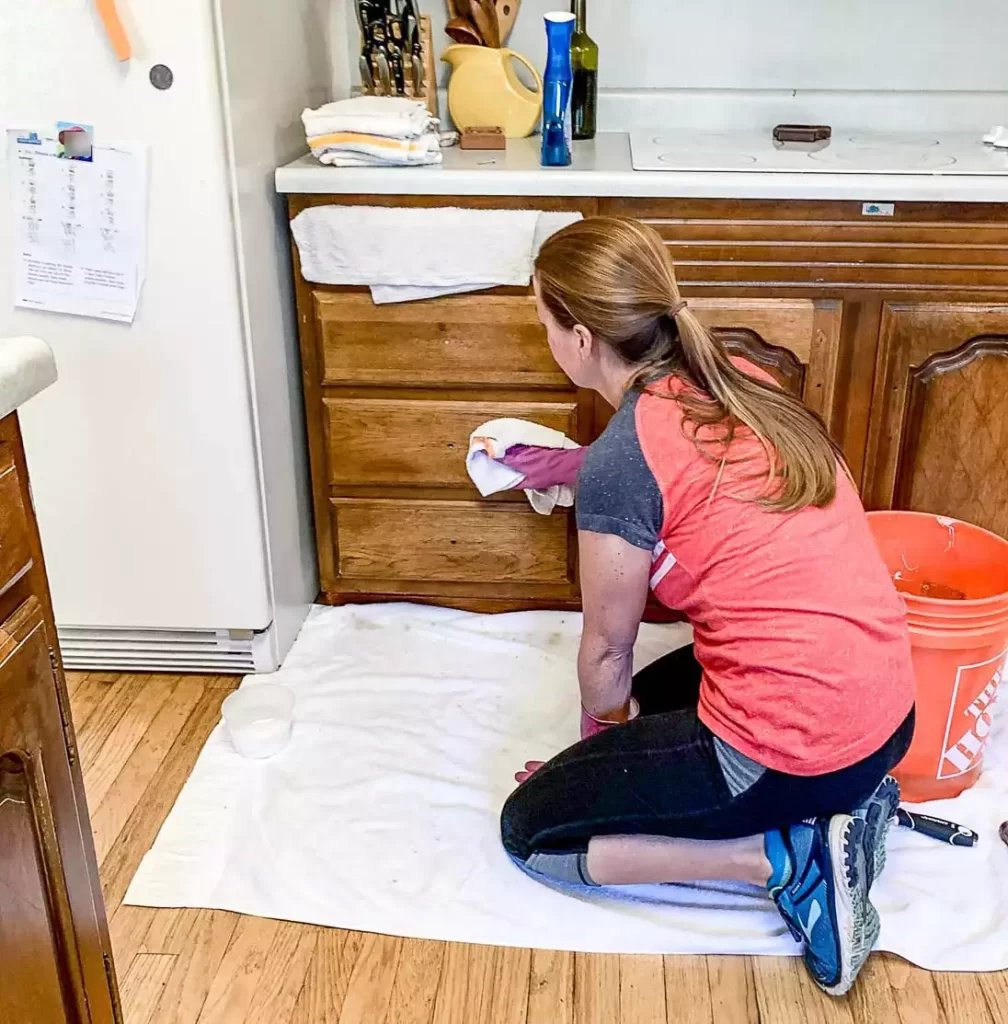
Clean First
Start by cleaning your cabinets. That could help more than you expect it to. If you have old wood cabinets like I currently do, check out this post: How to Clean + Degrease Old Wood Cabinets.
Fill Dents and Dings
If you have wood cabinets, you can fill small dents and scratches with a wood filler. Elmer’s Wood Filler or Gorilla Wood Filler are both good choices. Be sure to choose a product that is stainable or paintable, based on your cabinet finish.

You can even use crayon-like wax sticks that come in a range of wood colors and work well to fill in small gouges.

For larger dents, you might need to use a stronger wood filler before you paint or stain over it. Our go-to is Bondo because it’s the strongest option. Read this post on Painting a Refrigerator to see my Bondo tutorial.

Fix Scratches in Paint or Stain
Stain pens are a cheap and easy fix for small scratches in stained wood cabinets. The easiest way to match colors is to take one small cabinet door off the hinges and bring it to the hardware store. I’ve had success with Varathane stain pens; Minwax makes a similar product.

You can also bring a painted door or drawer to the paint counter to get custom color-matched paint. Let a paint pro help you decide on the appropriate sheen for your touch-up. For this, go to Benjamin Moore or Sherwin Williams, rather than a big box hardware store, for advice from more seasoned employees.
If All Else Fails, Here’s Remodeling Advice
I sure hope one of these solutions addresses your kitchen cabinet problems. If not, please let me know what is troubling you – drop a comment below. Best of luck to you.
If you’re thinking of remodeling, I’ve shared tons of advice on DIY kitchen remodeling and updates! Read more here:
Yes, A DIY Kitchen Remodel is Possible – Part One
Costs and Lessons Learned from Our DIY Kitchen Remodel
