

Here’s one surefire way to class up your bathroom: install a mirror frame around a builder-basic mirror. If you search for tutorials to build a bathroom mirror frame, you’ll see the internet is littered with advice. Mostly, build a frame and glue it to the mirror – ick! We took a different route, and today, I’ve got three versions of this project to share with you. Here’s how we created our bathroom mirror frame.
Pay it Forward
First, here’s a little background on today’s post. We have done enough home improvement projects to realize that it’s sooo helpful when work is completed with future homeowners in mind. Meaning, we ask ourselves: if someone needs to make a change down the road, will it be easy or difficult based on choices we’re making today? That’s why our mirror frame is nailed to the wall – not glued – as I’ll explain below.
If you have limited DIY skills, then the simplest way to install a bathroom mirror frame is certainly to cut the pieces and glue them to the mirror and/or wall. However, Wyatt almost wept at this suggestion (not really) and declared he had a better idea. Our mirror frame is nailed to the wall, and it should be easy to remove if the mirror OR frame needs to be replaced in the future. (If you glue the frame, you won’t be able to replace either component without destroying the frame and potentially the mirror and drywall, too.) And so, we present you with three adaptations of our mirror frame tutorial – all designed to “pay it forward” for the next homeowner.
Here’s the Easiest Way to Paint Cabinets
Mirror Frame 1 – Intermediate Skill Level
This project is actually pretty easy to execute, but I’d call the skill level “intermediate to advanced,” due to the required tools. If you already own and can operate a router, miter saw, and pin nailer or finish nailer, then this first version of our DIY mirror frame is for you. Skip to versions 2 or 3 if you want a simplified tutorial using fewer specialized tools.
Mirror Frame 1 – Materials
Let’s start with the exact materials and tools we used for our mirror frame. After walking through the steps to build it, our adaptations to simplify the project will make more sense.
- wood
- wood glue
- trigger clamps
- torpedo level
- scrap 1″ wood (1 x 6 or wider)
- miter saw (we have this compound miter saw)
- router
- router table
- pin nailer/finish nail gun
- wood stain (if using)
- top coat or sealer product
- paint brushes, etc.
1 – Choose Wood for Your Frame
To get started, decide which species of wood you plan to use for your mirror frame. A lot of design decisions center around your choice of wood. Is it light enough for this installation method? Will it need to be stained or painted? Can you rip one wider board in half and save money on the materials, as we did?
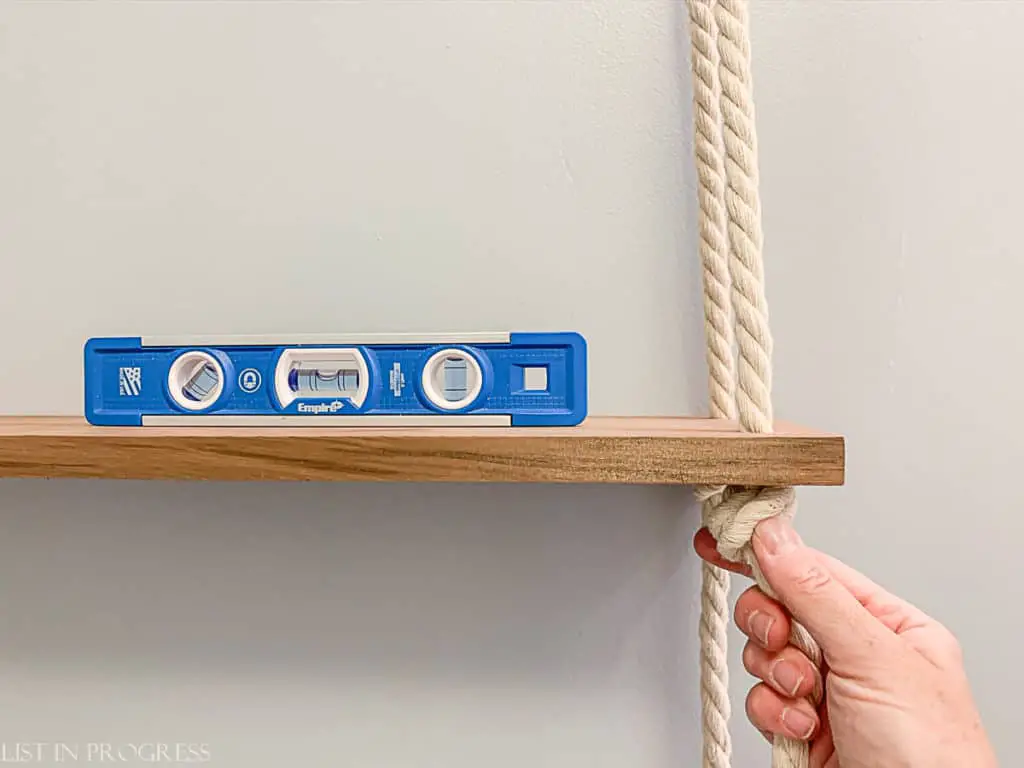
We had a gorgeous 1 x 6 x 8 cedar board on hand from an abandoned light post project, and it was the perfect size for our bathroom mirror project. Also, I’ve already made these hanging shelves from a matching piece of cedar, so the wood coordinates. Wood is crazy expensive these days, and it makes sense to try to repurpose an old board or two, if you can.
How to Make Simple Hanging Shelves
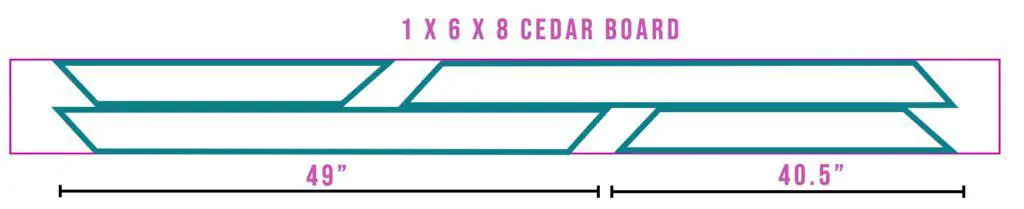
Since we used a 1 x 6 board, Wyatt ripped it in half lengthwise to create two 8-ft x 3-in pieces for the frame. Our mirror is 47.25″ x 37.75″, and the entire frame is constructed from one 8-foot-long board. Essentially like this, if you were to fast forward and see how the final cuts came from one plank:

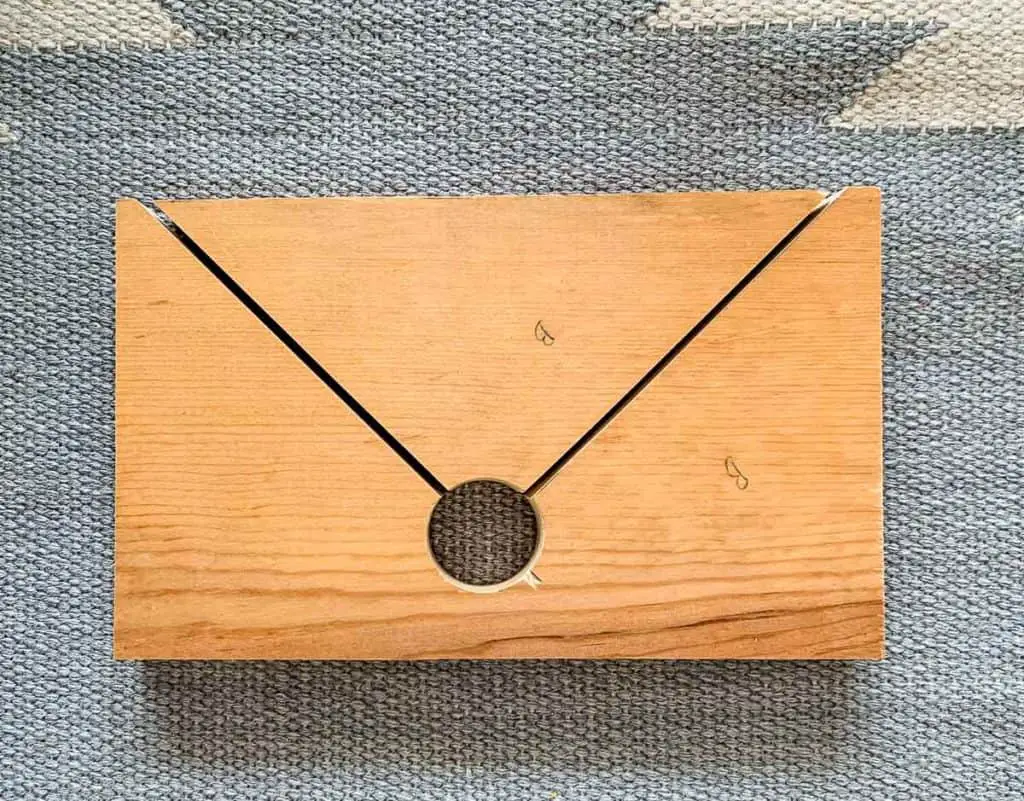
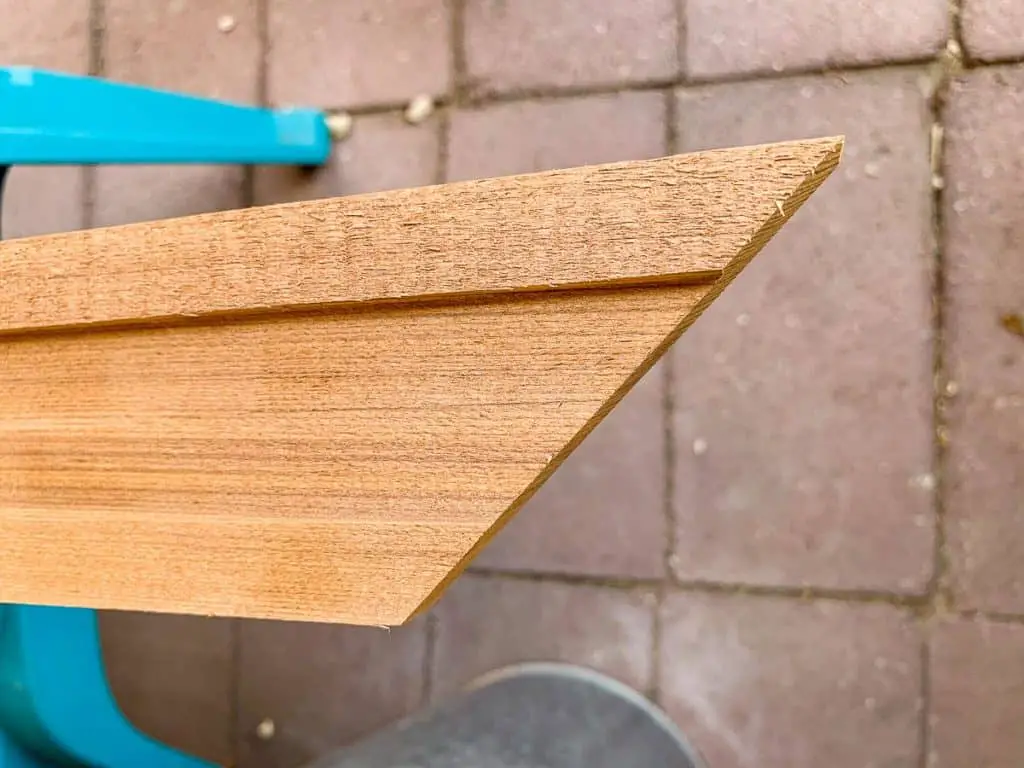
2 – Dig in with a Router
For this simple mirror frame design, you’ll start by using a router to make rabbet cuts along the lengths of wood. Then, use a miter saw to cut the angled corners. Rabbet cuts are where Wyatt used a router to cut out the back of the frame around the mirror so that it would lay flush against the wall, rather than stand proud (stick out from the wall).
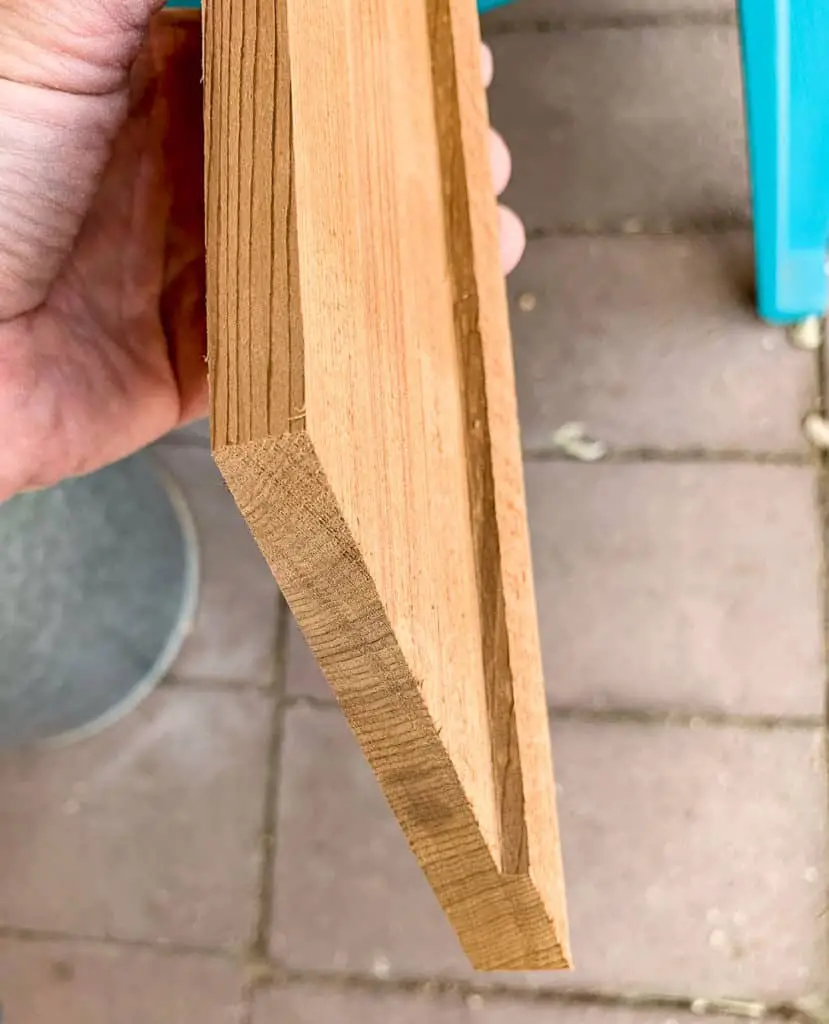
We recommend making the rabbet cuts wider than the mirror on all sides, to allow for some adjustment during installation. The measurements for this entire project are actually somewhat flexible. Here’s a graphic to show what I mean; imagine the purple area is cut out wider than the mirror dimensions.
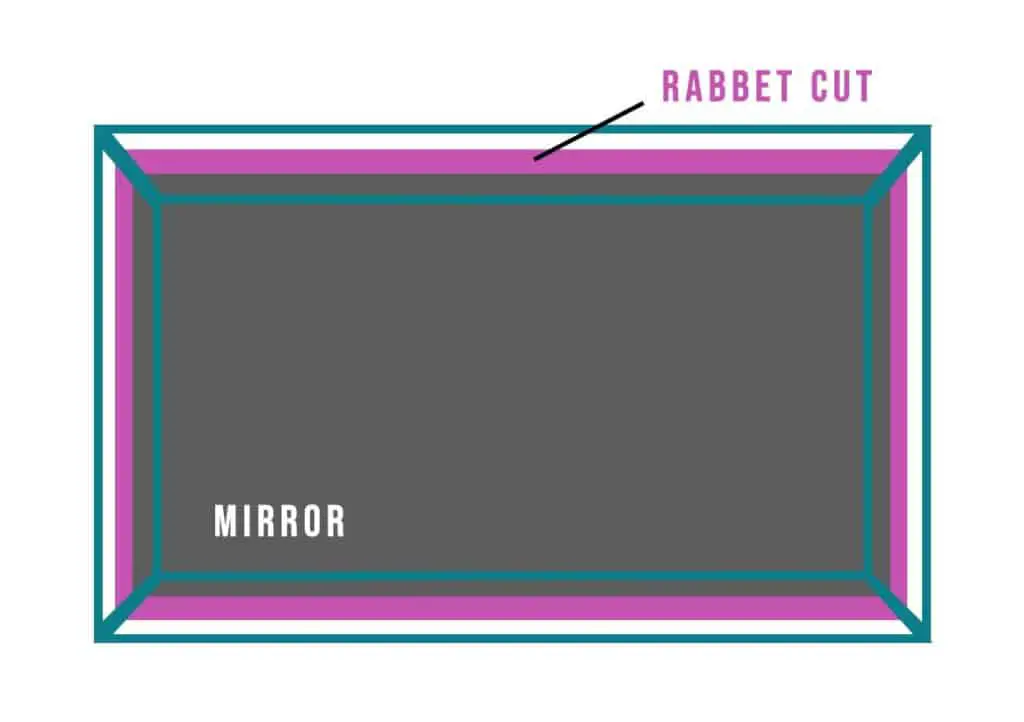
Using a router and router table, Wyatt rabbeted out roughly 2/3 of the width of each board. Maybe a little more than that. (See versions 2 and 3 for alternatives to using a router.)
**If your mirror is installed with mirror clips, you’ll also need to rabbet grooves for those, so the frame will be flush with the mirror.**
3 – Miter Cut Corners
Once you have the wood rabbeted, break out the miter saw. Measure your bathroom mirror and add about 2″ for the length and width of each frame side. Assuming you cut out extra width with the router, the length and width of the frame are flexible. Our cuts are 49″ wide for the long sides and 40.5″ for the shorter sides and our mirror is 47.25″ x 37.75″. Make miter cuts on the ends of each frame piece on a 45-degree angle. This is our compound miter saw, if you need a recommendation. Here’s a mockup of the pieces.
At this point, you might also want to mock up the layout somewhere flat, just to see how the corners will fit together.

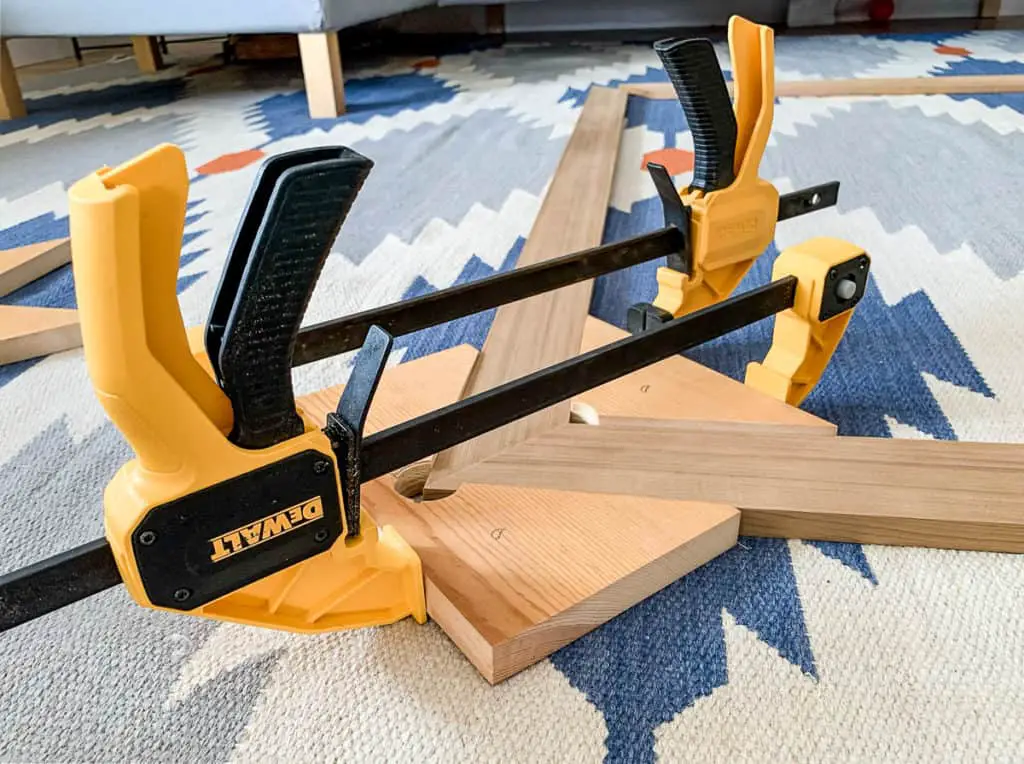
4 – Glue Corners Together
Using wood glue and clamps, glue the corners together following glue directions. We left our clamps in place while the glue dried for 24 hours. Another note – we used a regular wood glue and it seemed to work just fine. Don’t use a foaming glue (like Gorilla Glue), and if you want to do more research, this is a good overview of different wood glues.
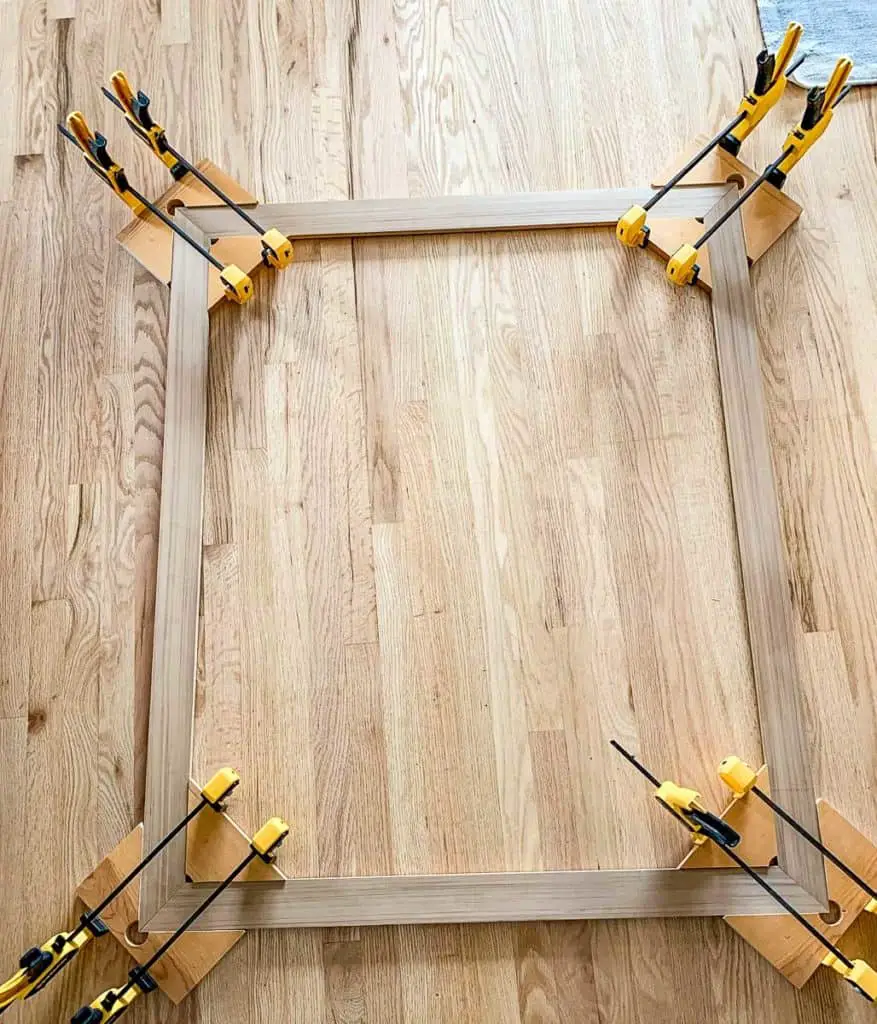
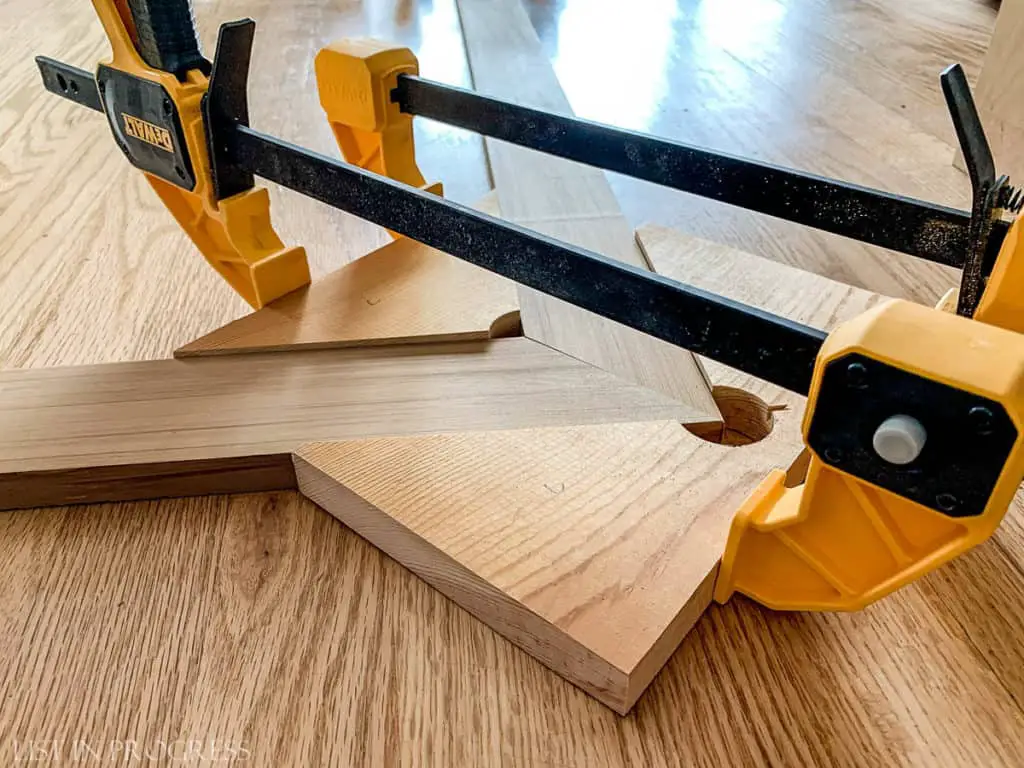
If you have a brace to support the corners, that is really helpful for this project. If your frame is skinnier, use a clamp like this for mitered corners. (Hey, Home Depot, if you’d sell these in a wider size, we would have bought them!) You might also find a larger clamp for mitered corners at a woodworking store like Rockler, but we didn’t want to invest in pricier clamps for a one-time project.
Wyatt found this video online and made a DIY brace from scrap wood (actually an old cabinet). It worked better on some joints than on others. If you have a fancier miter saw than we do, your cuts and joints will be more precise, and perhaps this DIY brace will work even better for you.
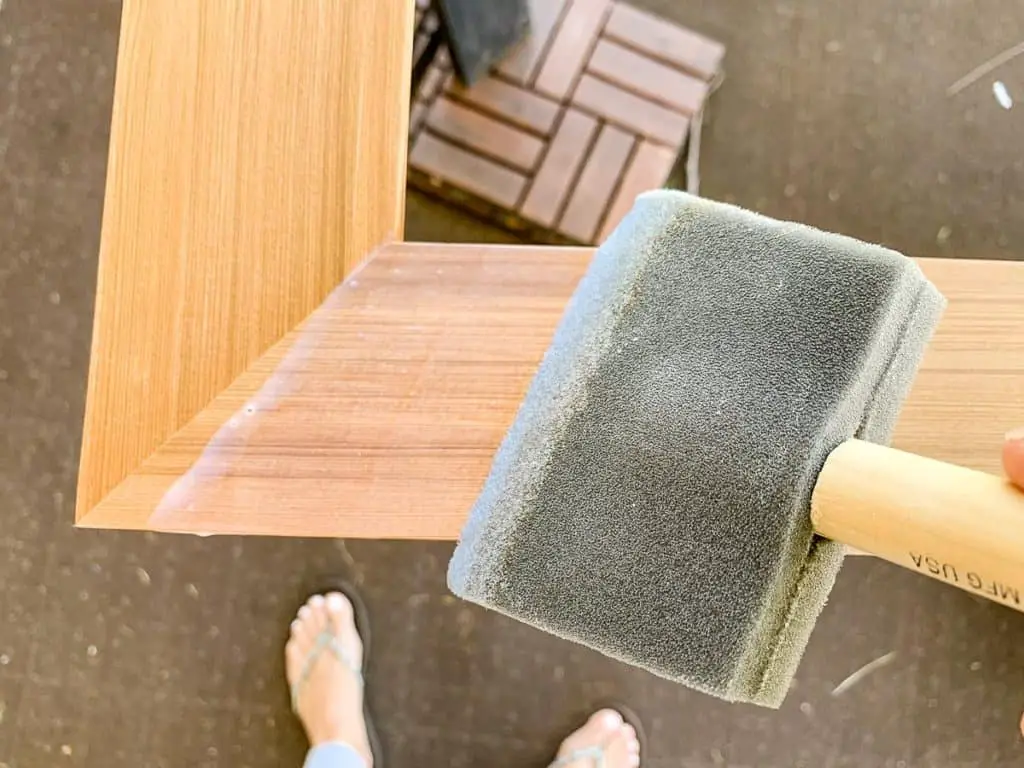
5 – Sand, Stain/Paint, Seal
However you plan to finish your mirror frame, do it now, before you install it. Sand lightly and paint, stain, and/or seal the wood.
Because this cedar is already gorgeous, I just sealed it with three coats of General Finishes Exterior 450 Top Coat, which I already had on hand. Your sealer doesn’t need to be an exterior product. I also like this clear Polycrylic sealer, which you can find in large hardware stores.
Make Painting Easier with These Tips + Tricks
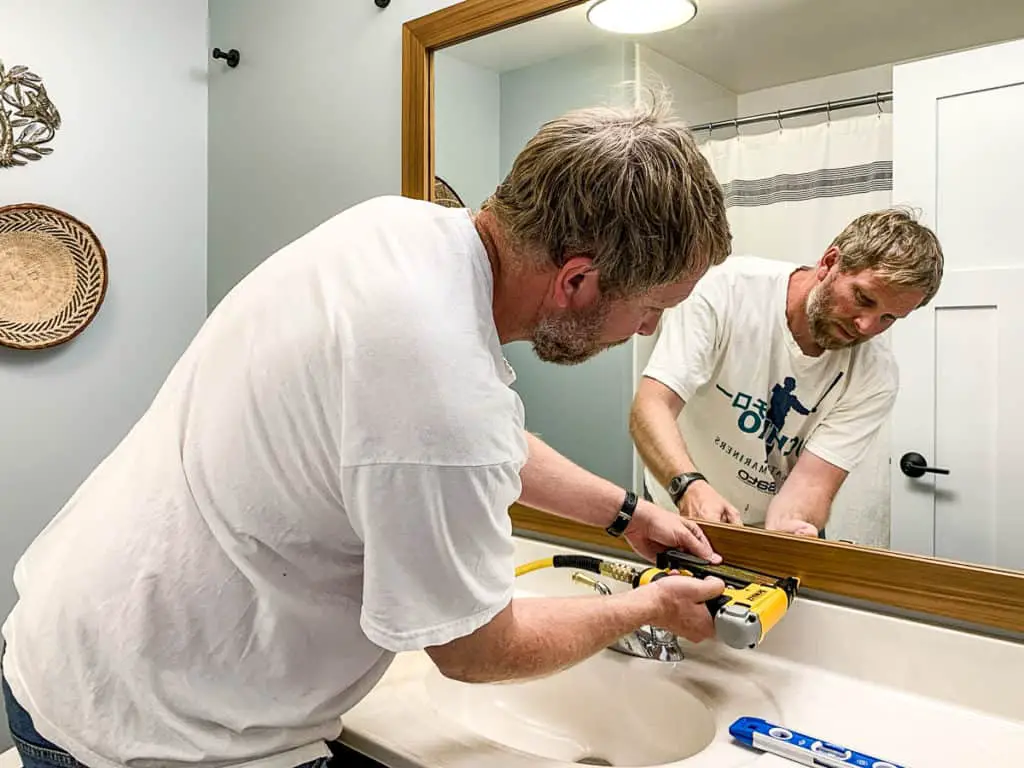
6 – Install with Pin Nailer
Here’s the part where we’re really paying it forward with our mirror frame project. Using a pin nailer, brad nailer, or finish nail gun, level your frame on the mirror and attach it to the wall.
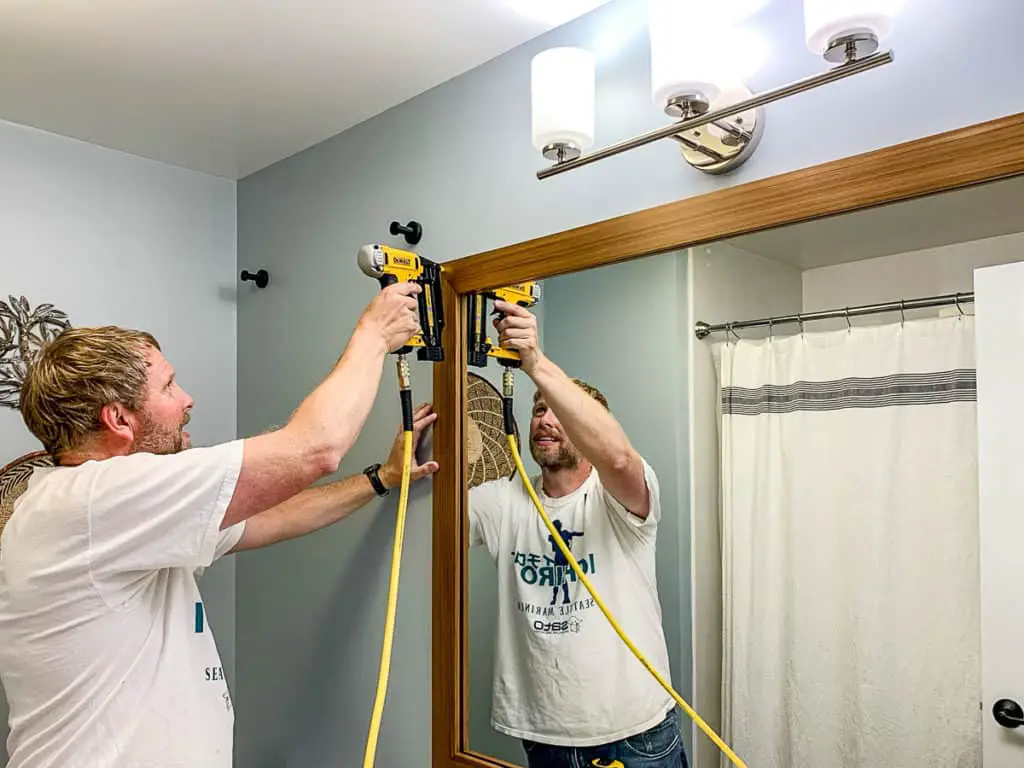
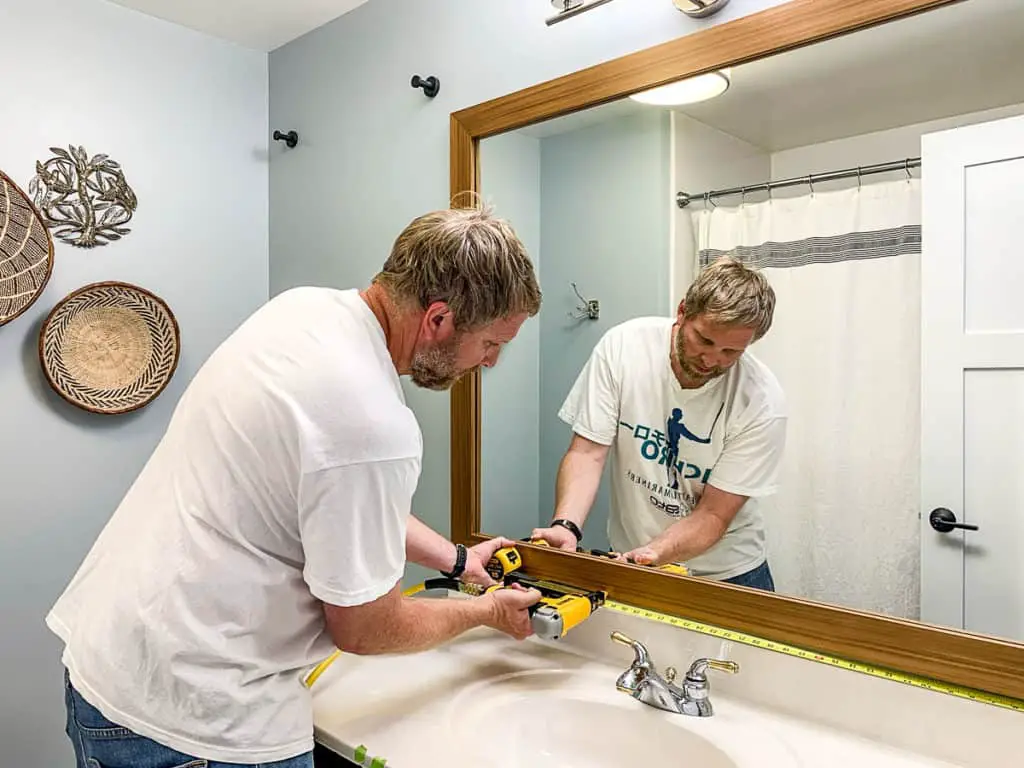
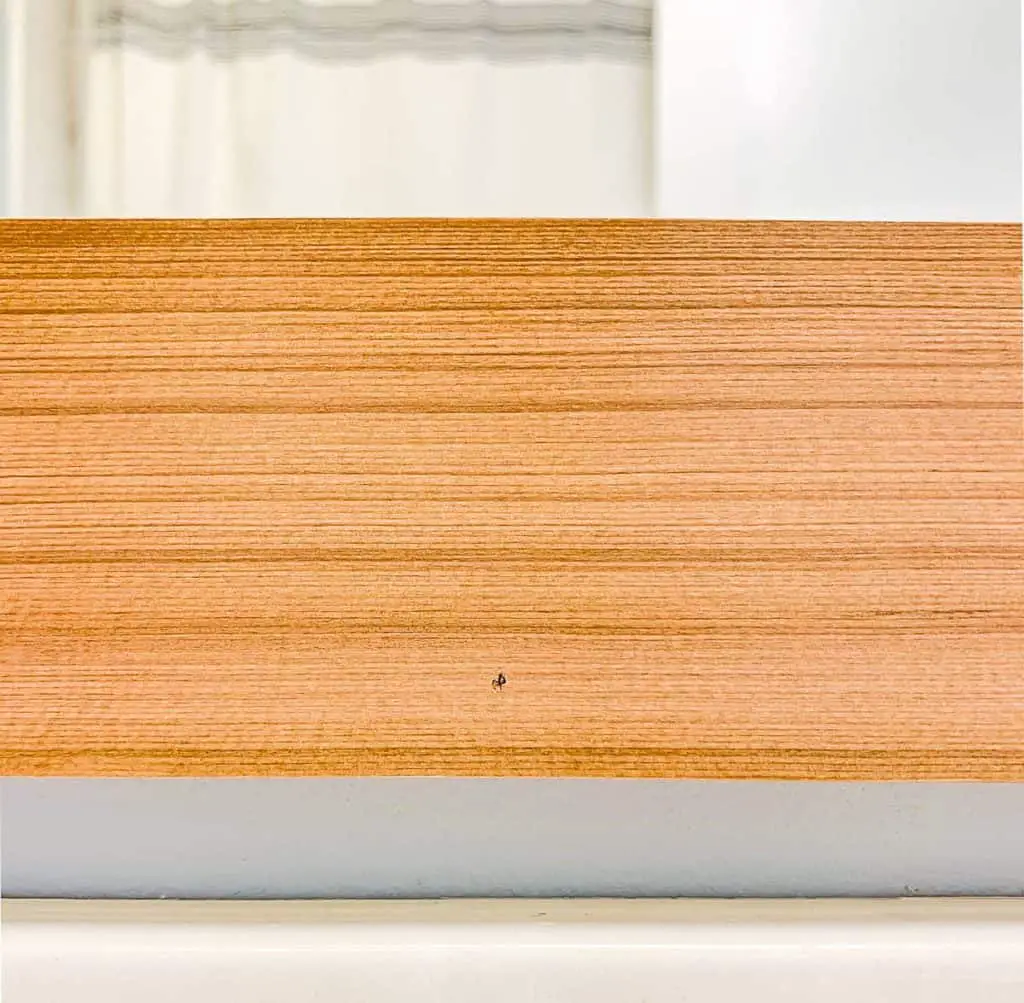
Because our cedar frame is so incredibly light, Wyatt attached it to the wall with just 6 tiny nails – 3 on top and 3 on the bottom. The nail holes are so small that I might not even fill them. If you’ve painted your frame, you’ll probably want to fill and paint over the nail holes so they are less obvious.
Ta da! That’s a wrap! But I’m not finished yet, because I want this tutorial to be useful to as many readers as possible… read on for ideas to create this project with fewer specialized tools.
Mirror Frame 2 – Intermediate Skill Level
Disclaimer: Off-label usage of power tools is not advised by List in Progress. Always use power tools properly and safely. Do not blame me if you attempt this and cut off a finger.
Tools: table saw and miter saw
Recommended: pin nailer or finish nailer
OK, here’s a cryptically-worded alternative to using a router and router table. Someone’s anonymous husband recently said, “A table saw is a poor man’s router.” If you’ve logged plenty of hours safely using a table saw, you’ll understand what that means and how to adapt this tutorial. You can make a similar L-cut in your boards like this…
First, turn the trim on edge, set the appropriate depth of your table saw, and make cut #1. Second, flip the trim around, adjust the table saw depth, and make cut #2.

If you are comfortable with a table saw, then this might be an alternative for you to make rabbet cuts. Follow all other instructions to build and install the mirror frame.
Mirror Frame 3 – Beginner Skill Level
Tools: miter saw (we have an older version of this one)
Recommended: pin nailer or finish nail gun
Now that I’ve walked you through our mirror frame, you’ll see why this third option is ingeniously easy! If you live in an area with millwork stores, you’ll have plenty of trim and moulding options at your fingertips. Instead of using a router to make these notched cuts, you could just order a specialty piece of moulding that is already cut in that shape. Here’s a mockup of the trim profile for this piece of moulding:
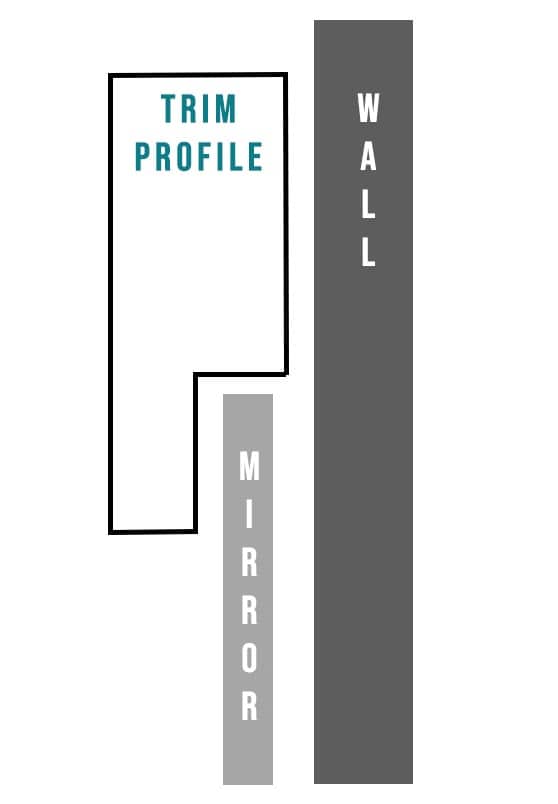
All you’ll need to do is use a miter saw to cut the 45-degree angles and follow the rest of the tutorial above. You can just use finish nails to attach the frame to the wall if you don’t have a nail gun of any sort.
Even though it will cost a bit more to buy specialty trim, you won’t need a router, which simplifies this project.
Upgraded Bathroom Mirror Frame
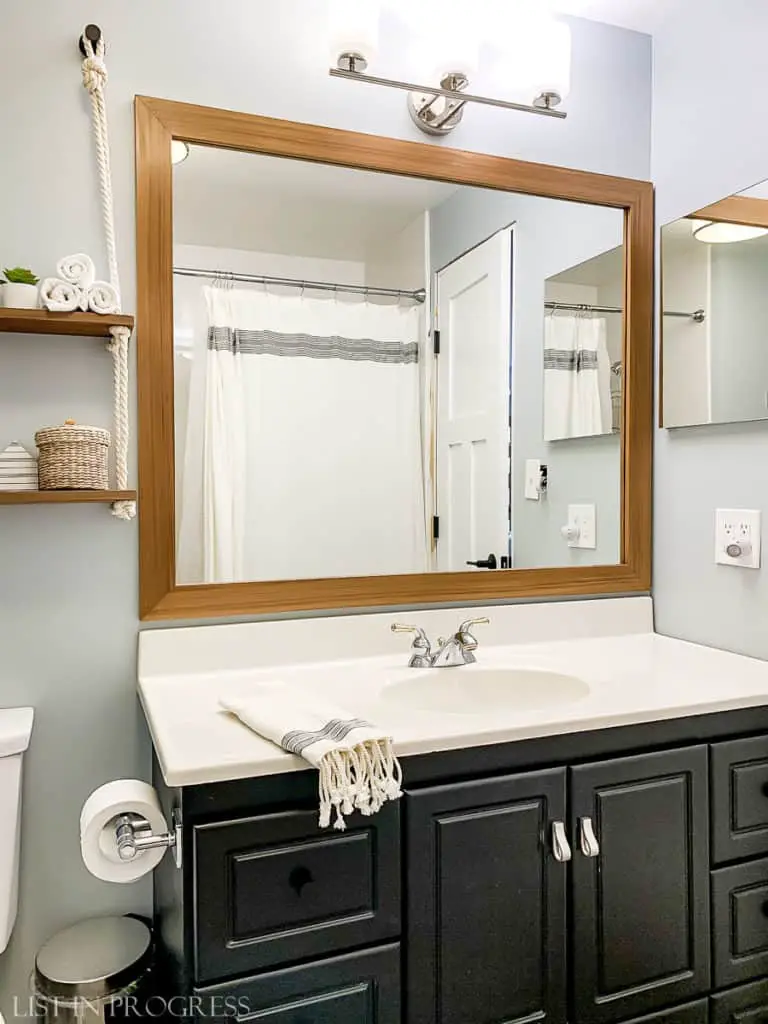
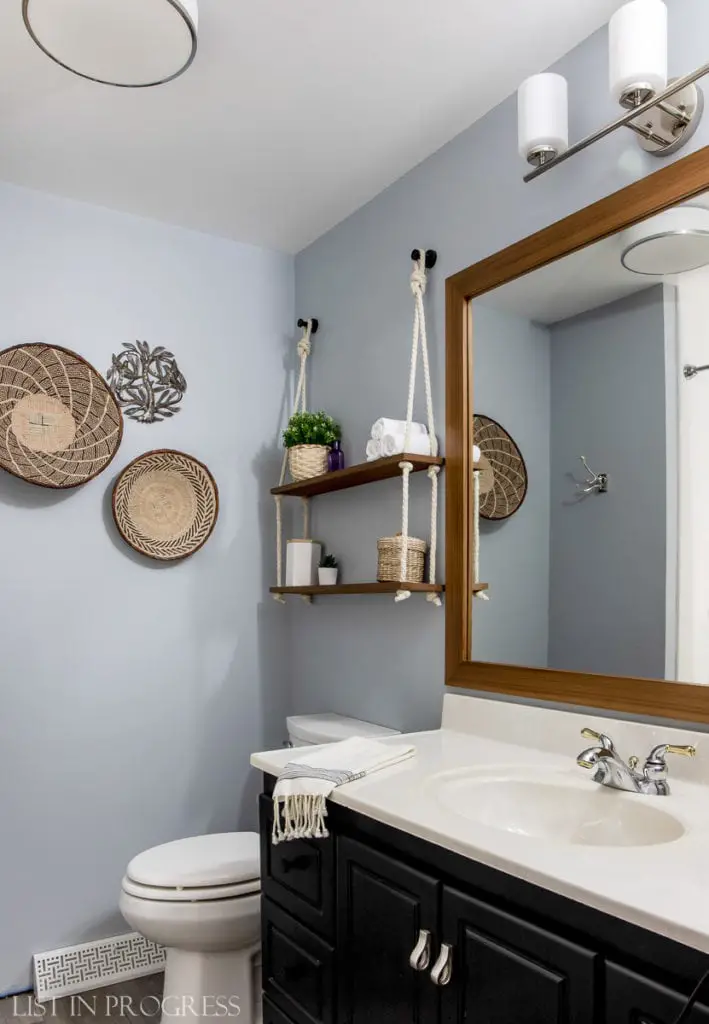
Here’s our finished project. I love how classy the framed mirror looks in this room with the contrast of dark cedar against the blue-gray wall color (Krypton by Sherwin Williams).


More DIY Remodeling Inspiration from List in Progress
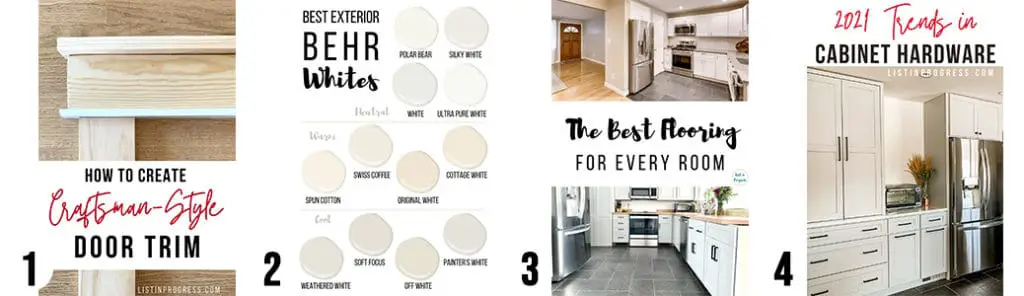
1 – How to Create Craftsman-Style Door Trim
2 – Best Exterior Behr White Paint Colors
3 – The Best Flooring for Every Room in Your House
4 – 2021 Cabinet Hardware Trends


A do-it-yourself brace. Resourceful.
The natural wood frame is stunning with your color choices and natural materials on display.
Thank you!